My deliciously easy comfort food recipes are right for every occasion. From breakfast to dinner, snacks to desserts, find the perfect recipes to feed the people you love!
My Most Recent Recipes

Popular Spring Favorites
Deliciously colorful and seasonal recipes you'll want to serve for all the wonderful springtime occasions on your calendar.
- Asparagus and Gruyere Cheese Skillet Popover
- Coconut Cake Cookies
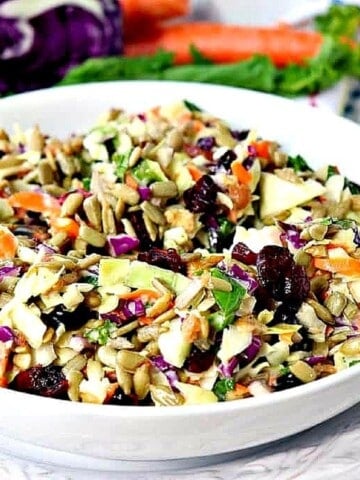
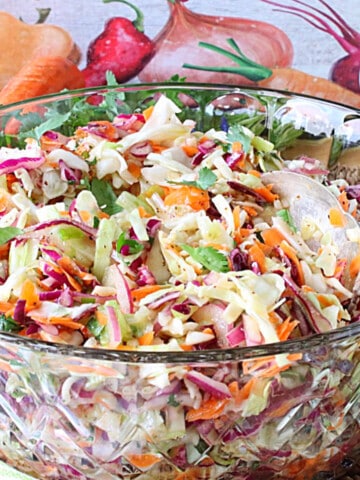
- Copycat Sunflower Crunch Kale and Cabbage Salad
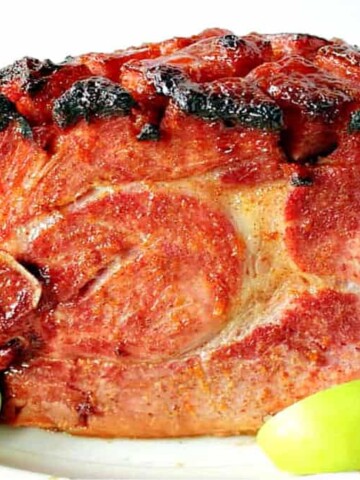
- Spiced Apricot Glazed Ham
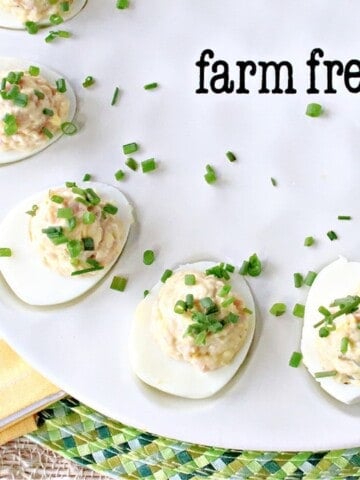
- Deviled Dijon Ham and Eggs
- Buttermint Candy Flowers
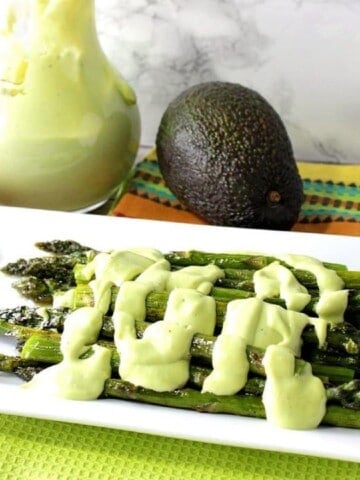
- Roasted Asparagus with Avocado Hollandaise
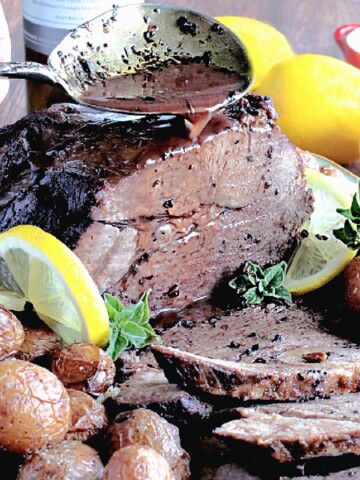
- Braised Leg of Lamb
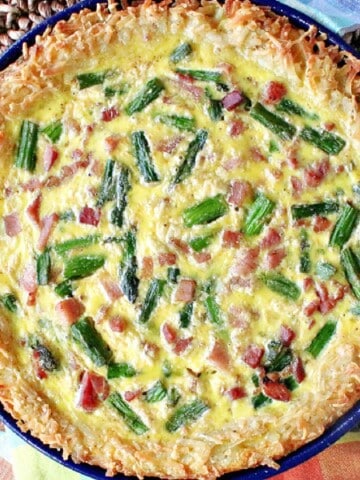
- Ham and Asparagus Quiche with a Hash Brown Crust
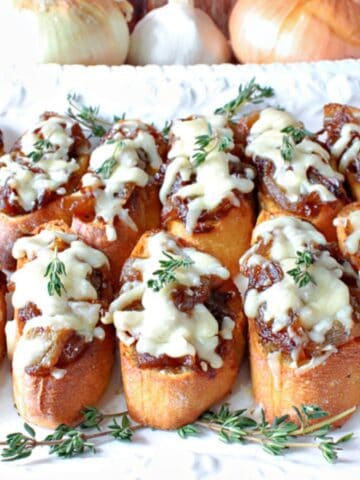
- Blueberry Basil Bruschetta
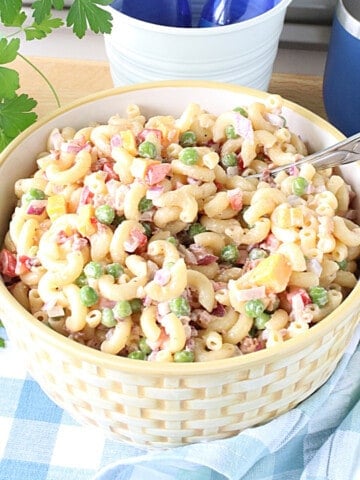
- Chilled Macaroni and Pea Salad
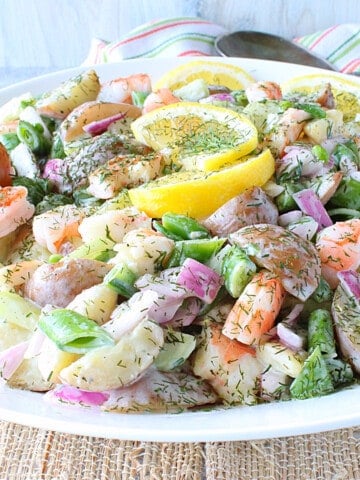
- Dilled Cucumber Salad with Shrimp


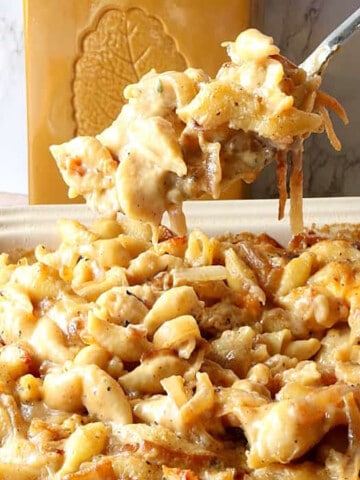
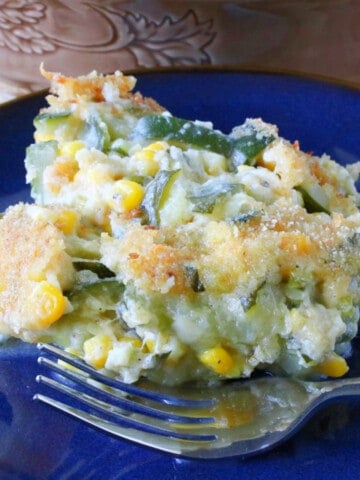
Sides and Starters for Every Occasion
Together we can build you the perfect menu for any and every occasion. From fancy to casual, and everything in between.


Trending favorites
These are the recipes that have been the most popular with readers just like YOU! Check them out and then choose which ones you want to add to your meal planner.

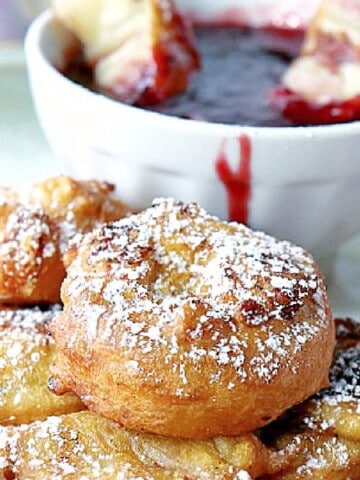
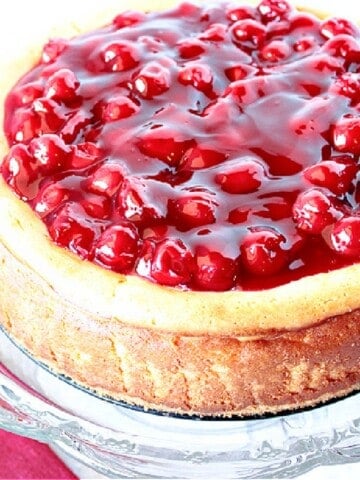
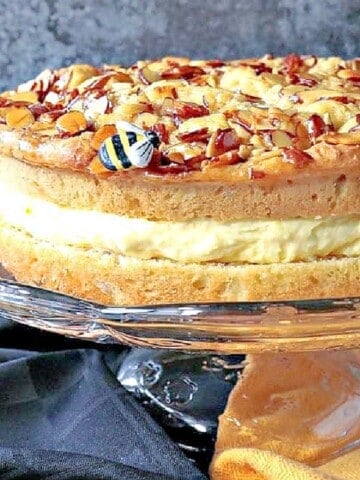
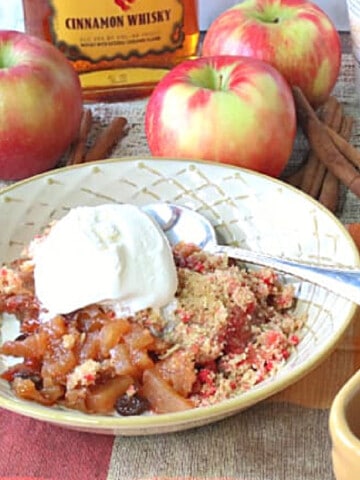
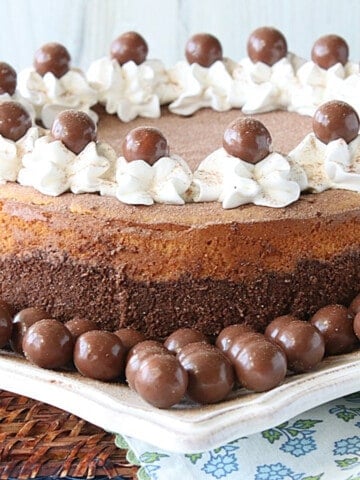
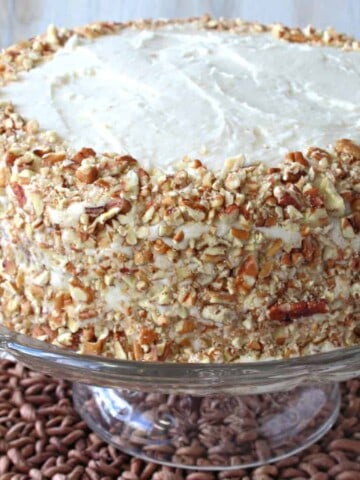
Satisfy your Sweet Tooth
I've heard it said that "they won't remember what you served for dinner, but they'll always remember what you served for dessert." Make something memorable!


About me
Hi there! I'm Renee. I've been a passionate home cook for over 40 years. I specialize in easy-to-make comfort food dishes from appetizers to desserts and everything in between. I'm so glad you're here!

Billy M Vo says
I am a retired Army and had a major stroke 2006 I am much better now I love cooking ...
Renée says
Thank you very much for your service to our country! I'm glad you enjoy cooking.
I hope the recipes you find here are some of your favorites.
Take good care,
Renee