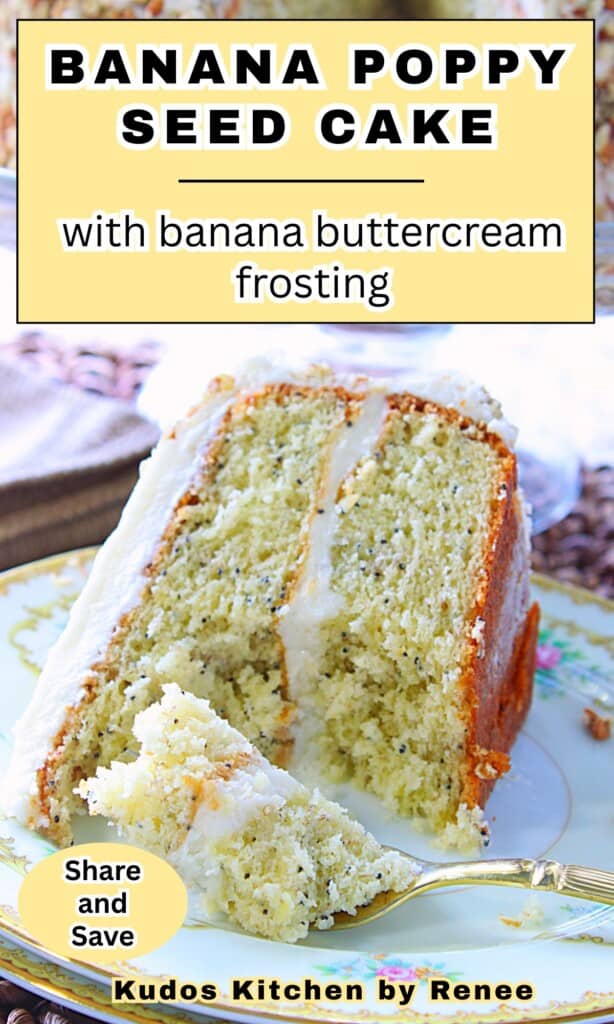

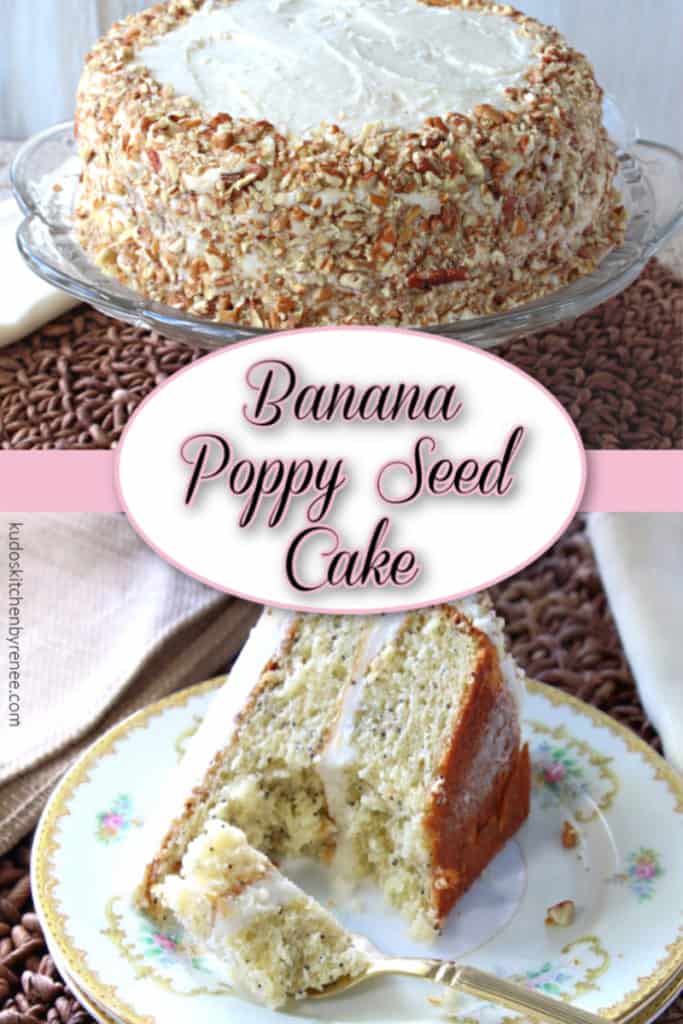
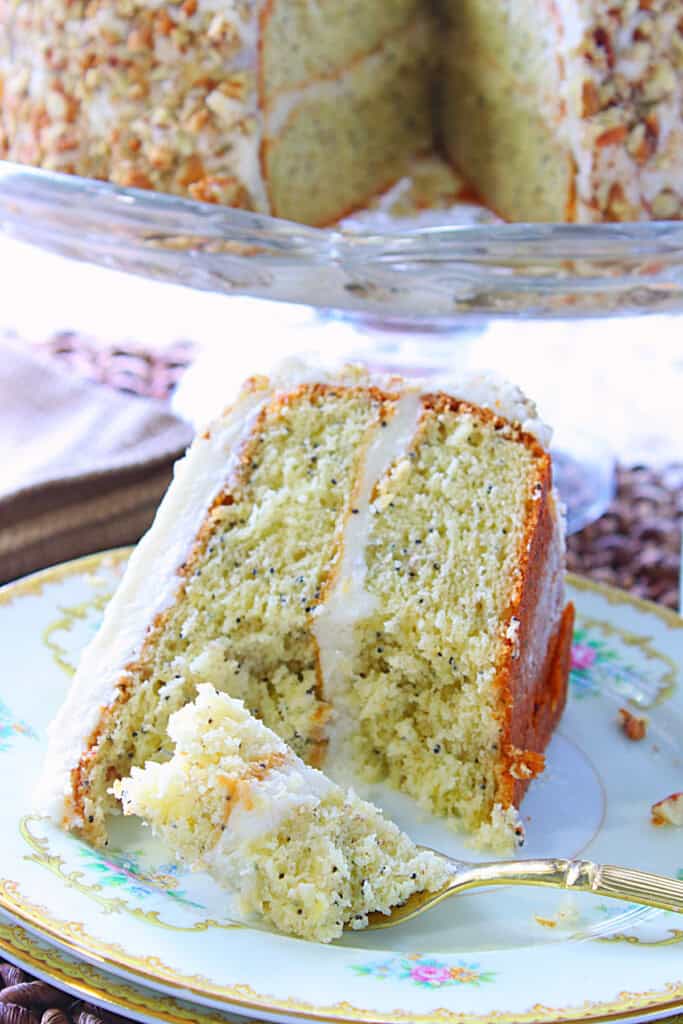
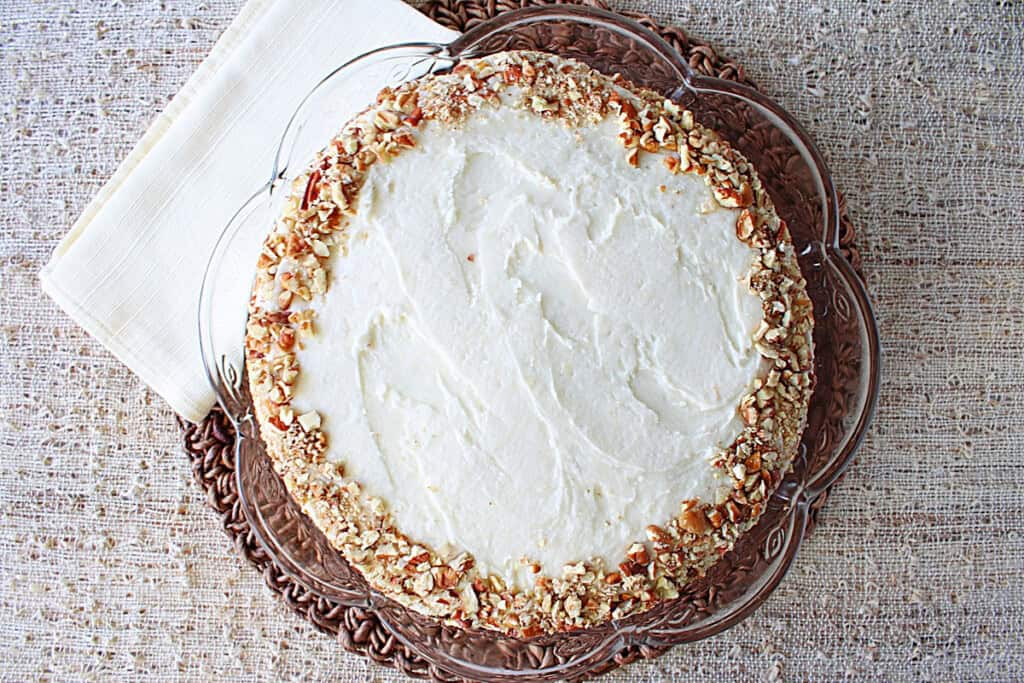
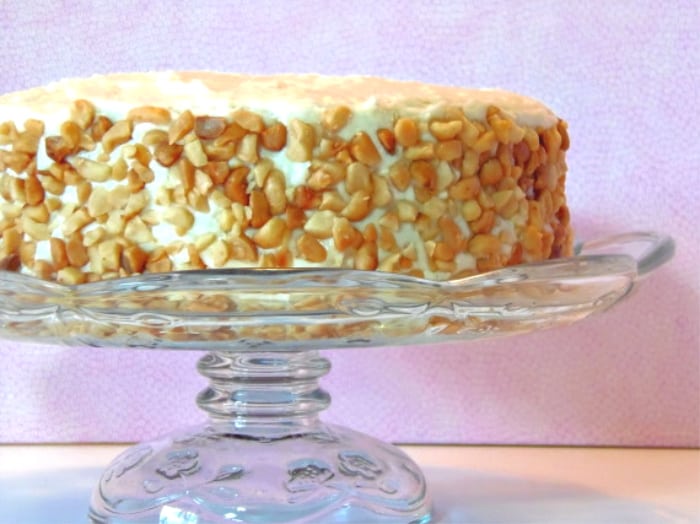
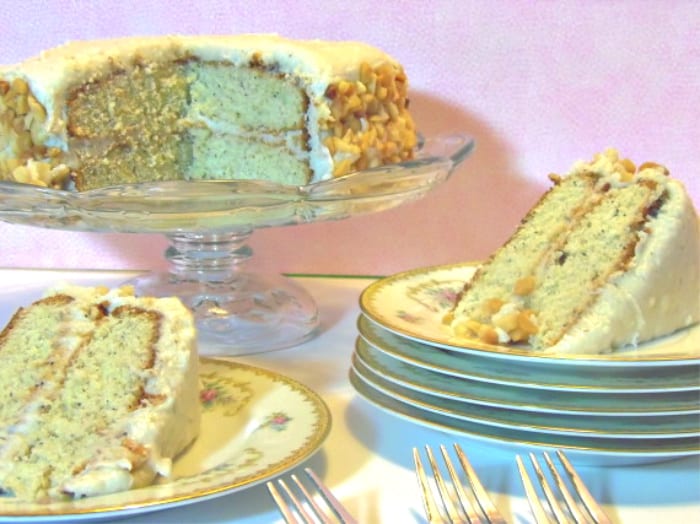
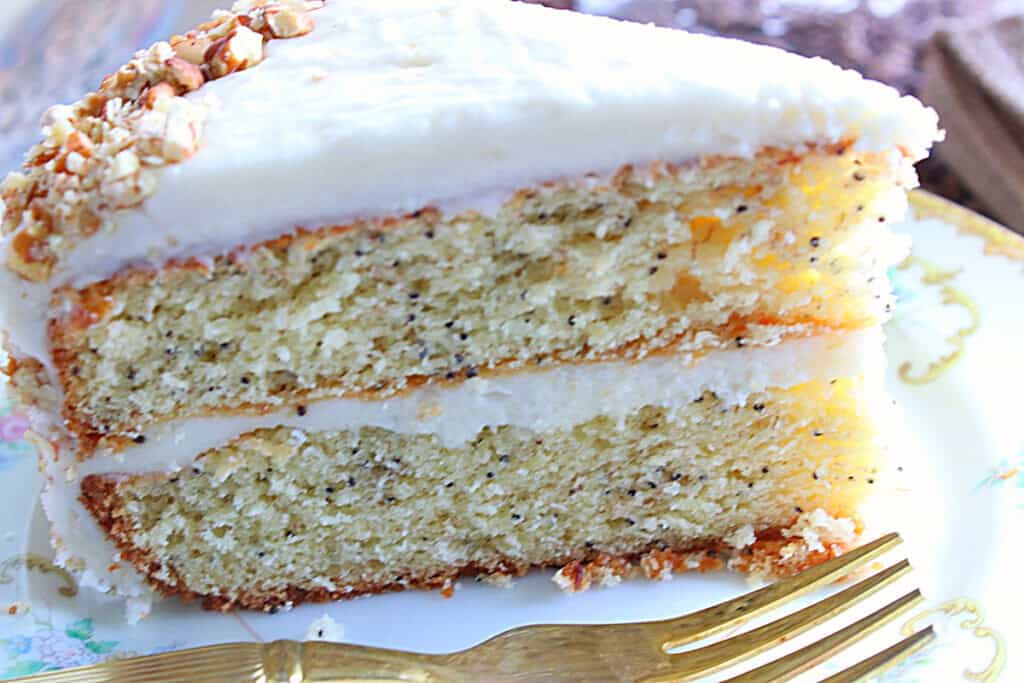
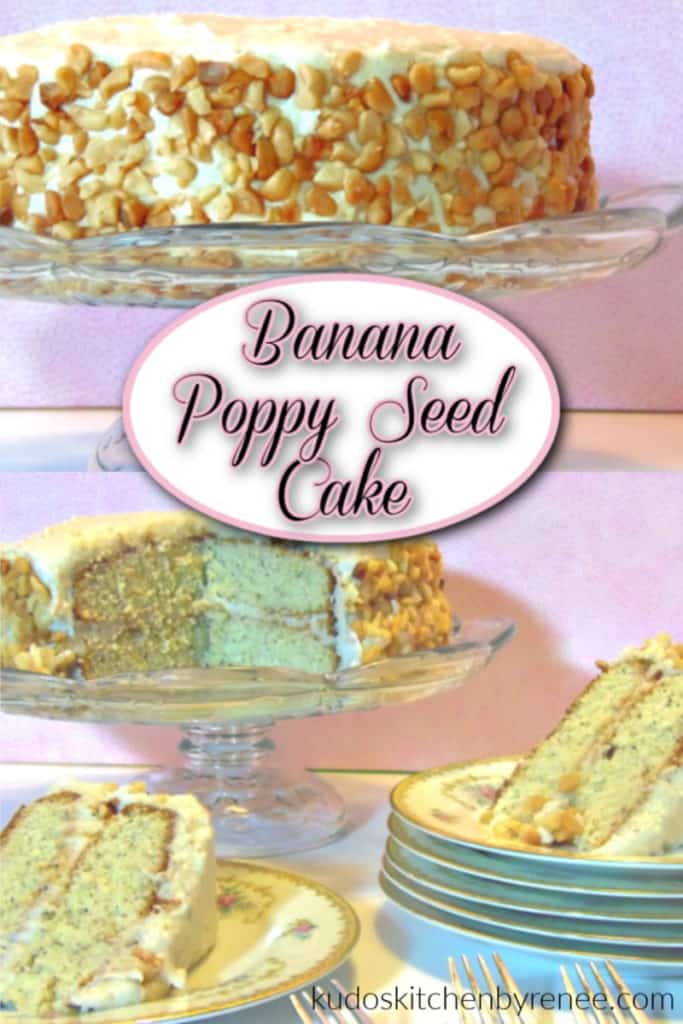
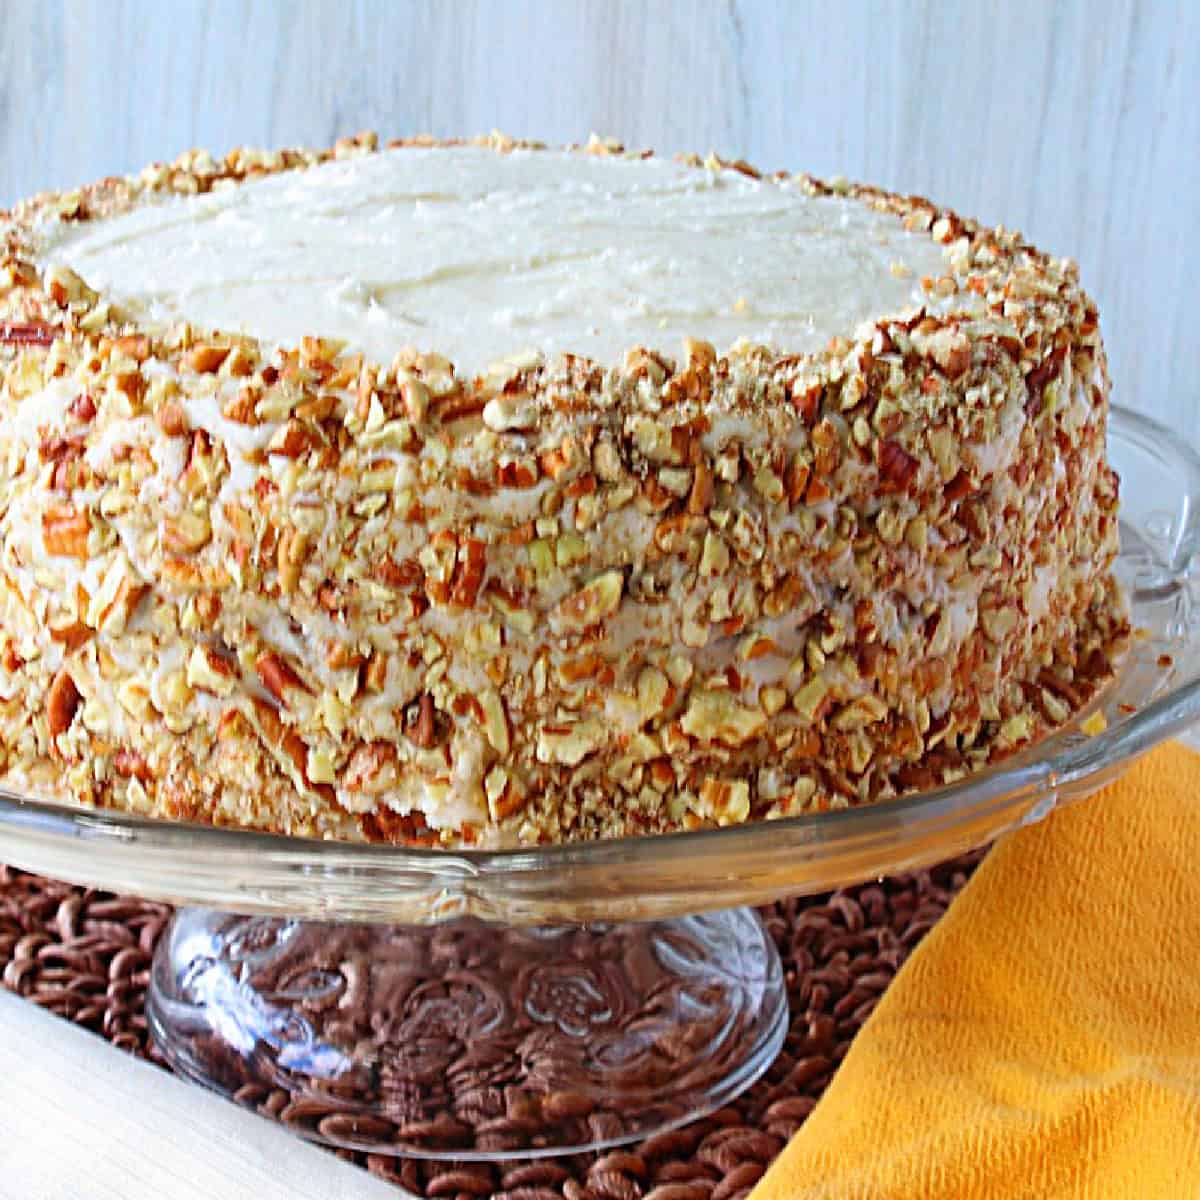
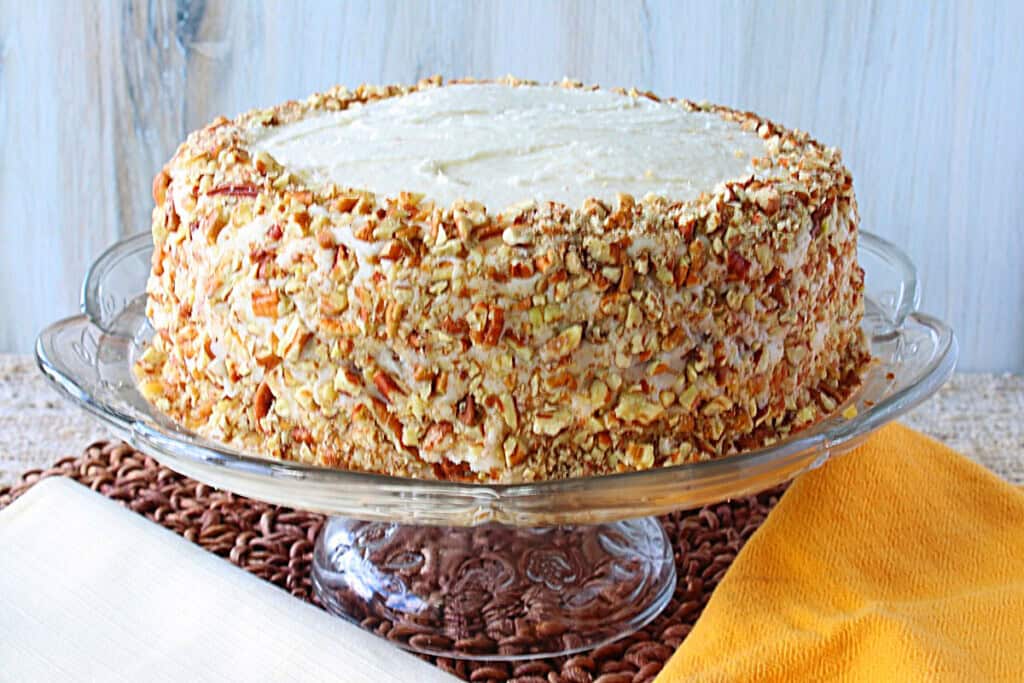
Banana Poppy Seed Cake has a moist and tender crumb, plenty of luscious banana butter cream frosting, and is always popular and disappears quickly.
You simply must find a reason to celebrate, and make yourself this banana poppy seed layer cake with banana buttercream frosting. You'll be glad you did!
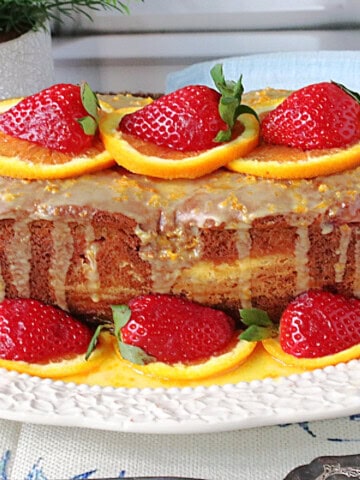
If you enjoy baking with bananas, I have plenty of other recipes I invite to you try. Recipes such as: Strawberry Banana Bread, Mom's Best Banana Cream Pie, Blueberry Banana Muffins, and Peanut Butter and Banana Chocolate Chip Cookies.
This recipe post and its contents may include affiliate links for your consideration. I may earn a commission from qualifying purchases, but your prices are never increased as a result. Thank you.
Table of Contents Found Here
- The ingredient list:
- Kitchen tools and equipment needed:
- What I said about this banana poppy seed cake in 2013:
- How this recipe came to be:
- The inspiration for this recipe:
- How to store banana poppy seed cake:
- Can this cake be frozen?
- How to slice a cake for an even layer cake:
- Serving suggestions:
- How to properly cut and serve a layer cake:
- Step-by-step photo instructions for making banana buttercream frosting:
- Can the nuts be omitted from this recipe?
- Printable Recipe Card
- Please comment if you've made this recipe.
The ingredient list:
*Please note that the exact measurements along with a "shop the recipe" feature from Instacart and Walmart is available inside the printable recipe card.
- overripe bananas
- granulated sugar
- all-purpose flour
- baking powder
- eggs
- butter (I use salted)
- salt
- poppy seeds
- confectioners sugar
- pure vanilla extract
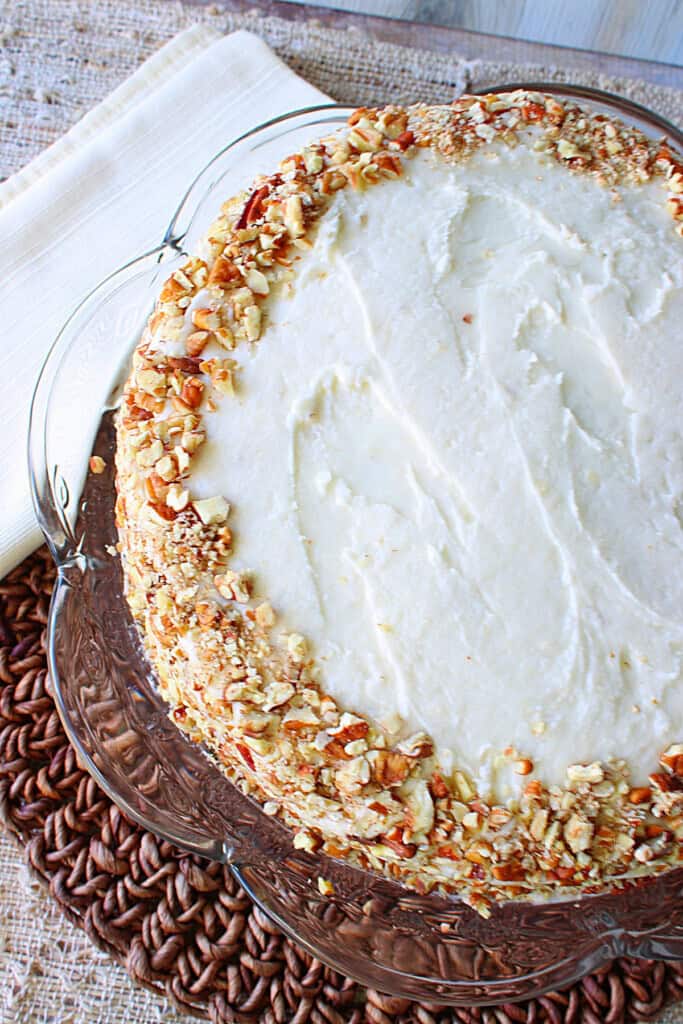
- chopped nuts (I used macadamia in the original version and chopped pecans in the updated version)
Kitchen tools and equipment needed:
- 2 - 8" round cake pans
- hand mixer or stand mixer
- large mixing bowls
- pastry blender or forks
- measuring cups and spoons
- rotating cake stand (optional)
- extra long serrated knife
- offset spatula (for frosting the cake)
- baking spray
- nut chopper (optional)
- spatula or wooden spoon
- cooling rack
- plastic wrap
- cake plate or cake stand (optional)
**Disclaimer - This recipe was originally published in 2013. I'm working hard to update all my older recipes with recipe cards, new photos, and additional recipe information, but getting to all of them will take time. Please bear with me. In the meantime let me assure you that this recipe is still a winner and one I'm sure you'll be well pleased with when you make it at home.
What I said about this banana poppy seed cake in 2013:
I don't bake many cakes, layer or otherwise, because I find them too tempting to have in the house if there's not a lot of other people to share them with, or a big reason to celebrate.
When my kids were little I always baked and decorated their birthday cakes. However, I hardly ever made them from scratch, or for reasons other than a birthday celebration.
Back in the day, Betty Crocker and Duncan Heinz were two of my closest friends!
How this recipe came to be:
I made this cake to celebrate two wedding anniversaries. Mine and my husband's and our very best friends. The results were very tasty indeed.
I remembered from years ago that our friends both used to enjoy the Sara Lee banana cake that could be purchased in the freezer case at the grocery store.
I wanted to try and mimic what I remember that cake tasted like, and I think I hit the nail pretty squarely on the head with this banana poppy seed cake with banana buttercream frosting.
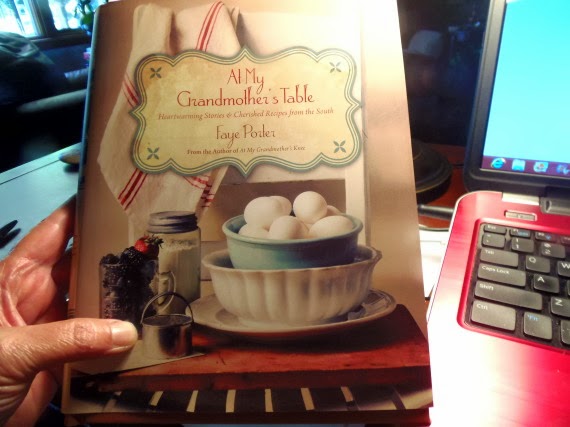
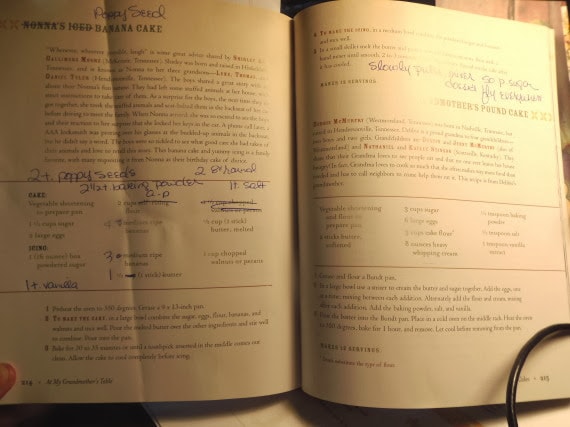
The inspiration for this recipe:
The recipe I started with, for both the cake and the frosting, came from the cookbook "At My Grandmother's Table" by Faye Porter.
I adapted the recipe only slightly.
How to store banana poppy seed cake:
Store this cake in an air-tight cake container in the refrigerator for up to 4 days.
Can this cake be frozen?
I don't recommend freezing the completed cake after it's been frosted, but if you'd like to make and bake the cake rounds, wrap them well (individually, and once completely cooled) in plastic wrap.
Freeze the cake for up to 3 months.
When you're ready to make and assemble the cake, make the banana buttercream, and frost the thawed cake as the recipe suggests.
How to slice a cake for an even layer cake:
Save this for later.
Email forwarding service for saving information.
Serving suggestions:
Allow the banana cake to sit at room temperature for 30 minutes before serving.
How to properly cut and serve a layer cake:
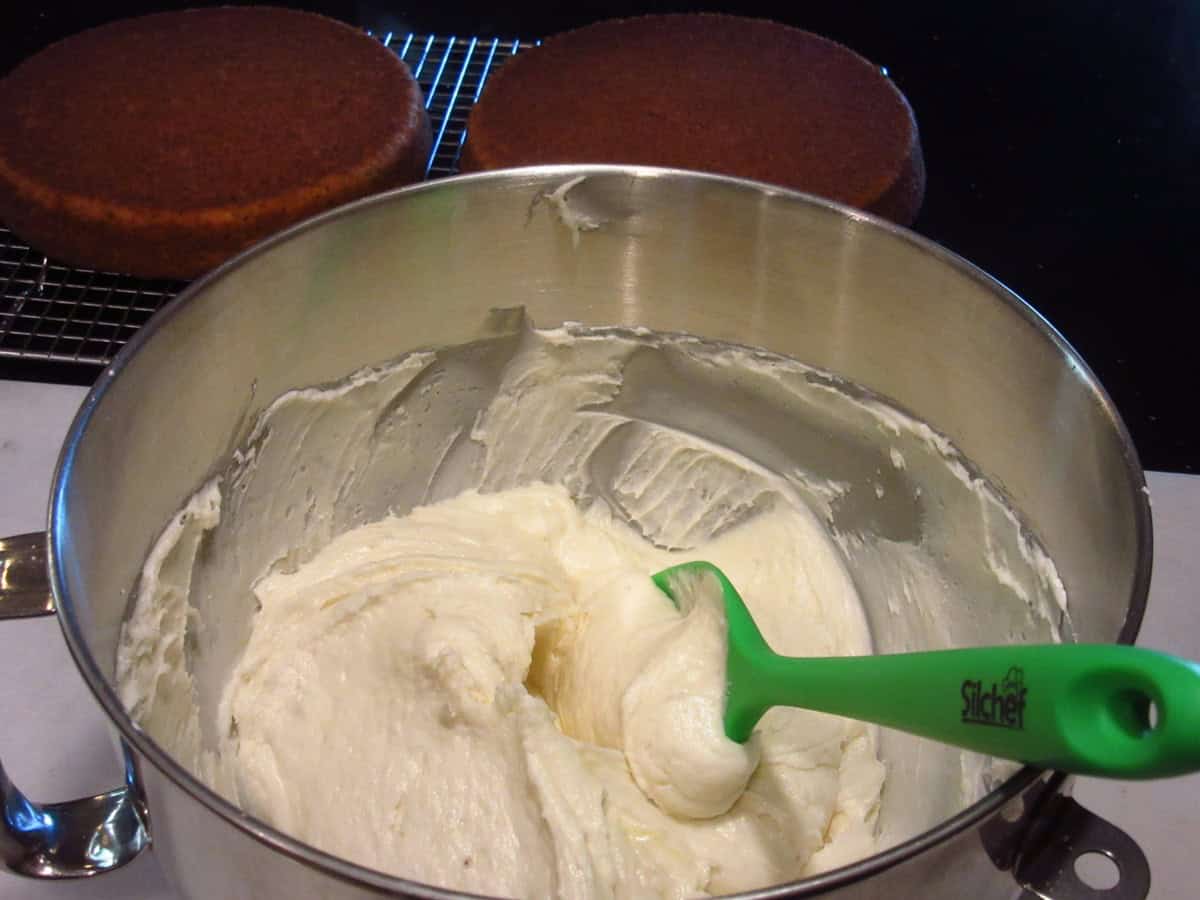
Step-by-step photo instructions for making banana buttercream frosting:
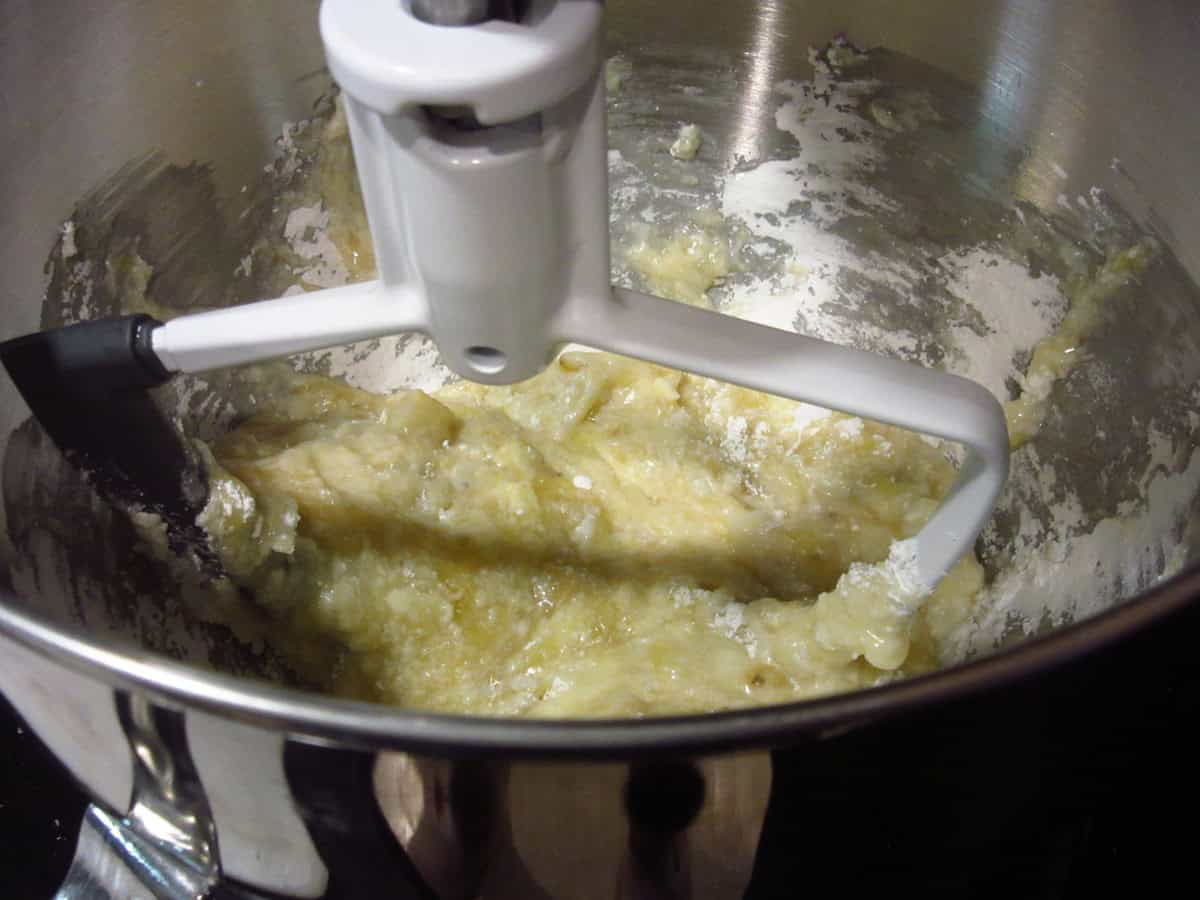
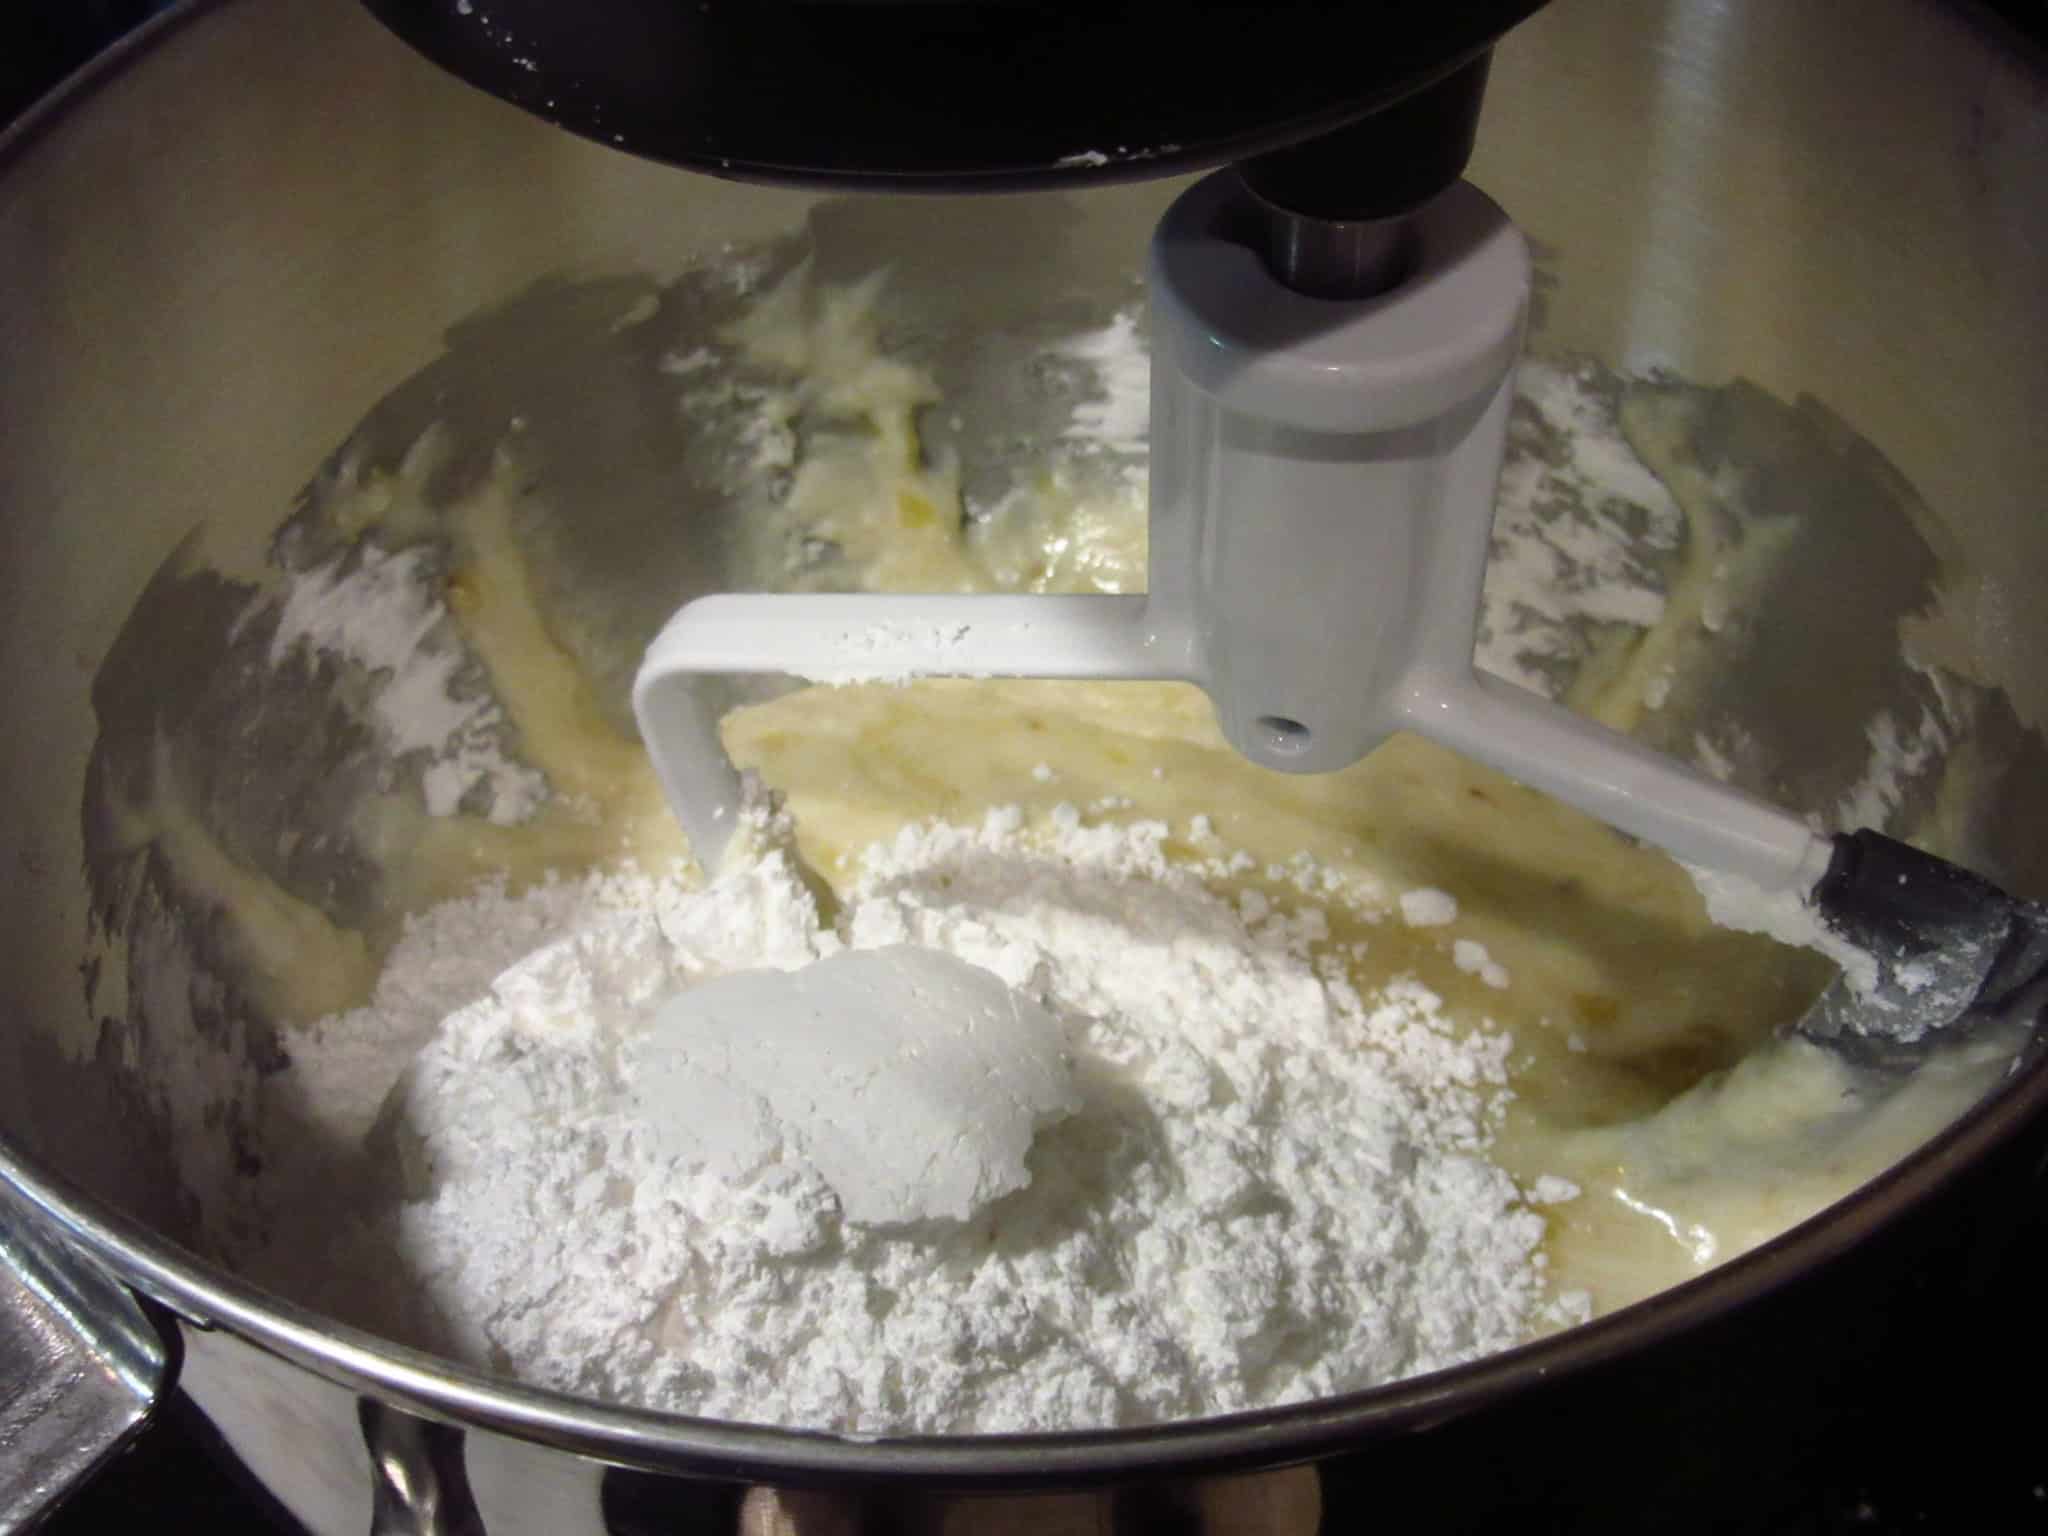
- In a large bowl with a hand mixer, or in the bowl of a stand mixer, cream together the butter, overripe bananas, confectioners sugar, and pure vanilla extract until smooth and creamy.
Can the nuts be omitted from this recipe?
Yes. By all means, if you aren't a fan of nuts you can certainly leave them off.
However, if you'd like to switch the type of nut called for in this recipe, then you're more than welcome to use whatever nut happens to be your favorite.
Chopped pecans, walnuts, cashews, or even honey-roasted peanuts come to mind as good options.
When you make today's recipe (and I hope that you will), I'd appreciate it if you'd take the time to come back and give it a star rating along with a comment on why you rated as you did.
Search engines such as Google appreciate comments and ratings and, in turn, will show my recipes to more people. Please look for the pink star rating box within the printable recipe card. Thank you!!
Printable Recipe Card

Banana Poppy Seed Cake with Banana Buttercream Frosting
Equipment
- stand mixer optional
- hand mixer optional
- kitchen scale optional
- cake tester optional
- pastry blender optional (for mashing bananas)
- nut chopper optional
- kitchen timer optional
- Offset spatula optional (for frosting the cake)
Ingredients
For the cake:
- 1½ cups granulated sugar
- 2 cups all-purpose flour
- 2½ teaspoons baking powder
- 1 teaspoon salt
- 4 large overripe bananas peeled
- 1 teaspoon pure vanilla extract
- 2 large eggs
- 2 teaspoons poppy seeds
For the frosting:
- 8 tablespoons butter melted
- 2-3 overripe bananas peeled
- 8 tablespoons butter softened
- 5 cups confectioners sugar
- 1 teaspoon pure vanilla extract
- 1½ cups chopped macadamia nuts optional, or other chopped nuts
Instructions
- Preheat oven to 350℉ (175℃).
To make the cake:
- In a large bowl combine all of the ingredients for the cake (except the butter) and blend well until combined.
- Pour in the melted butter and stir well to combine.
- Pour the batter evenly into the two prepared cake pans that have been sprayed liberally with baking spray.
- Bake for approximately 30-35 minutes, or until a toothpick inserted in the middle of each cake comes out clean.
- Cool the cakes for 15 minutes and then turn them out onto cooling racks to cool completely. (Once cooked, if needed, use a serrated knife to level off any uneven cake surfaces).
- Before frosting freeze the cakes for 20 minutes.
To make the frosting:
- Place all the frosting ingredients in a large bowl and blend at very low speed.
- Once the ingredients come together, turn the speed to high and blend until the frosting becomes a smooth and spreadable consistency.
- Once cooled, remove the cakes from the freezer and place one of the cake discs on a platter or cake stand of your choice.
- Using an offset spatula (or large butter knife) place approximately 1 cup of the frosting on the top of the cake layer and spread the frosting evenly around the cake top.
- Place the second cake round directly on top of the iced round and frost that layer with approximately ⅔ cup of the frosting.
- When frosting the sides of the cake, an offset spatula works best when placing a thin layer of icing around the sides of the cake.
- Note ~ This first layer of thin frosting is the "crumb coat" and it will prevent crumbs from coming off the cake and mixing in with your beautiful frosting. Make sure when icing your cake with the crumb coat that you work the frosting in only one direction. This will additionally help the cake stay intact without crumbs forming in the frosting.
- Place the crumb-coated cake in the fridge for approximately 30 minutes to set.
- You can now slather frosting liberally on the top and sides of your crumb coated cake.
- Once the cake is completely iced place some of the chopped macadamia nuts in your cupped fingertips and gently press the nuts onto the iced sides.
- Continue placing the nuts around the entire cake and refrigerate until 30 minutes before serving.
- Allow the cake to sit at room temperature for 30 minutes before serving.
Video
Notes
Nutrition
I sincerely hope you've enjoyed today's banana layer cake recipe as much as I've enjoyed bringing it to you!
Should you have any questions or comments regarding anything you've seen on my site, please don't hesitate to reach out to contact me. It is always my distinct pleasure to get back with you just as soon as I possibly can!
Thank you so much for visiting me today in my Kudos Kitchen. I hope you found something you'll love and that you will come back and visit me often. Please know that there is always room for you around my kitchen table!
Until we eat again, I hope you have a delicious day!


All of the recipes you'll find here on my website are in loving memory of my son, Greg, who left this earth far too soon and will be forever in our hearts.

Christina R says
Just stumbled onto your recipe site. I love your style Renee! I can tell you are a long time experienced baker and food lover. Everything on here says it comes from a place of passion and feeding those you love. I have an abundance of ripe bananas on my counter and I will try your cake today for Valentine's Day for my family. Thank you for the inspiration
Renée says
Well hello, Christina!
What a lovely comment you have left for me to read.
I sincerely hope you enjoyed the banana poppy seed cake.
I do hope you'll come back and let me know what you thought.
In the meantime, thank you so very much for your kind words.
They mean a great deal to me, as does your visiting my site.
I hope you'll come back often.
Take good care,
Renee
Paula says
Your "baby steps" into homemade cake baking are pretty steady Renee. This looks moist and delicious and I'm sure it was a big hit with your best friends. What a nice thing to have done for their anniversary. I bet they didn't have to be asked twice if they wanted to take any leftovers home with them 😉