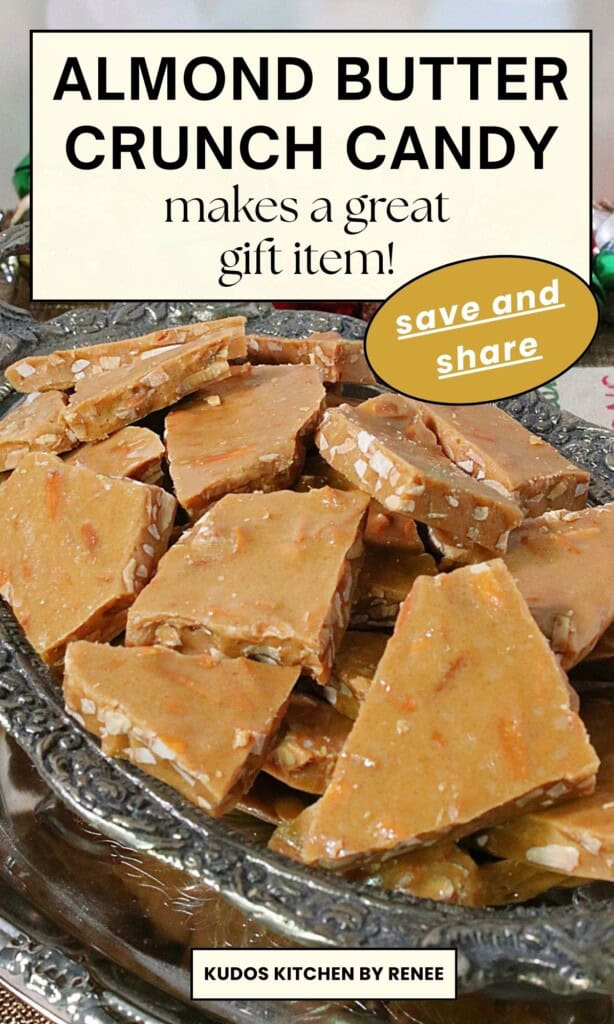
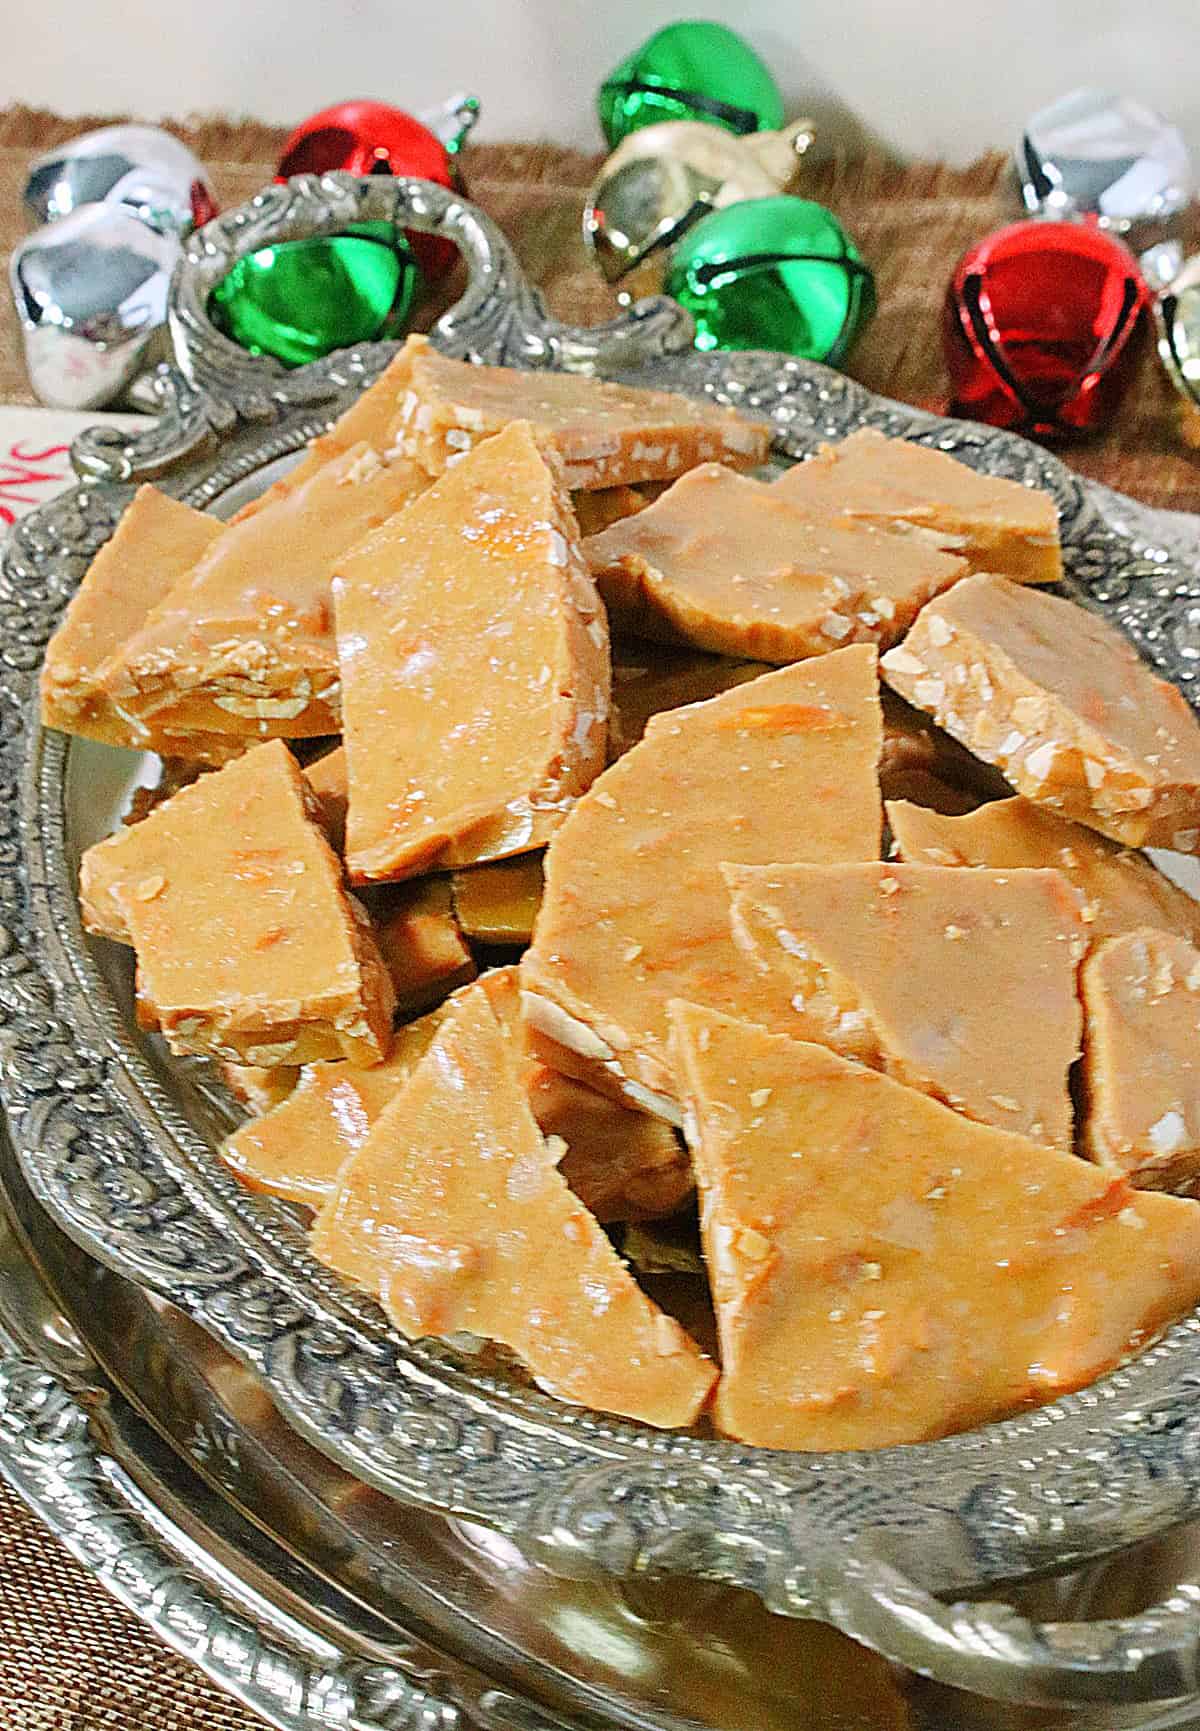
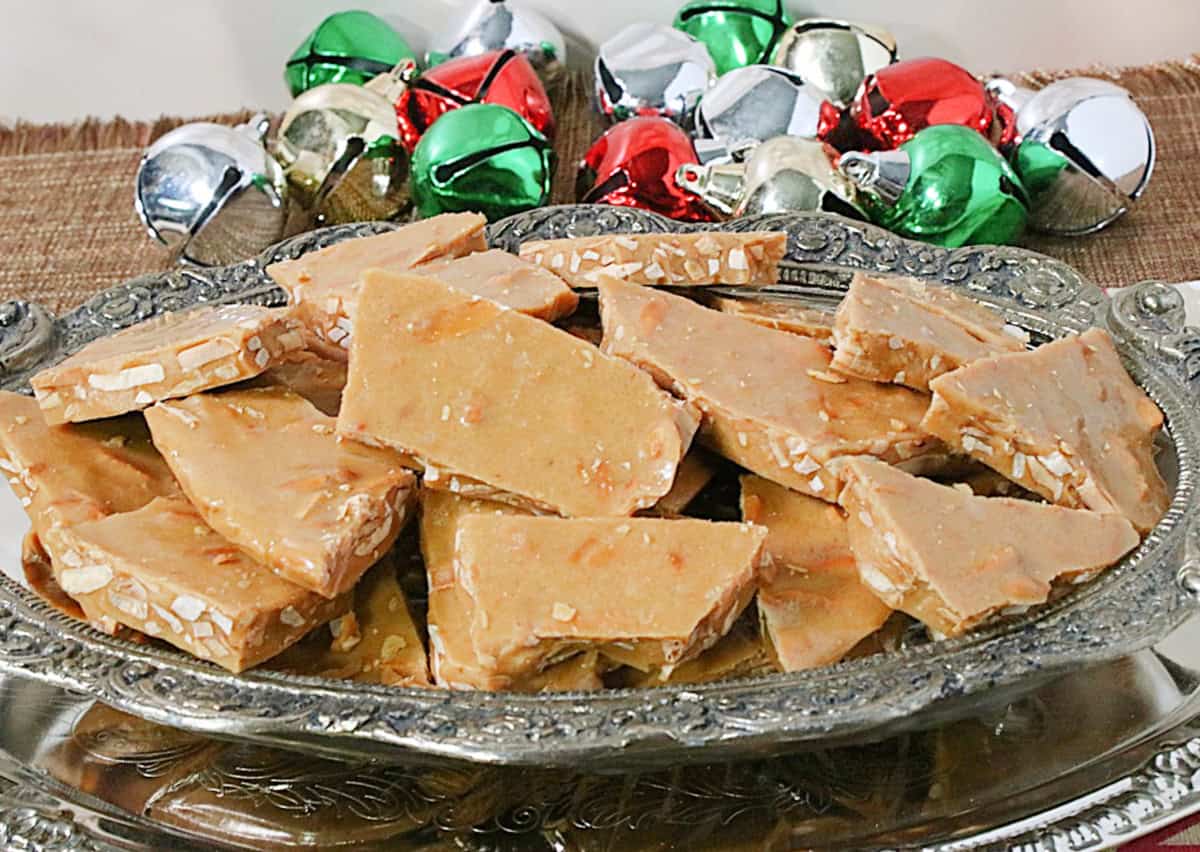
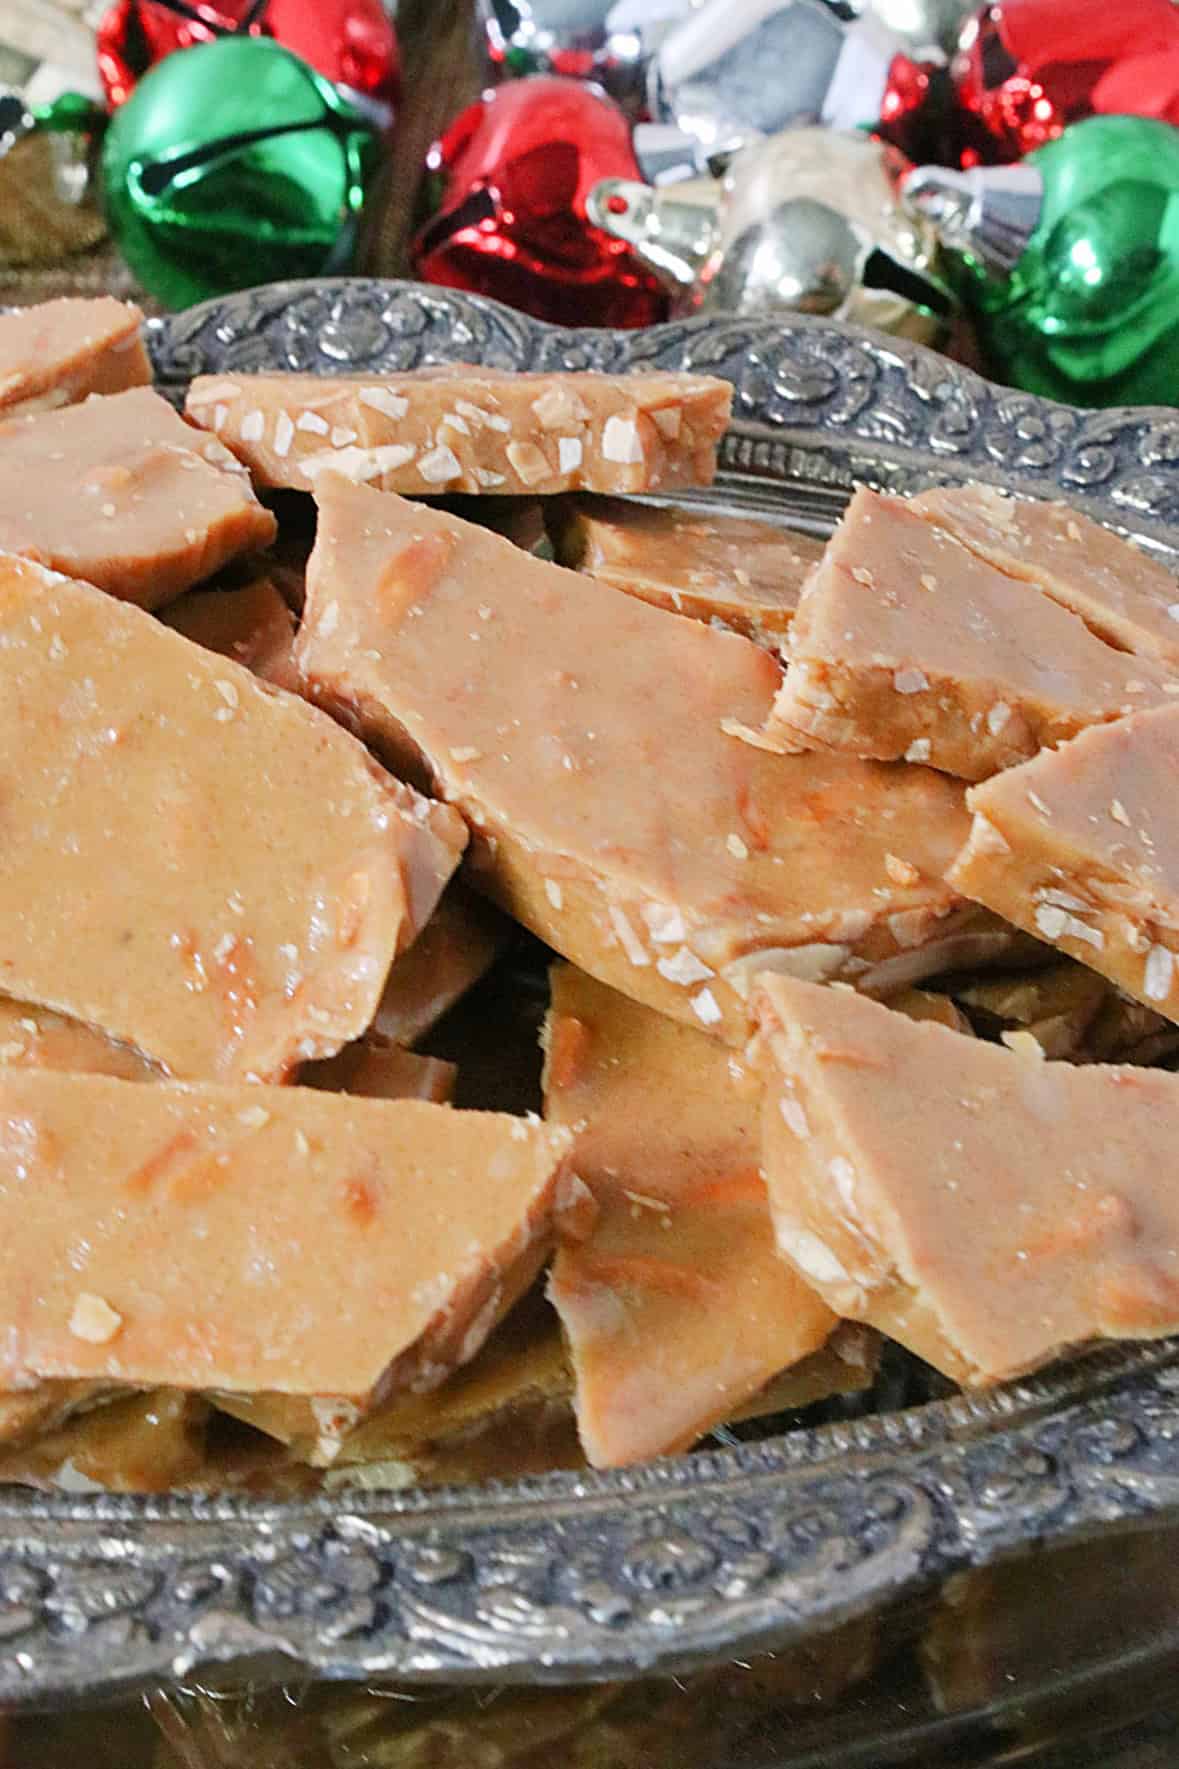
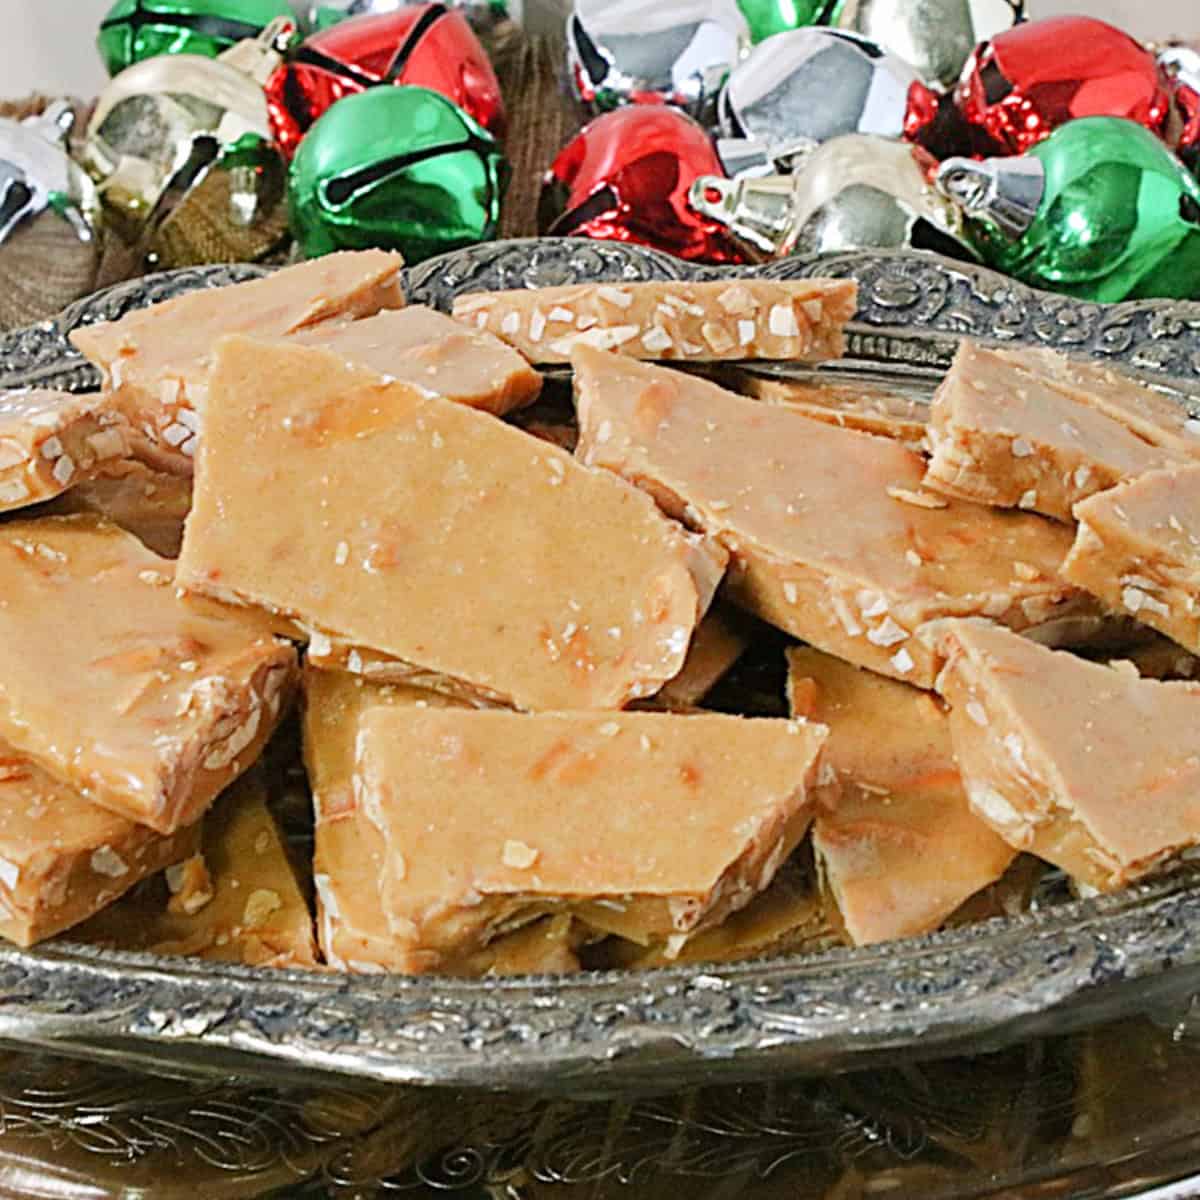
Almond Butter Crunch Candy is a wonderful holiday treat recipe that goes back a really long time in my family. It's perfect for gift giving and is very quick and simple to make.
For other wonderful homemade gifts of food to show them how much you care, here are some other recipes you'll enjoy: Double Chocolate Graham Cracker Toffee, Coconut Pecan Pralines, Vintage Holiday Nut Cup Cookies, Sesame Seed Sticks and Rye Chip Snack Mix, Cinnamon Sugar Pretzel Sticks, and Homemade English Muffin Bread.
This recipe post and its contents may include affiliate links for your consideration. I may earn a commission from qualifying purchases, but your prices are never increased as a result. Thank you.
Table of Contents Found Here
- Your feedback is encouraged:
- The ingredient list:
- Kitchen tools and equipment needed:
- How to store homemade almond toffee:
- Can other nuts be used to make this recipe?
- Will other pans work when making this homemade almond toffee?
- The step-by-step photo instructions:
- My top tips and tricks for recipe success:
- Gifting and wrapping suggestions:
- Additional sweet recipes featuring nuts:
- Printable Recipe Card
- Please comment if you've made this recipe.
*Disclaimer - I originally published this recipe in 2011. I've recently gone back and remade this recipe, took new photos, added pertinent information, a printable recipe care, and also filmed a teachable video for your enjoyment. All that said, the recipe itself has remained completely unchanged. Please enjoy!
Your feedback is encouraged:
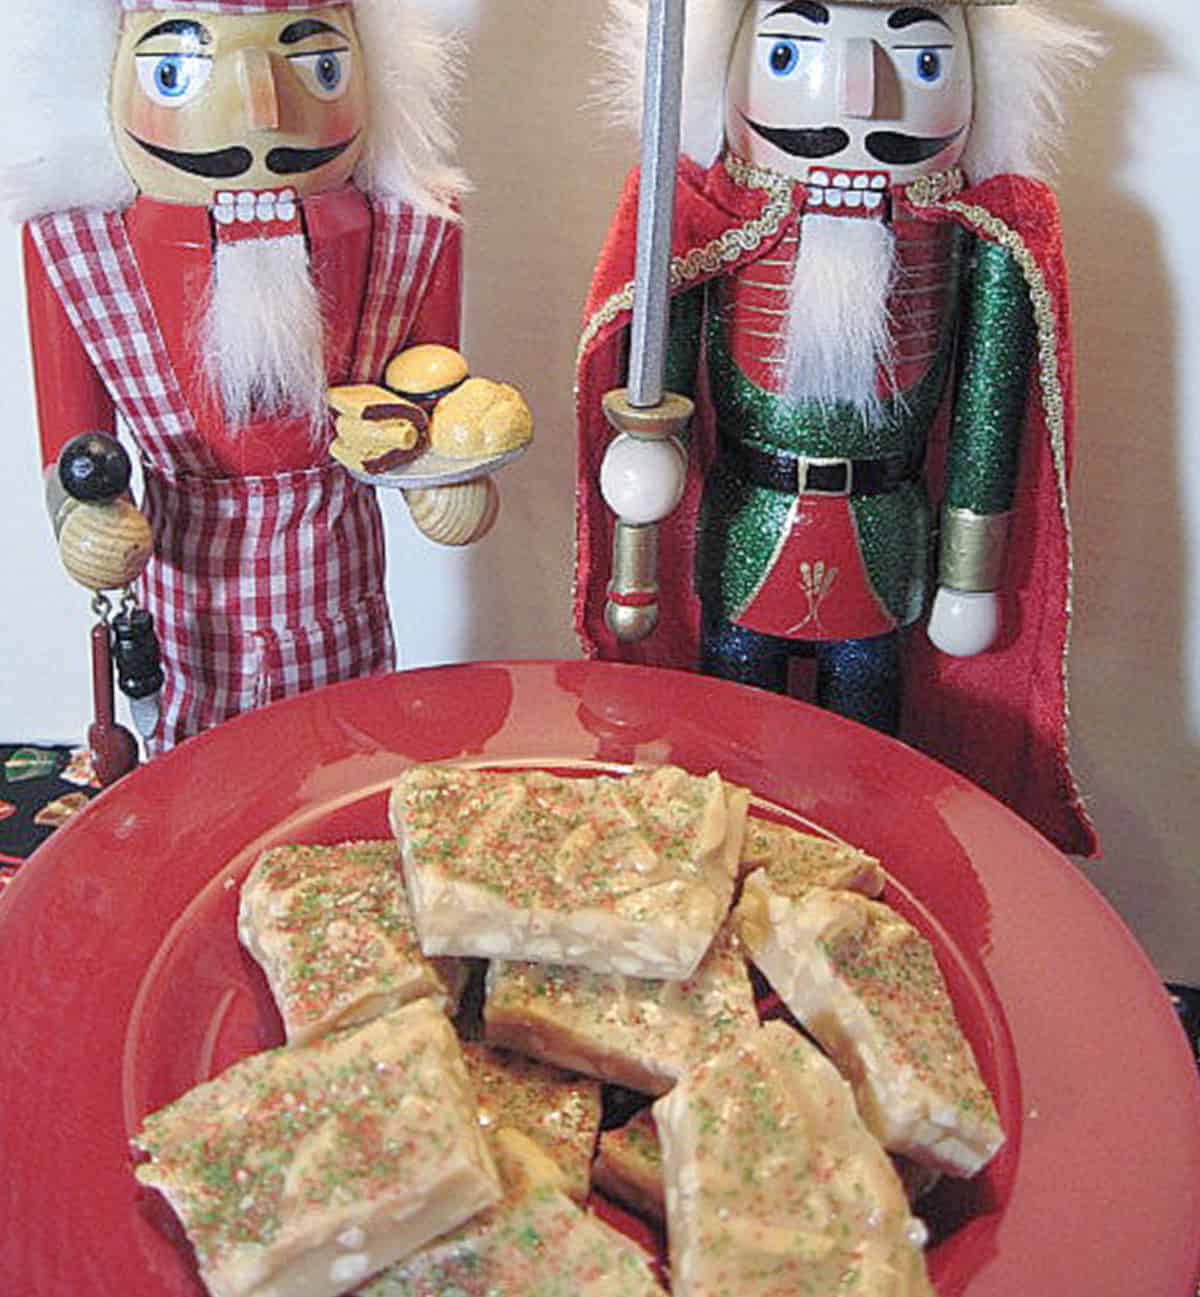
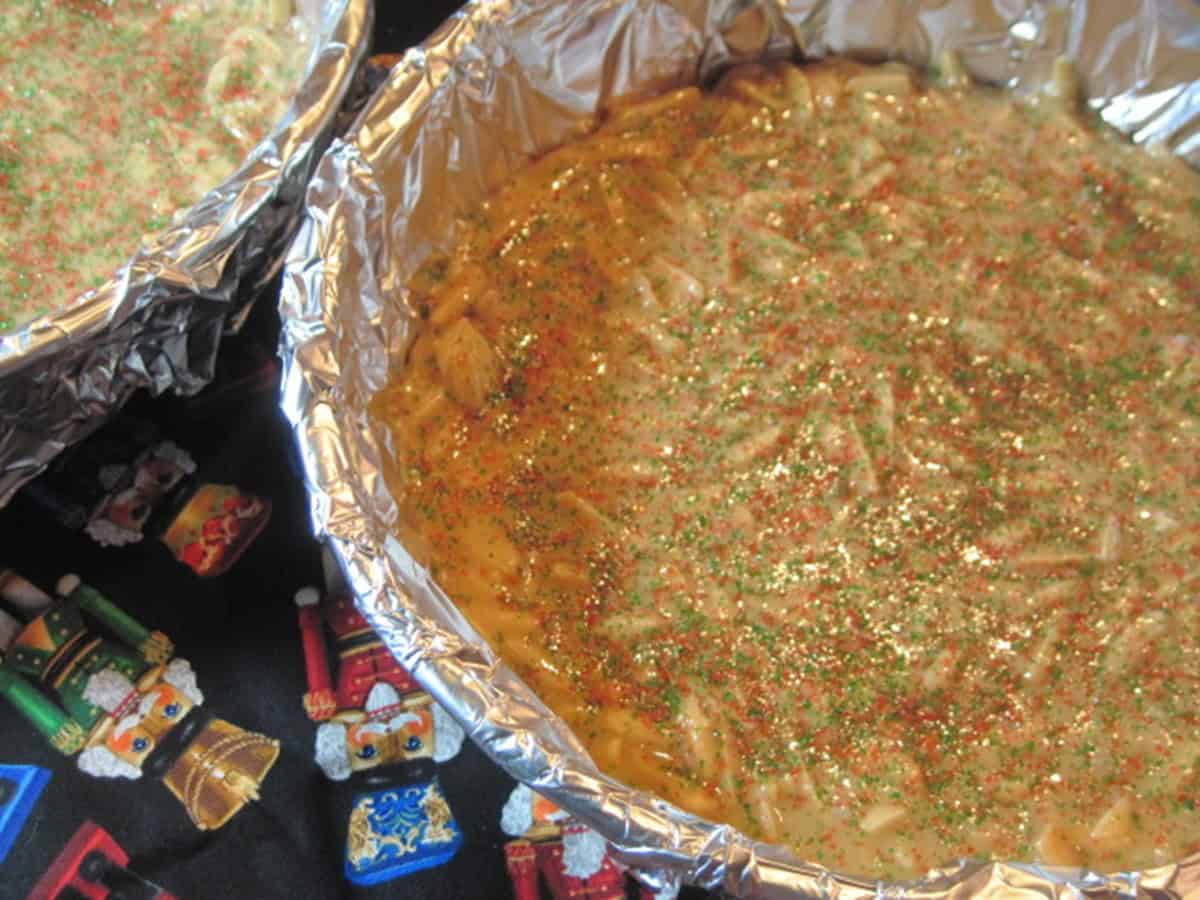
I hope you'll give this holiday candy a try and let me know what you think. Don't look now but I think these two (below) are dying for a taste of Almond Butter Crunch Candy (original photo from 2011).
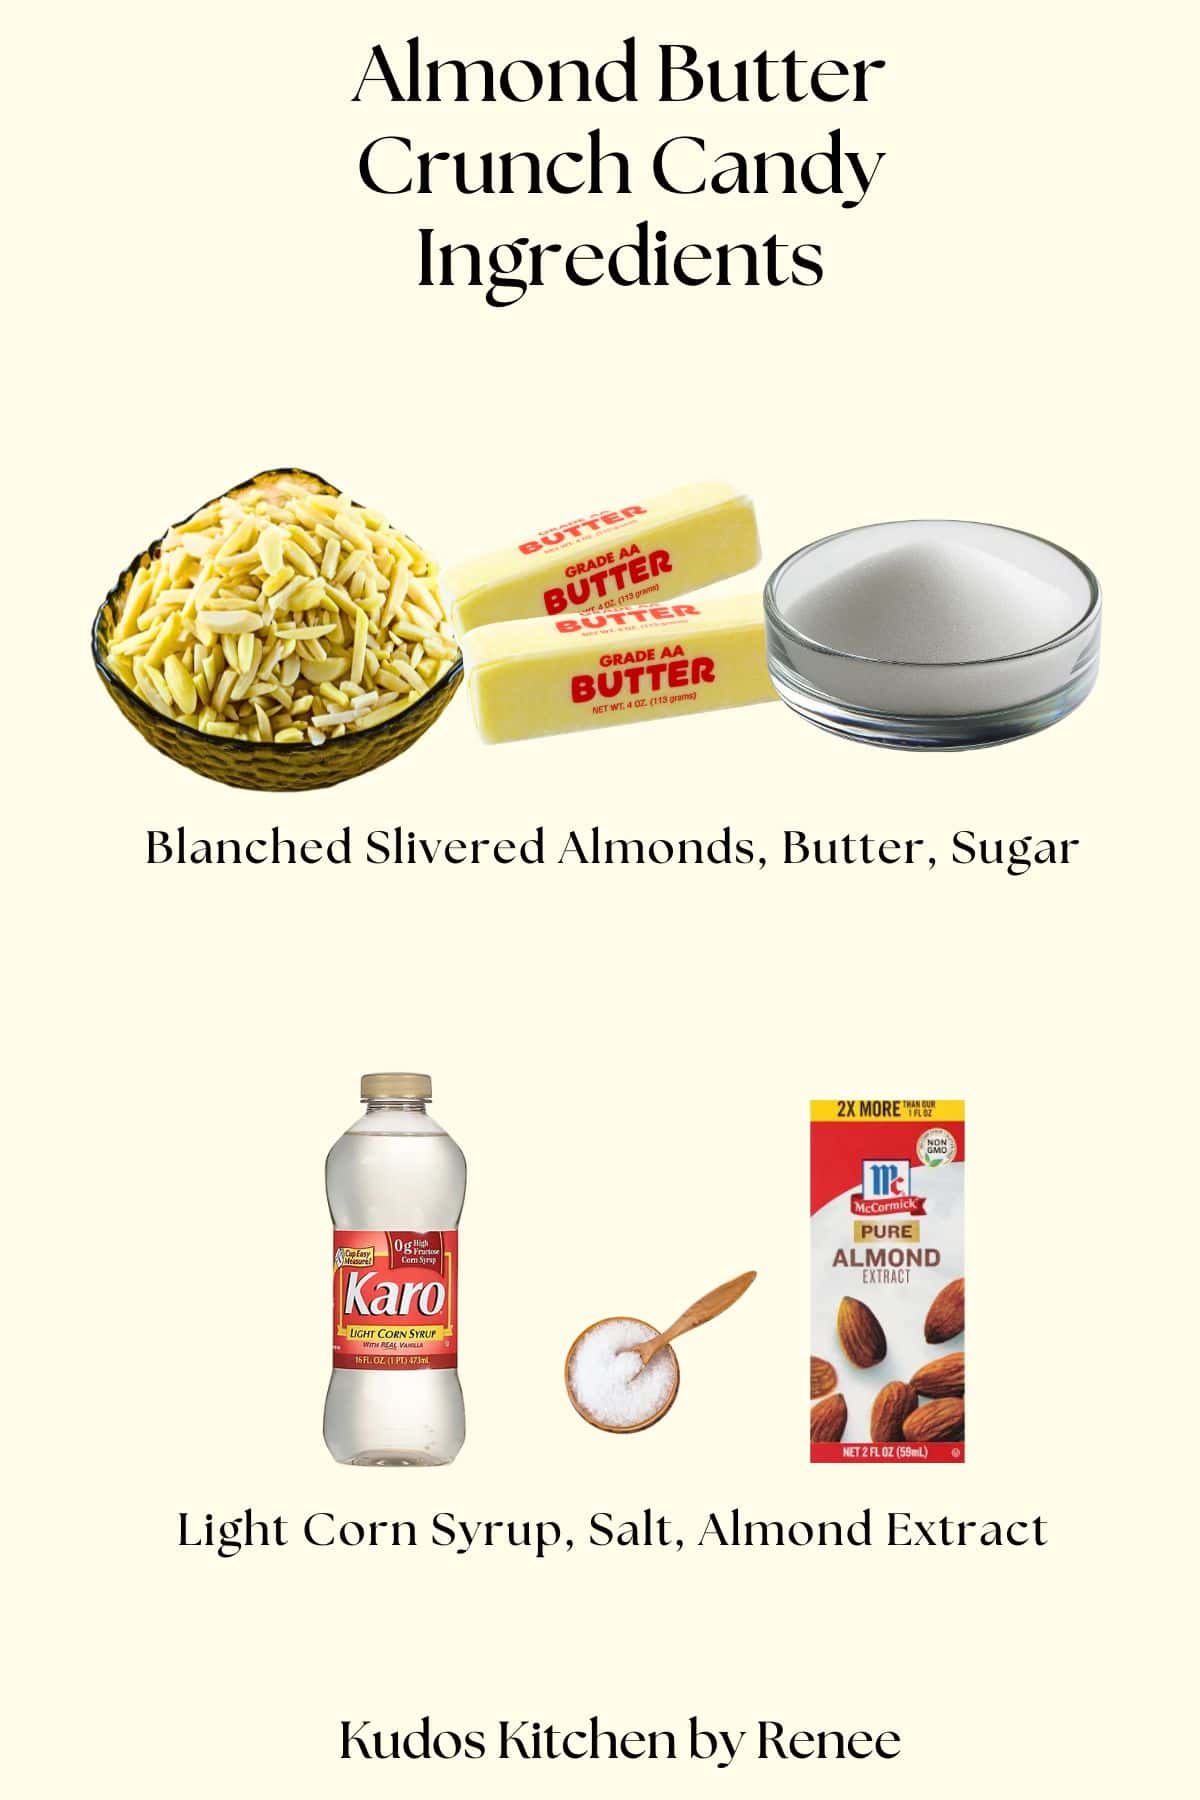
The ingredient list:
*Please note that the exact measurements along with a "shop the recipe" feature from Instacart and Walmart is available inside the printable recipe card.
Kitchen tools and equipment needed:
- heavy-bottom 3-quart saucepan
- silicone spatula
- aluminum foil
- measuring cups and spoons
- wooden spoon
- kitchen timer (optional)
- 2 - 8" round cake pans (optional)
- 1 rimmed baking sheet (optional)
Save this for later.
Email forwarding service for saving information.
How to store homemade almond toffee:
Store this almond toffee in an airtight container at room temperature for up to 7 days, or store in an airtight container in the refrigerator for up to 2 weeks.
This homemade almond candy may also be frozen. Store it in an airtight freezer container or freezer bag, and label and date the contents. Freeze for up to 2 months.
I like to use these dissolvable content labels for adding dates and container content information to the outside of refrigerator and freezer packages.
Can other nuts be used to make this recipe?
You bet! Use your favorite nuts, or a mixture if you like.
*Note - I recommend using unsalted (or lightly salted) nuts. However, if you do use roasted and salted nuts, omit the pinch of salt from the recipe.
Pure vanilla extract may be used as a substitute for the pure almond extract, if desired.
Will other pans work when making this homemade almond toffee?
It's important to use a heavy-bottom 3-quart saucepan when making toffee to prevent the butter and candy from scorching or burning.
However, any size or type of pan will work for pouring and chilling the toffee. *Note - Make sure to line whatever pan you use with aluminum foil for easy clean up and release.
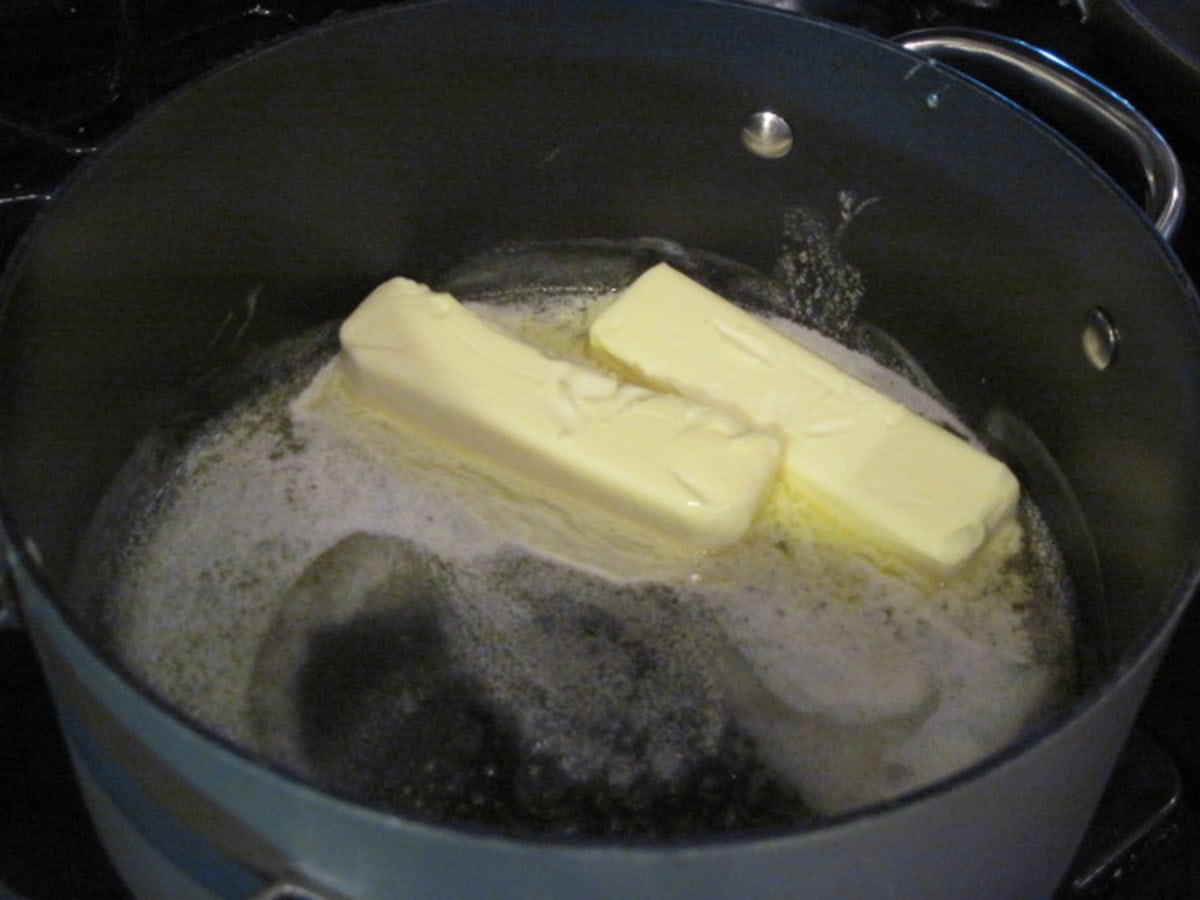
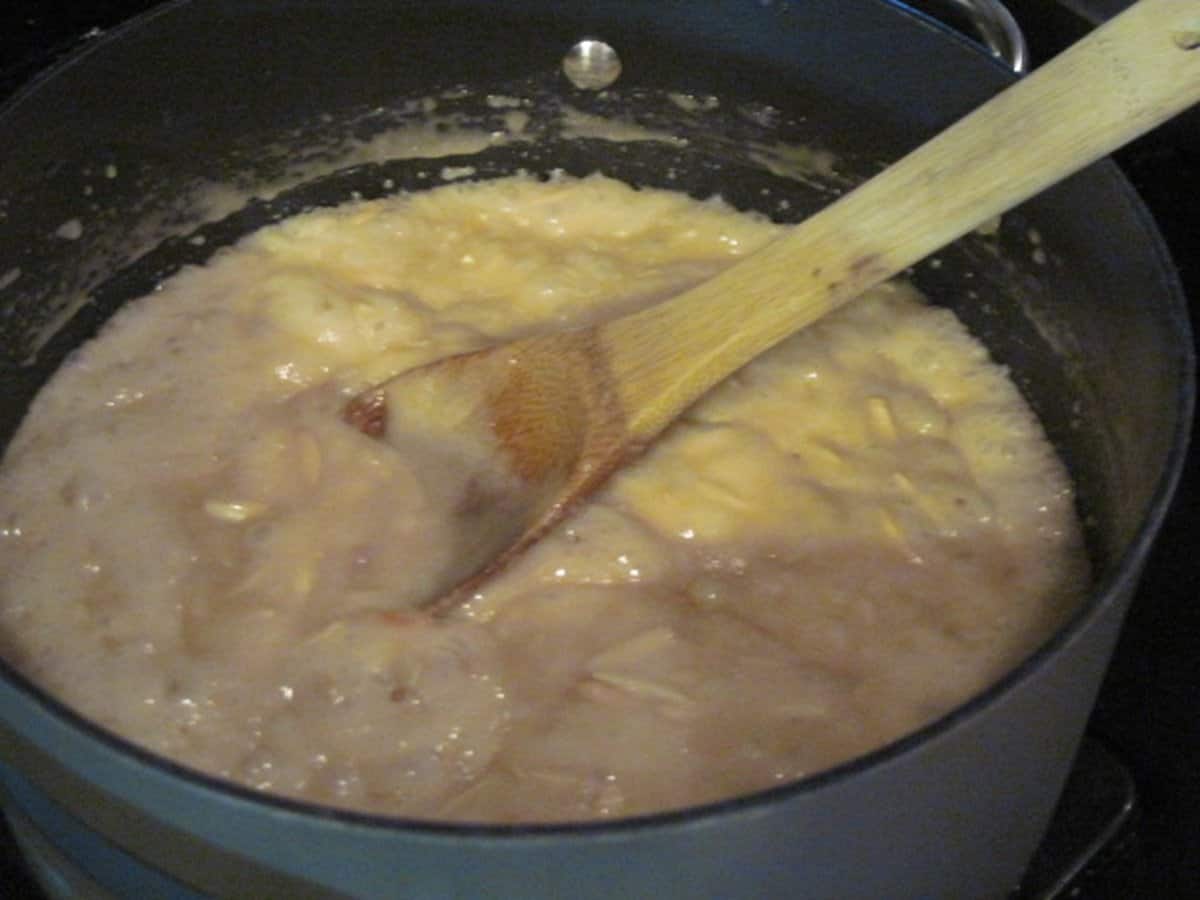
The step-by-step photo instructions:
These images are from 2011, but the process remains the same.

My top tips and tricks for recipe success:
- Stir, stir, stir.
- Feel free to cut the butter in this recipe from 16 to 12 tablespoons (1½ sticks), if desired. The flavor will remain the same, I promise.
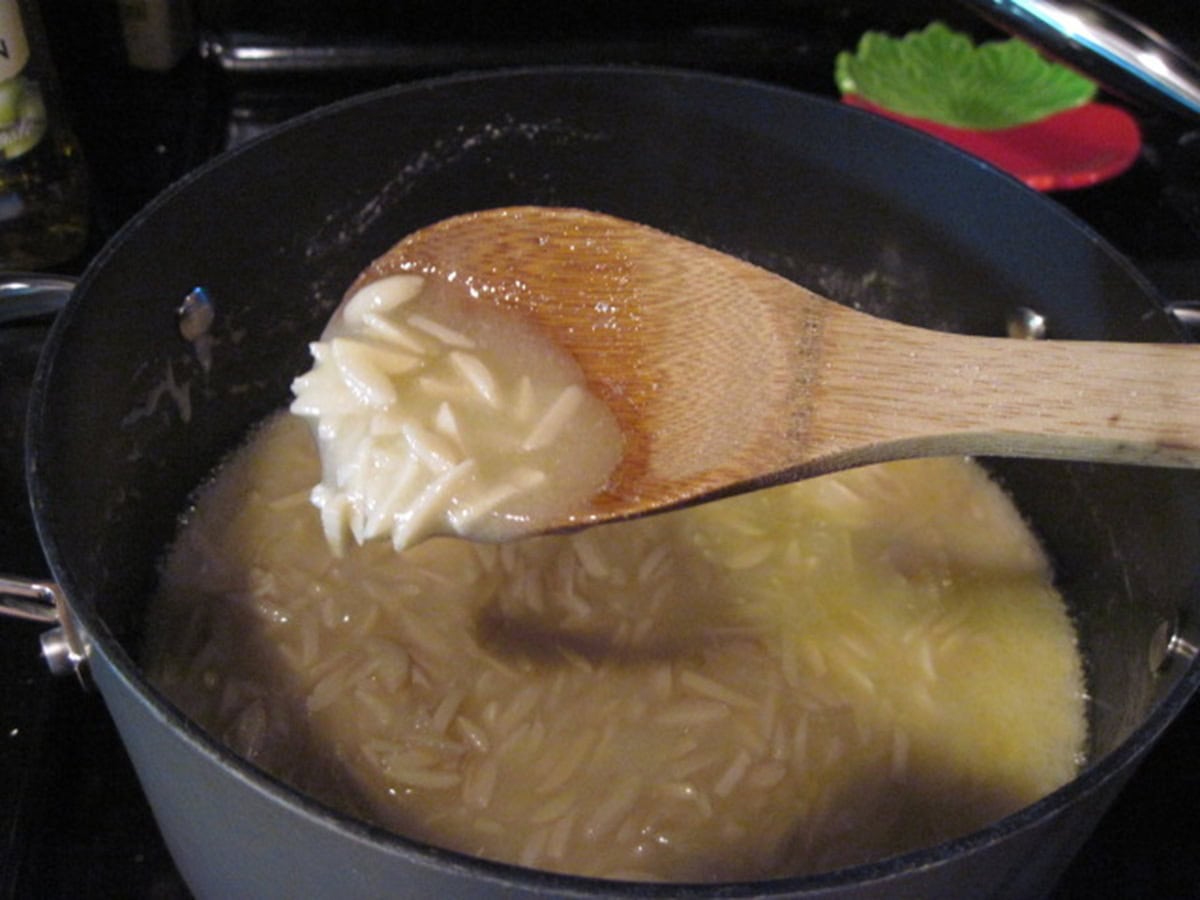
- Once the almonds have been added to the saucepan, it is imperative that you increase the heat slightly under the pan and continue stirring until the butter has fully incorporated into the sugar and is no longer visible. This may take between 5-7 minutes. As the toffee cooks, the color will turn a light golden brown. This is what you're looking for!
- When adding the extract to the toffee, remove the pan from the heat and stir (1-2 minutes) to cool slightly. Add the extract and carefully stir the hot toffee mixture, taking care, as the mixture will bubble and spit a little when the extract hits the bottom of the hot saucepan.
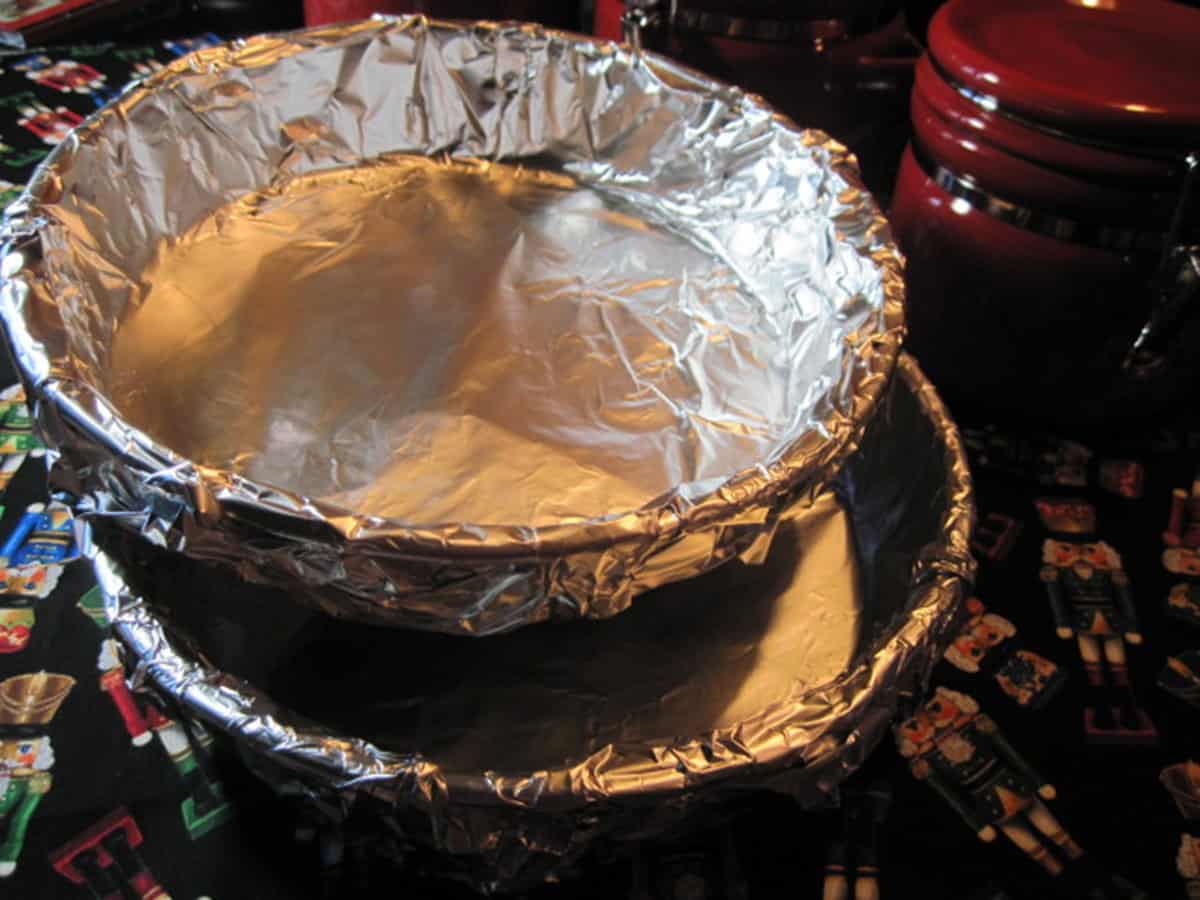
- Use aluminum foil to line the baking dish or trays before adding the hot toffee to set and cool. The foil will make cleanup easy, and will also aid tremendously in getting the toffee out of the dish.
- Once the toffee has been added to the foil-lined dishes, move quickly to smooth it into an even layer with a silicone spatula.
- Cool in the refrigerator (or in a protected area outside) until completely firm.
Gifting and wrapping suggestions:
Seasonal cookie and candy boxes can make for a very cute presentation as do candy and treat bags.
In the past I've used small-sized vintage-inspired cookie tins and split the amount of almond butter crunch this recipe makes into several separate gifts.
Pretty glass candy jars or seasonally appropriate ceramic cookie jars is another awesome and thoughtful way to present this sweet gift of homemade candy!
Additional sweet recipes featuring nuts:
If you're a fan of Payday candy bars, then you'll go NUTS for this fast and easy Copycat Payday Candy Bars recipe. After all, who doesn't love payday!!?
You can either thank me for this recipe of Coconut Pecan Praline Candy or curse me out! They're so good and so addicting you may eat them all by yourself! Sorry. Not sorry!
This Homemade Almond Joy Candy is better than the original because of more nuts and more chocolate! JOY never tasted so good!!
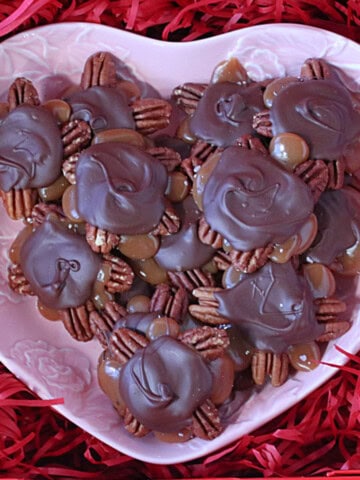
Homemade Pecan Turtle Candy may take a little time to prepare, but trust me when I tell you that this recipe is worth every minute.
When you make today's recipe (and I hope that you will), I'd appreciate it if you'd take the time to come back and give it a star rating along with a comment on why you rated as you did.
Search engines such as Google appreciate comments and ratings and, in turn, will show my recipes to more people. Please look for the pink star rating box within the printable recipe card. Thank you!!
Printable Recipe Card

ALMOND BUTTER CRUNCH CANDY
Equipment
- 9 inch round cake pan optional, for cooling and setting the toffee
- 8-inch square baking dish optional, for cooling and setting the toffee
- 9 inch x 11 inch baking dish optional, for cooling and setting the toffee
Ingredients
- 1 ½ cups blanched, slivered almonds
- 1 cup butter I recommend, salted
- 1 ½ cups white granulated sugar
- 2 tablespoons light corn syrup
- 1 teaspoon pure almond extract
- ⅛ teaspoon coarse salt
Instructions
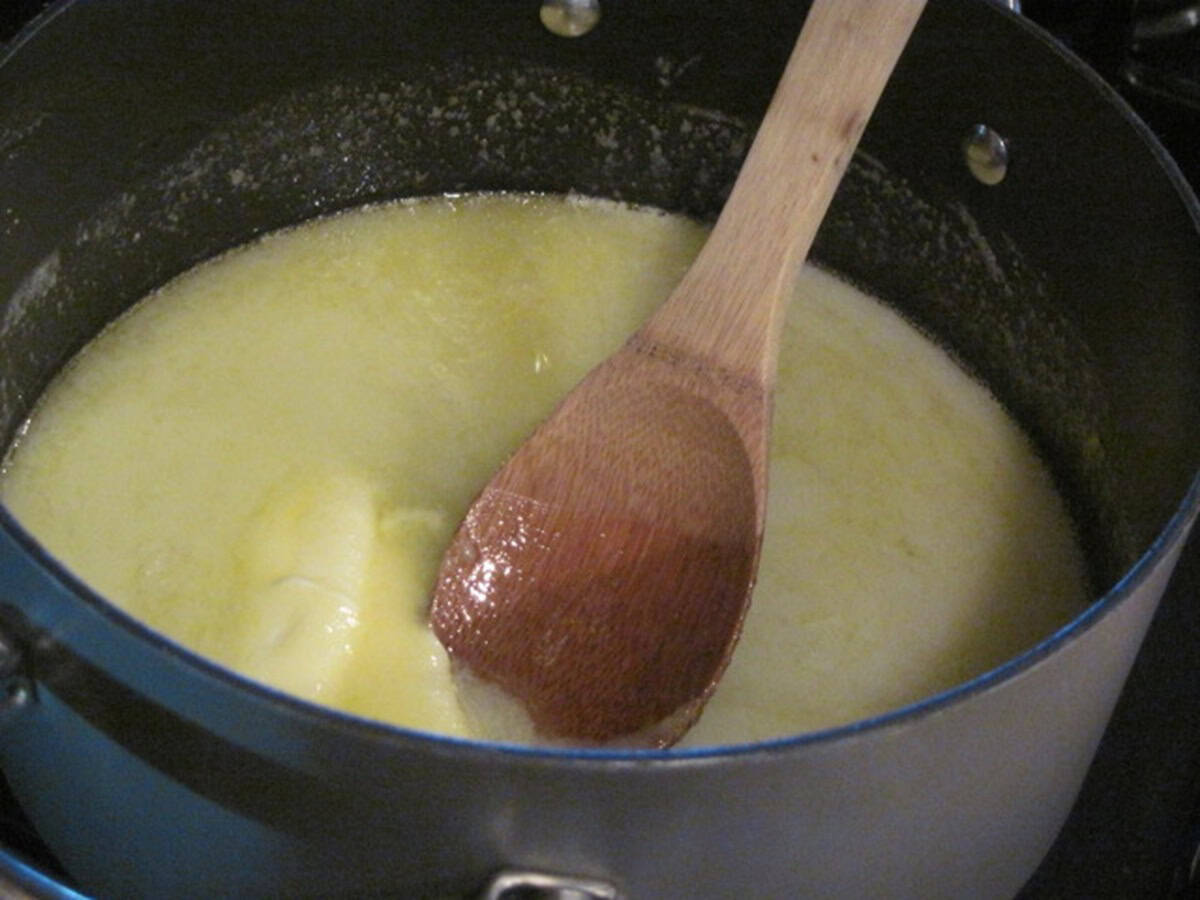
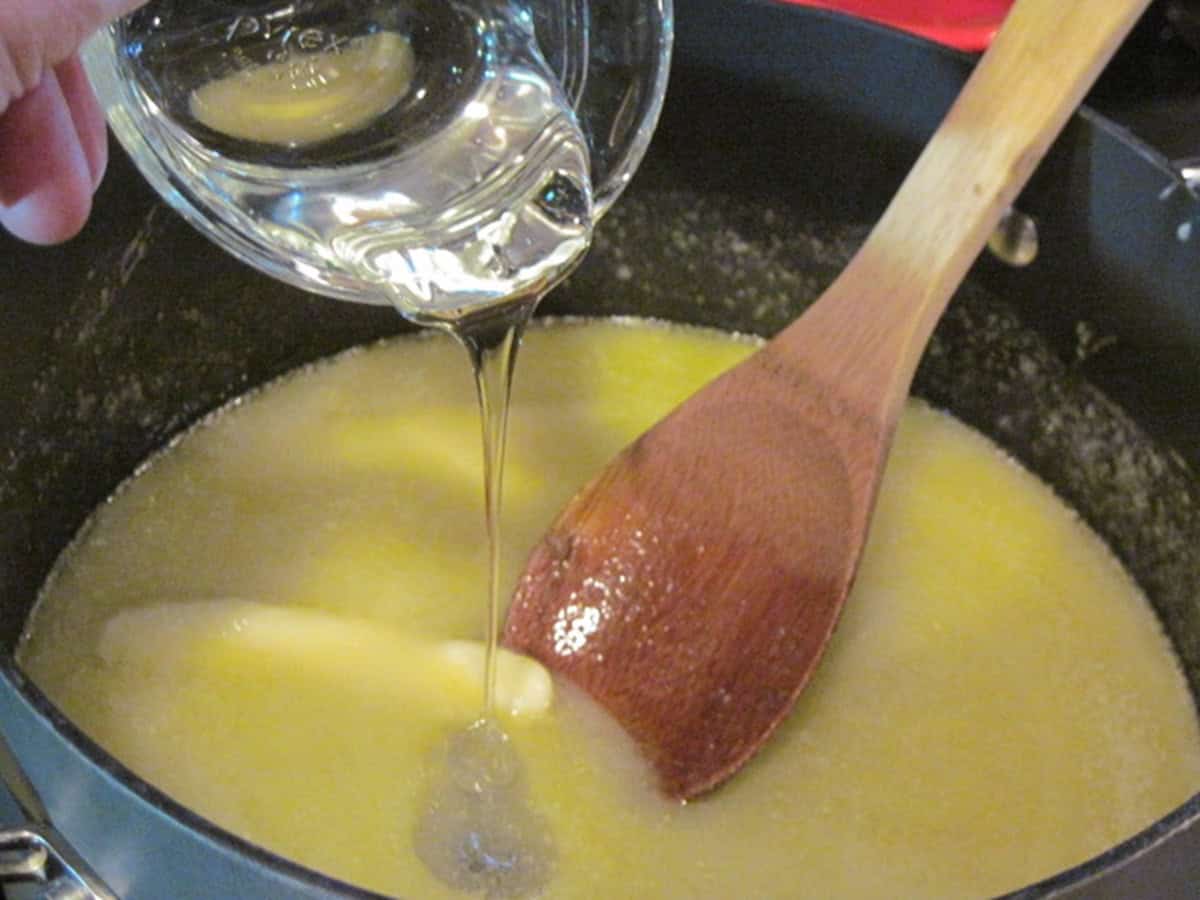
- Melt the butter in a 3-quart heavy-bottomed saucepan over medium-low heat.
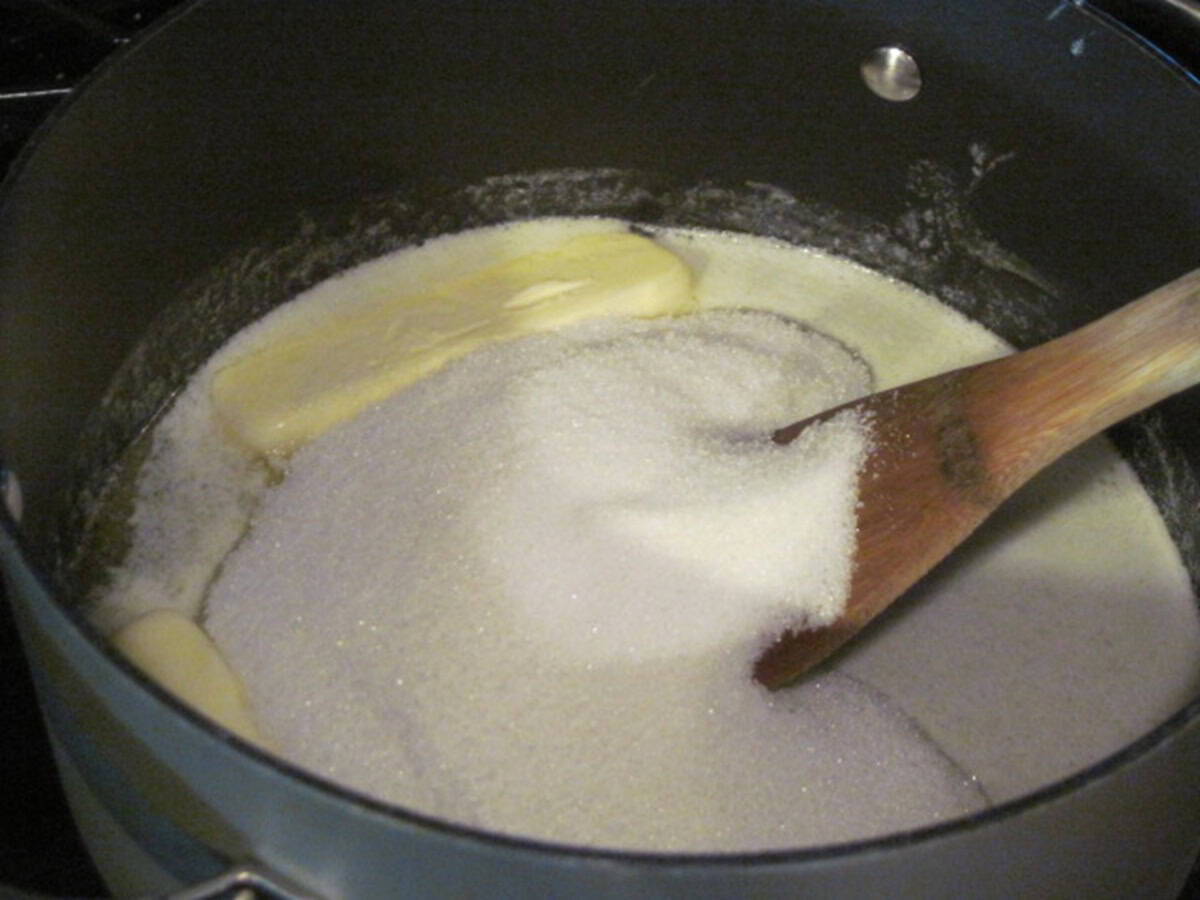
- Add the sugar when the butter is fully melted. Increase the heat to medium-high.Stir frequently to completely dissolve the sugar into the melted butter. *Note - this will take at least 5-7 minutes.
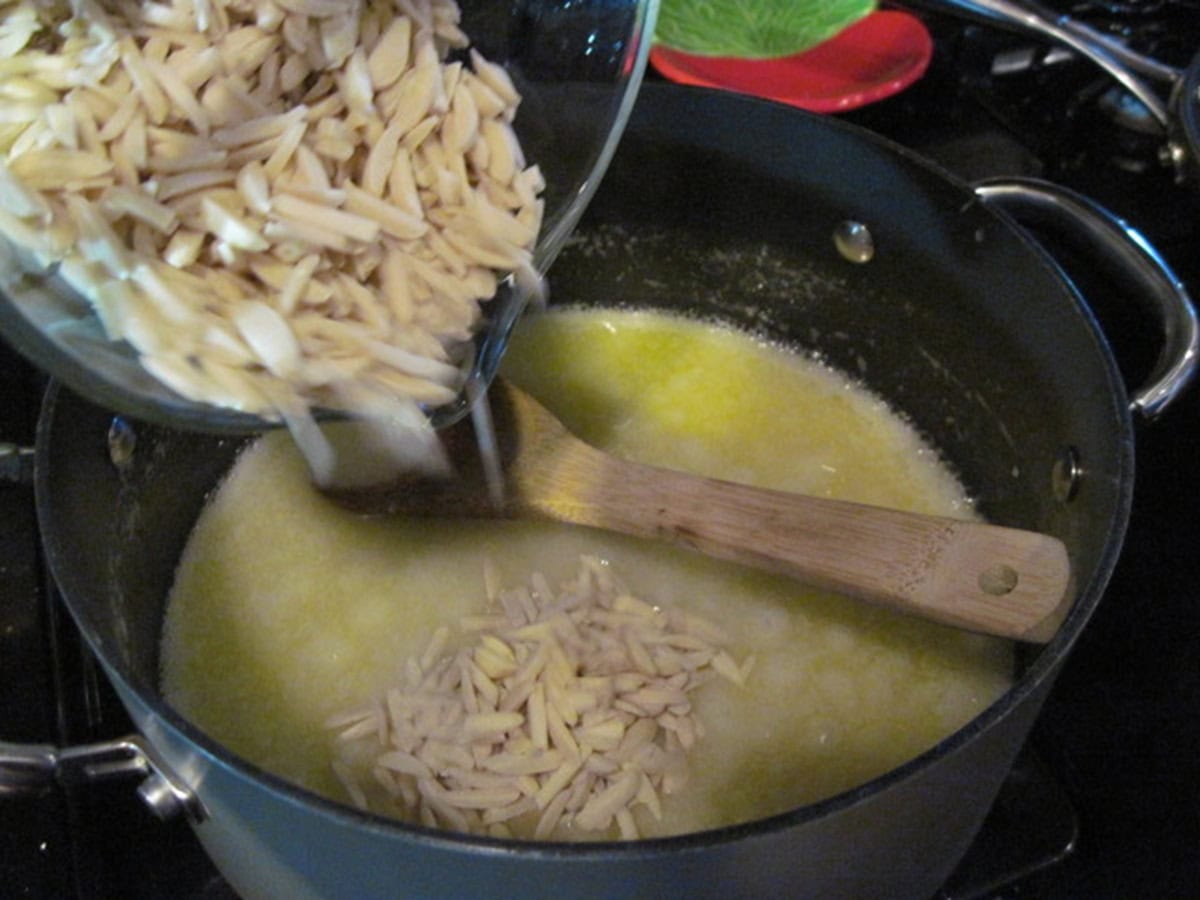
- After 5-7 minutes, add the light corn syrup and almonds into the pan. Increase the heat slightly under the pan and continue to stir for an additional 5-7 minutes until the toffee mixture has fully combined, and you no longer see any pooling, melted butter, and the color is golden brown.
- Meanwhile, prepare 2 - 8-inch round cake pans (or a rimmed cookie sheet) by completely covering them with aluminum foil. *Note - There is no need to butter the foil.
- When the toffee has thicken and golden in color , remove the pan from the heat and slowly add the almond extract and salt. Stir gently to combine.
- Carefully turn the candy mixture out into the prepared foil-lined pans. Use a silicone spatula to quickly, but carefully, spread the mixture evenly into the foil-lined pans.
- Cool completely until the almond butter crunch toffee is completely solid.
- Lift the foil and toffee from the pans and break the candy into pieces to serve, or gift. *Note - if making this candy in round cake pans, you can certainly wrap each round disc of almond butter crunch for gifting in place of breaking the toffee into pieces.
Video
Notes
I sincerely hope you will enjoy making, eating, and gifting this old-fashioned almond toffee candy recipe as much as I've enjoyed bringing it to you!
Should you have any questions or comments regarding anything you've seen on my site, please don't hesitate to reach out to contact me. It is always my distinct pleasure to get back with you just as soon as I possibly can!
Thank you so much for visiting me today in my Kudos Kitchen. I hope you found something you'll love and that you will come back and visit me often. Please know that there is always room for you around my kitchen table!
Until we eat again, I hope you have a delicious day!


All of the recipes you'll find here on my website are in loving memory of my son, Greg, who left this earth far too soon and will be forever in our hearts.

Paula says
Wow, this looks delicious! Love that your nutcrackers each got a treat! I think my husband would love this if it were made with his favourite cashews!
Andrew's Mom says
Looks good Renee! I love nutcrackers.