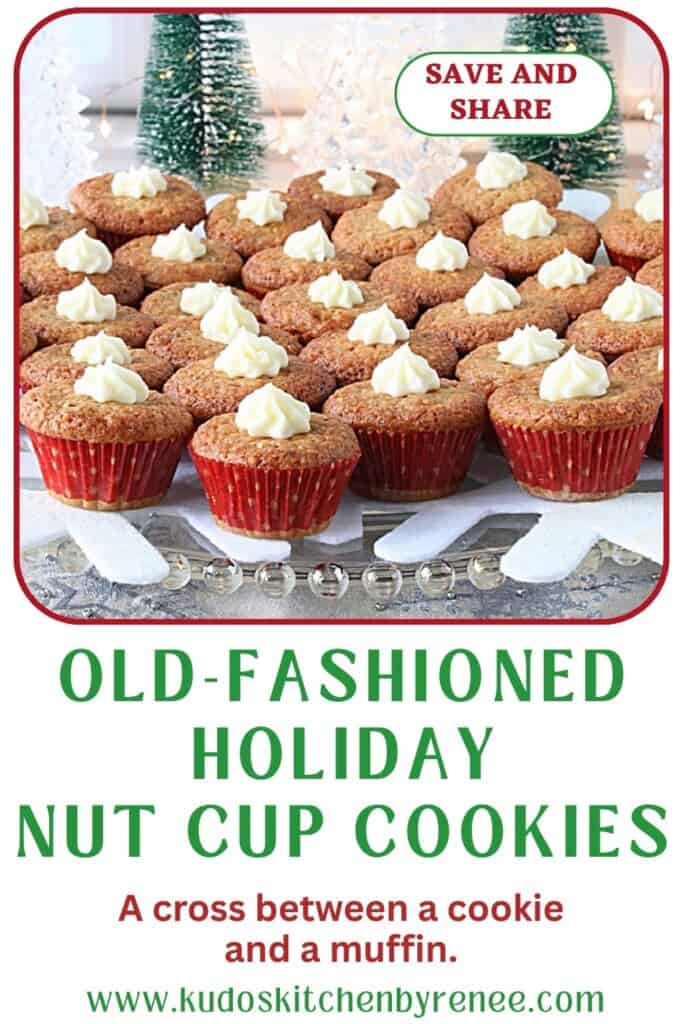
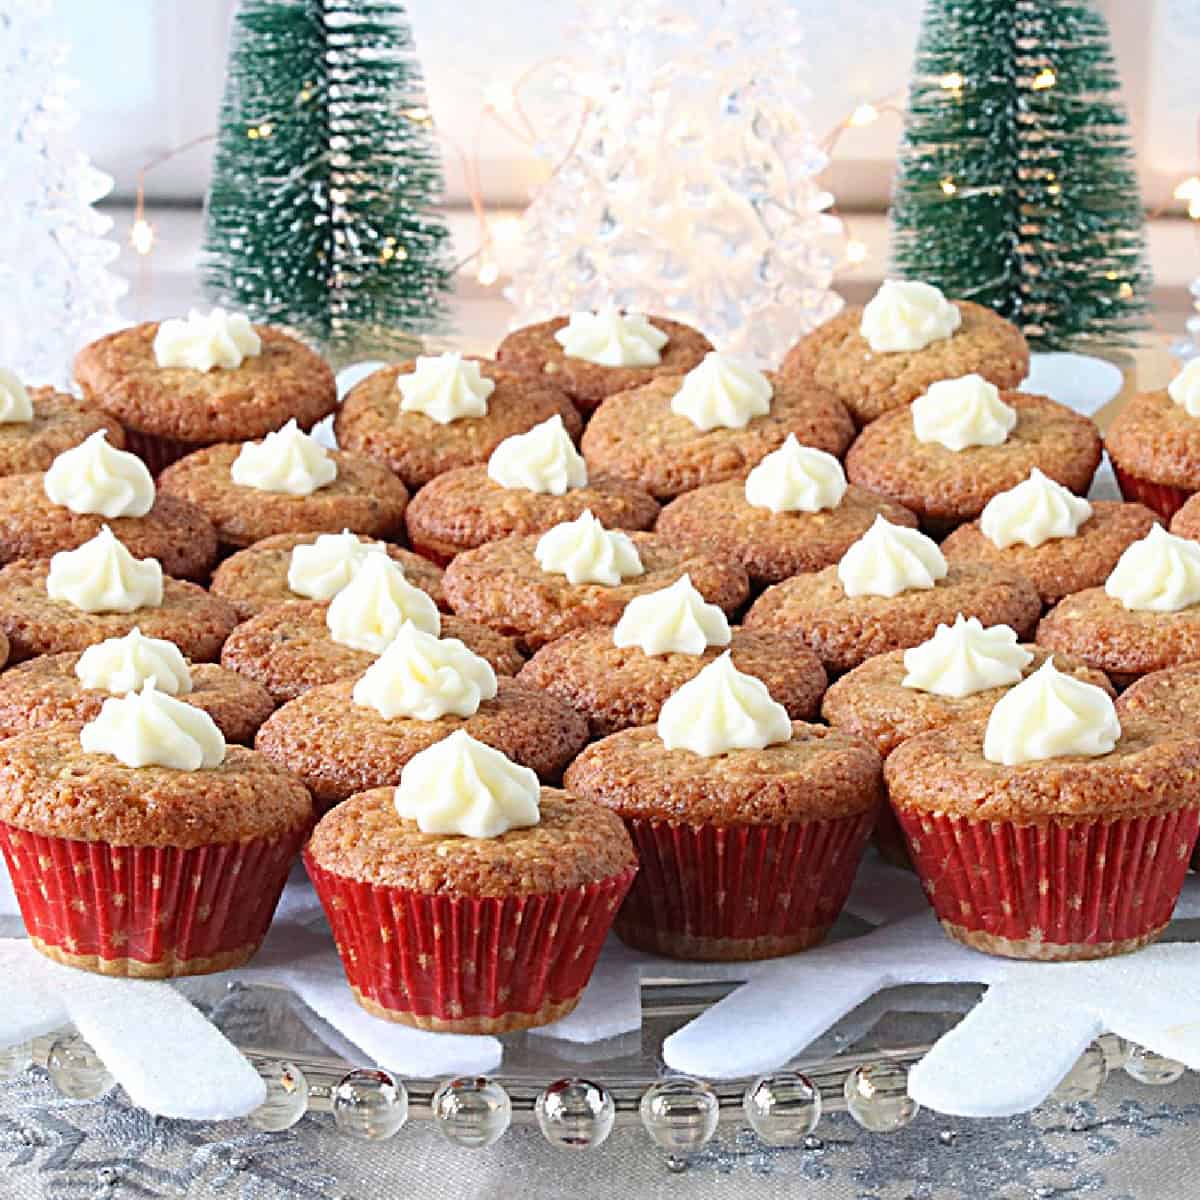
Vintage Holiday Nut Cup Cookies are light, airy, and filled with delicious nutty flavor. They're like no other cookie you'll ever taste. They're simply the best!
These mini-muffin tin holiday cookies cookies are so flavorful and delicious, with just the right balance of nuts to sweet, that I didn't want to mess with perfection...but I did (just a teeny tiny bit). After all, that's just who I am! LOL
Since you're here, and obviously a holiday cookie baker, let me highlight a few of my other Christmas cookies recipes for you that I trust you'll also enjoy: Christmas Cream Cheese Sprinkle Cookies, Santa's Favorite Sugar Cookies, Orange and Cranberry Ricotta Cookies, and Snowball Cookies with Pistachios and Dried Cranberries...just to name a few.
This recipe post and its contents may include affiliate links for your consideration. I may earn a commission from qualifying purchases, but your prices are never increased as a result. Thank you.
Table of Contents Found Here
- The ingredient list:
- Necessary Kitchen Tools and Equipment:
- The story behind this recipe:
- What a difference fourteen years makes!
- Can these vintage holiday nut cup cookies be made in advance?
- Can these nut cups be frozen?
- What nuts are best for this recipe?
- The step-by-step photo instructions:
- Why do beaten egg whites lighten the batter?
- What is the best method for separating egg yolks from egg whites?
- Salted butter or unsalted butter? That is the question!
- Do these cookies require frosting?
- Salted Nuts or unsalted nuts?
- Tips for finely chopping nuts:
- Additional recipes featuring nuts:
- Printable Recipe Card
- Please comment if you've made this recipe.
*Disclaimer - I originally published this recipe in 2011. I've recently gone back in to give this recipe post some updated love, including plenty of additional information, new photographs, a corresponding video, and a printable recipe card for your convenience. All that said, the actual recipe itself has remained unchanged, and it is still one I am proud to share with you!
The ingredient list:
*Please note that the exact measurements along with a "shop the recipe" feature from Instacart and Walmart is available inside the printable recipe card.

Necessary Kitchen Tools and Equipment:
In no particular order (also listed in the recipe card) -
- stand mixer or hand mixer
- whisk
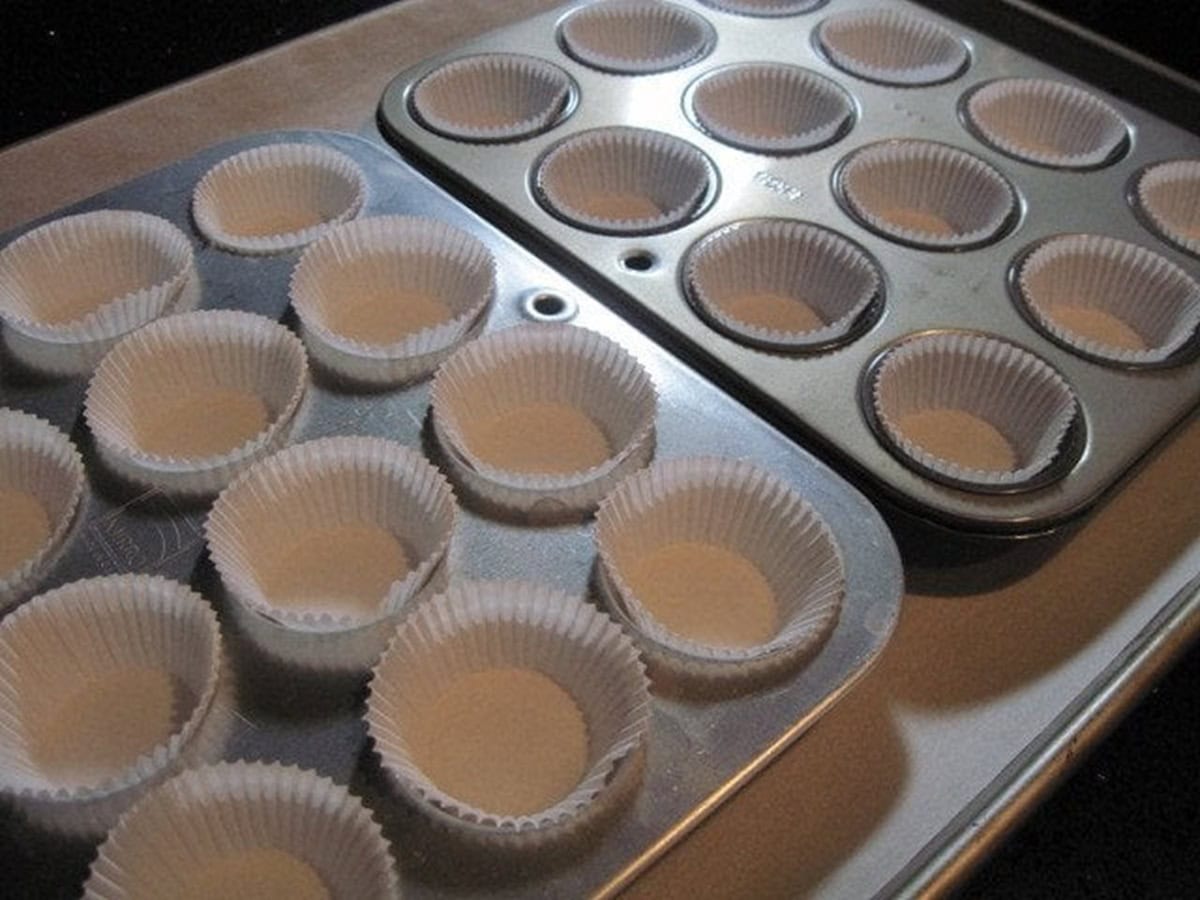
- mini muffin tins (2)
- mini-muffin paper cup liners
- baking spray
- measuring cups and spoons
- kitchen scale (optional)
- nut chopper, small high-speed blender, small food processor, chef's knife, rolling pin and large zip top bag
- mixing bowls
- small star tip piping tip
- plastic sandwich bag
- cooling rack
- cake tester
- egg separator (optional)
- kitchen timer (optional)
- silicone spatulas
- small cookie scoop
- labels for storage and freezing
The story behind this recipe:
I remember my mom making these cookies back when I was a kid. I don't remember exactly what age I was, but I was probably between 8 and 10 years old the first time I had them, so sometime in the 60s.
There was something about the light, tender consistency and their delicious nut-forward flavor (I've always been a nut for nuts) that sent me into a state of bliss, no other cookie (plain or otherwise) could ever elicit.
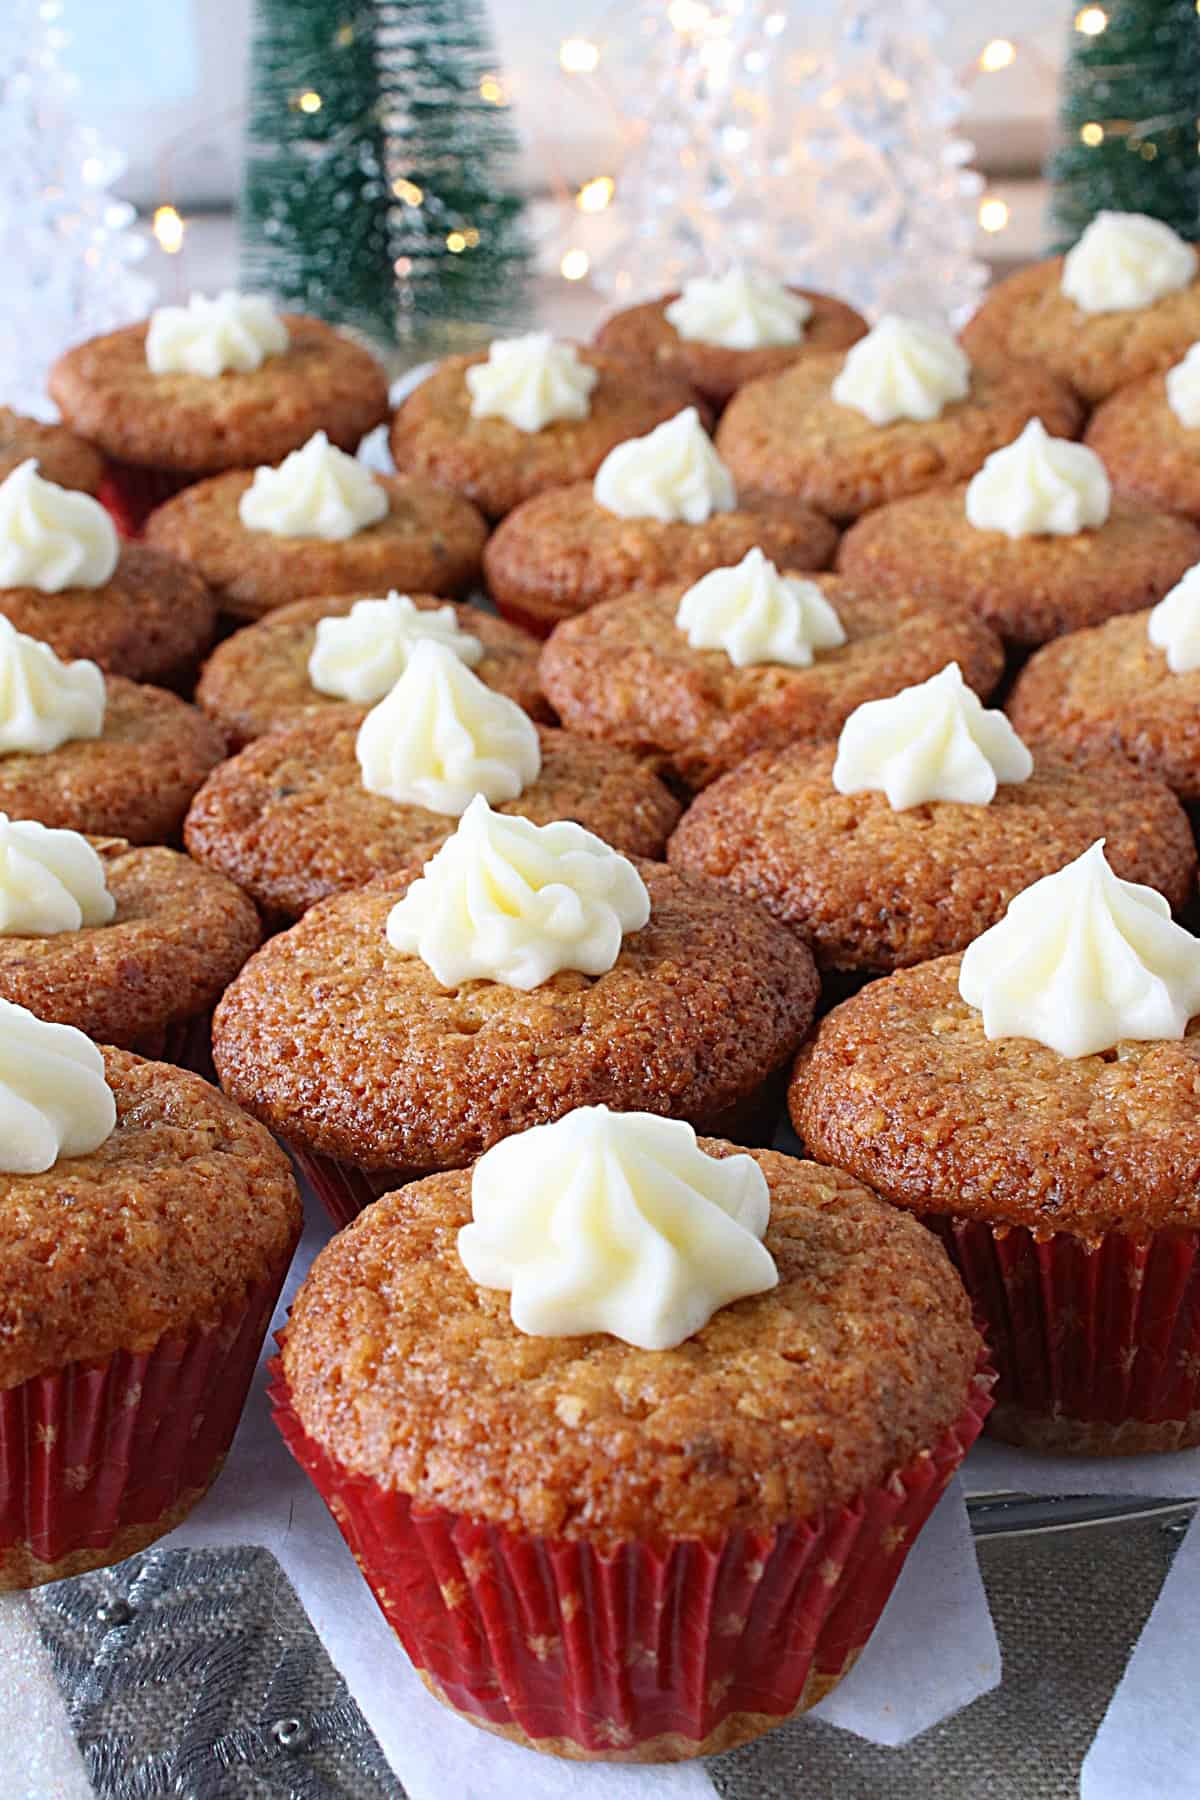
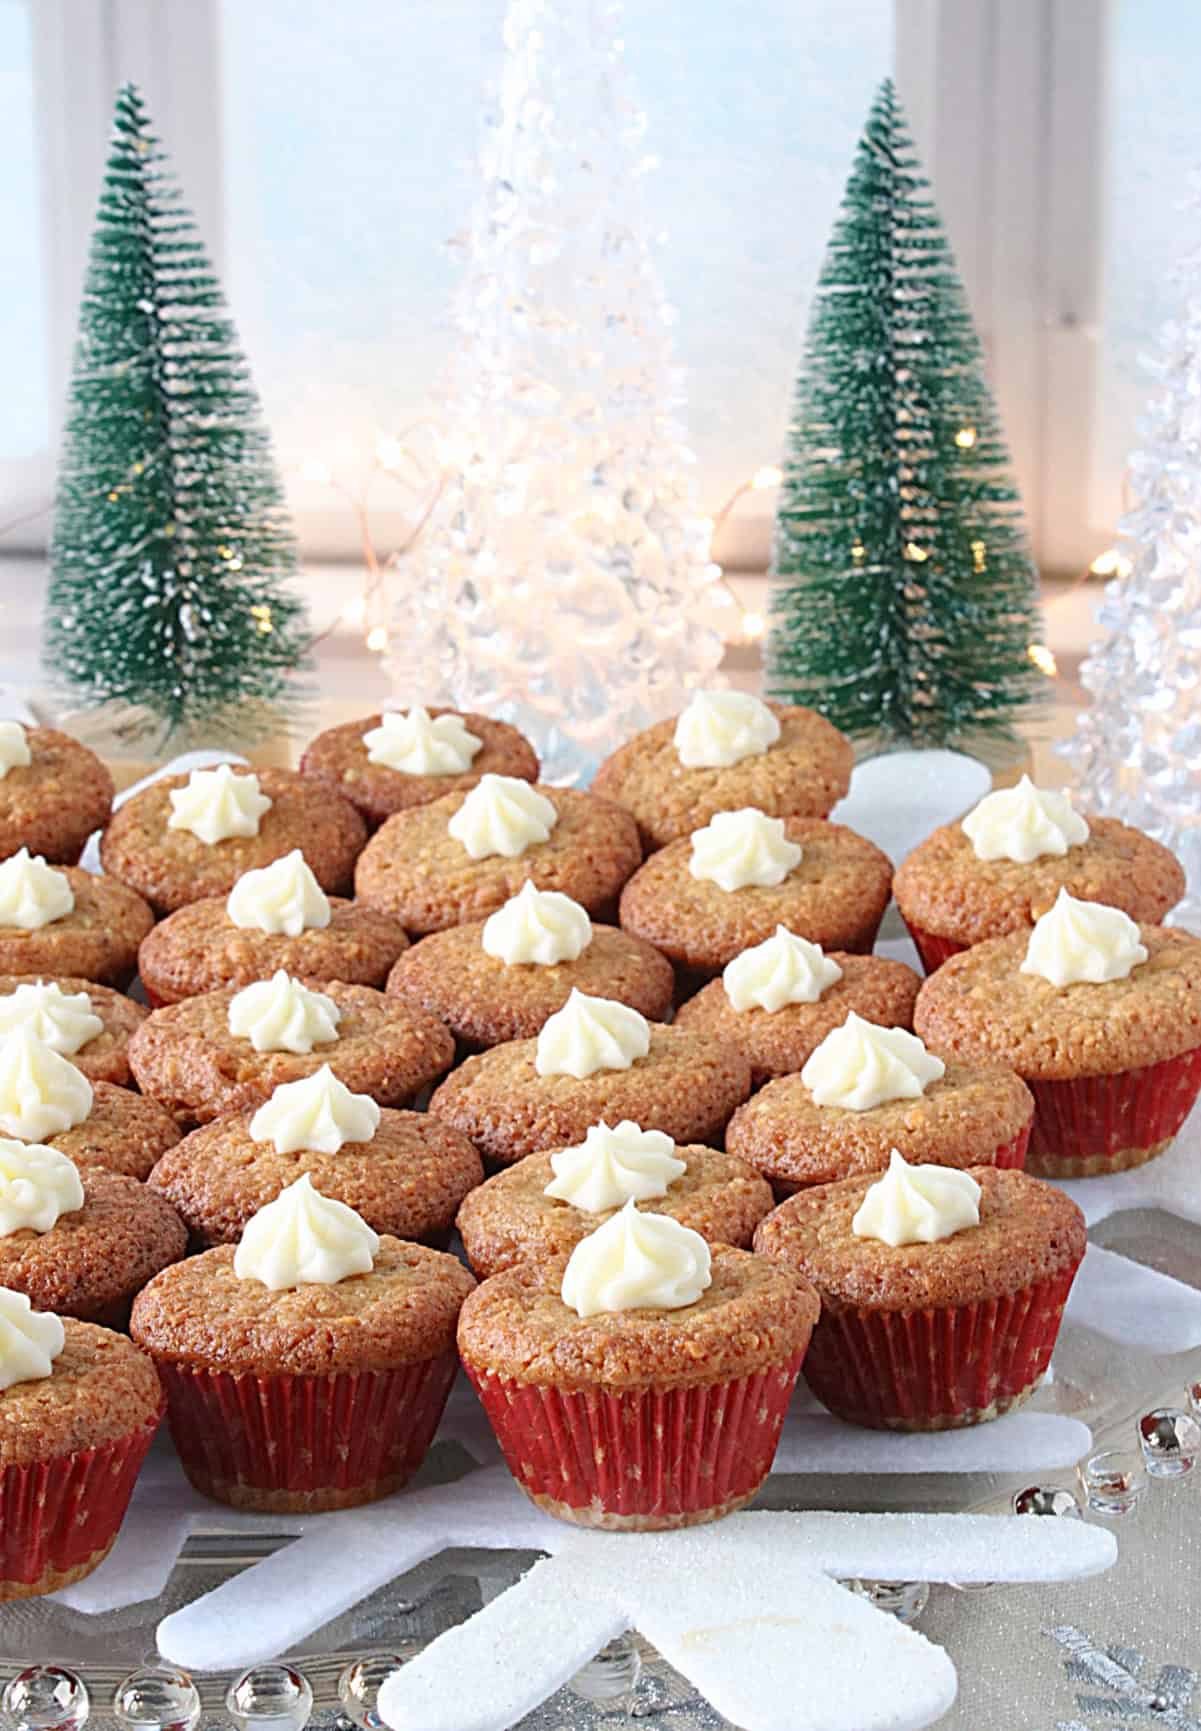
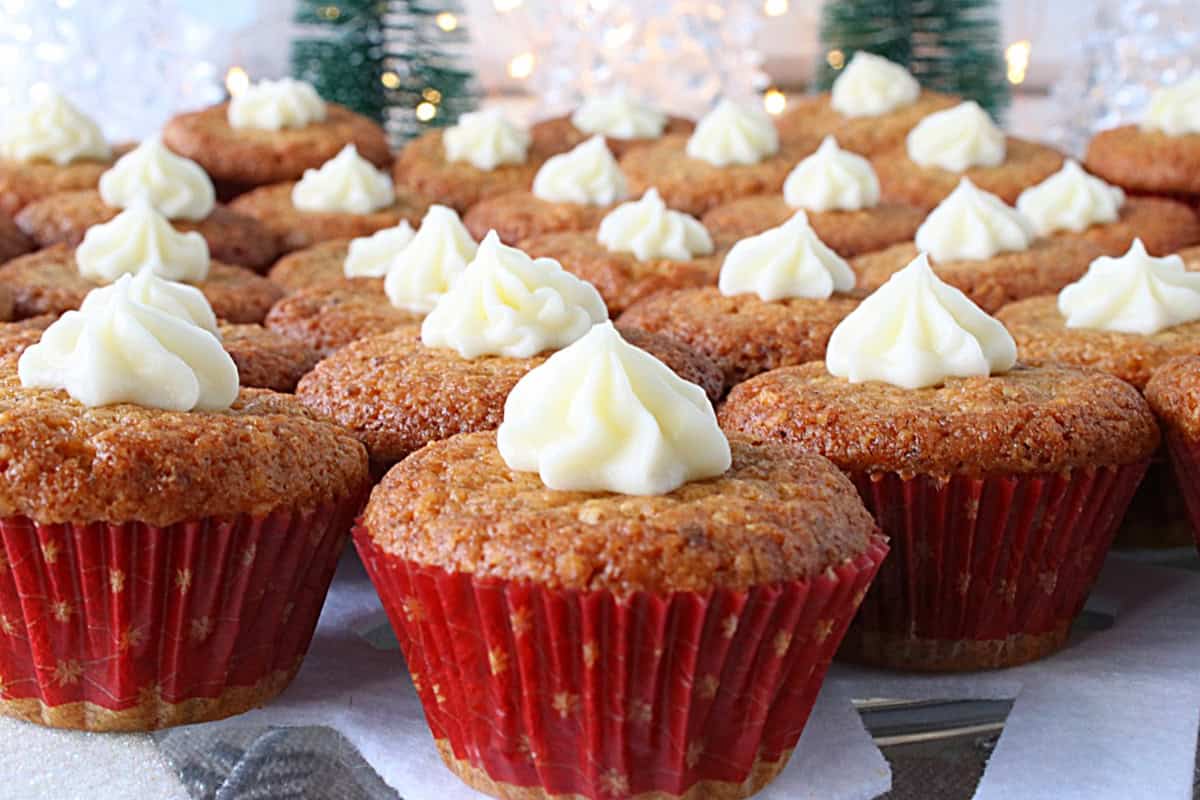
Maybe it was their small, cute presentation with each cookie all decked out in festive holiday baking cups, or perhaps it was that tiny dollop of pure white buttercream frosting on top that reminded me of snowflakes.
Whatever the reason, I'd never forgotten these delicious holiday nut cup cookies, even though mom had stopped making them long ago.
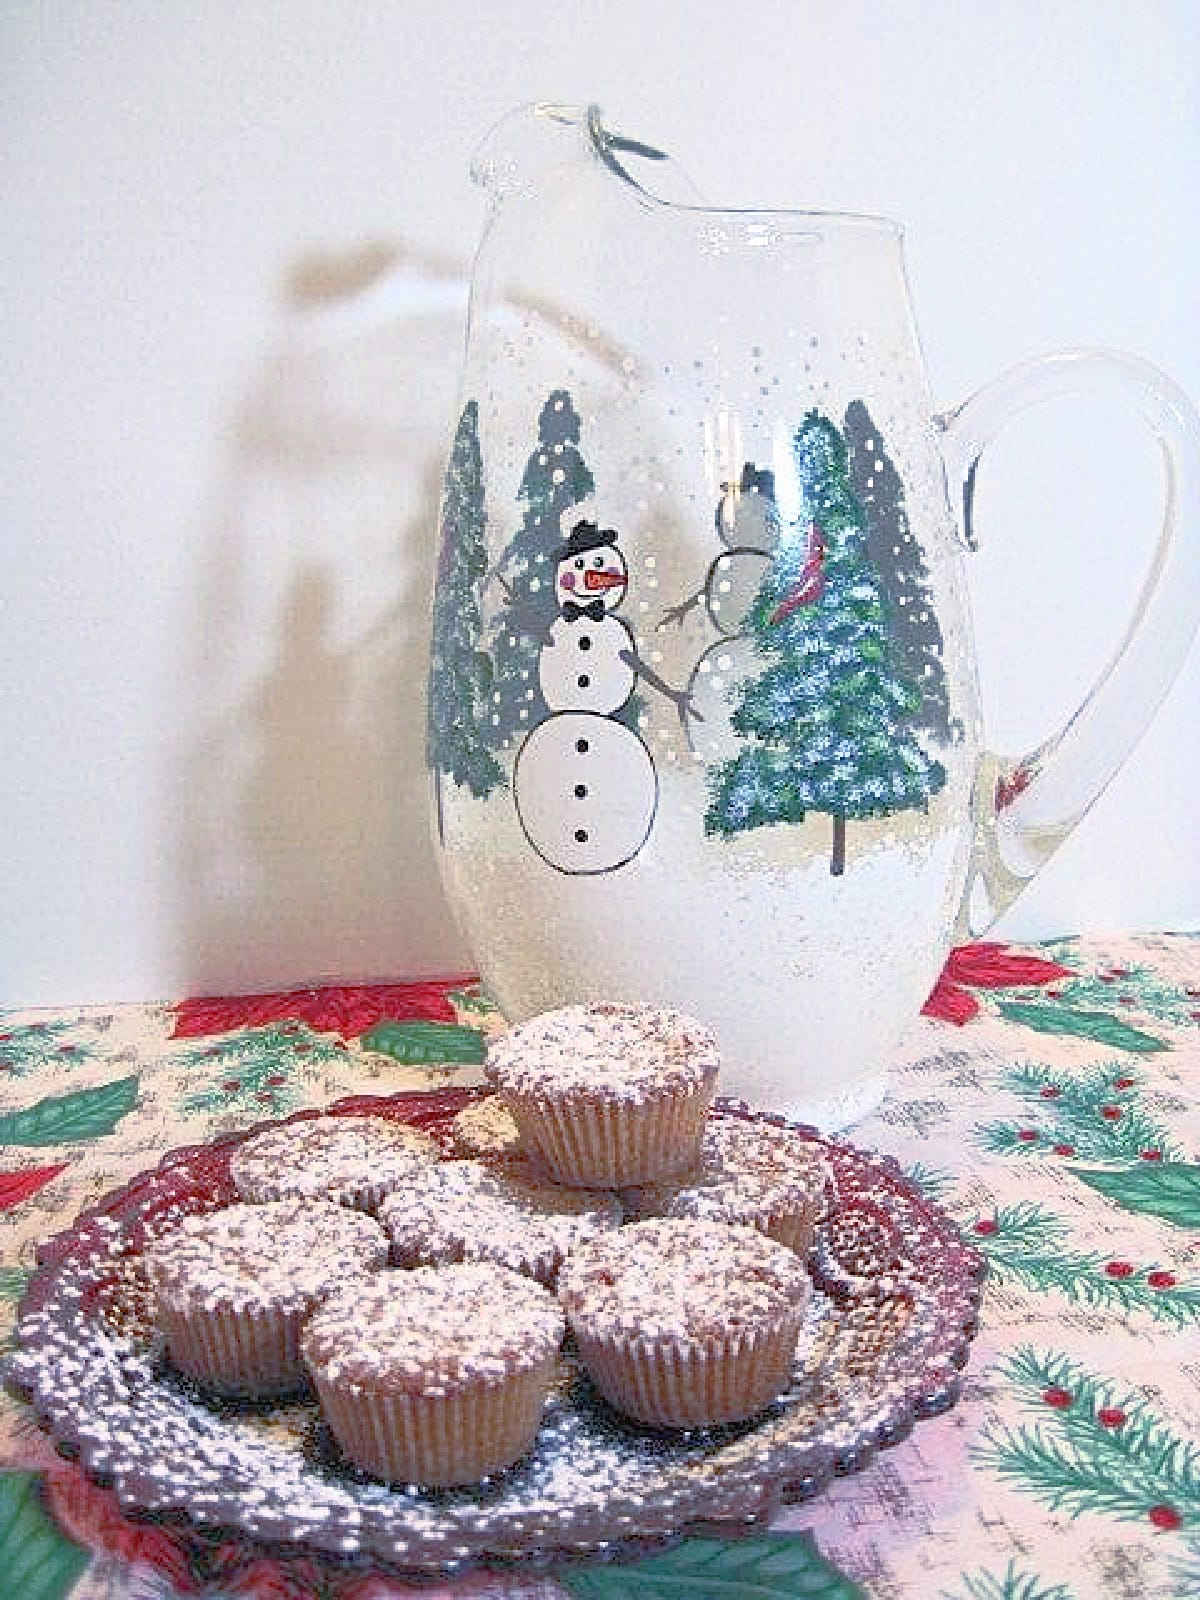
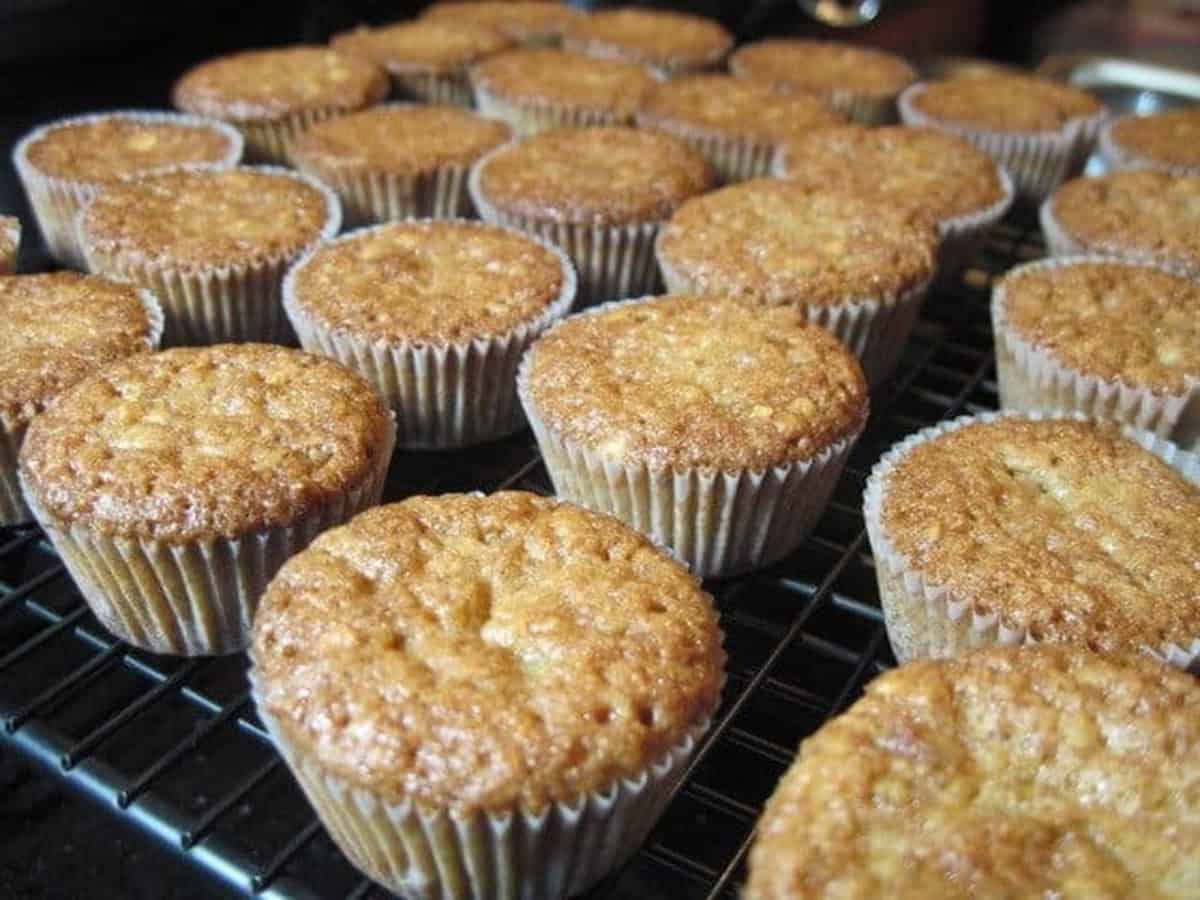
The last time I tried my hand at making them was in 2011, but I took a shortcut of simply dusting them with confectioners' sugar on top instead of embellishing them with that charming dollop of buttercream frosting "snowflakes." See my original 2011 (cringe-worthy) photo below.
What a difference fourteen years makes!
I've learned so much about food blogging, photography, videography, recipe writing, and yes, even the dreaded technical side of blogging *insert scary music here* since I first posted this recipe back in 2011.
In a perfect world, you might have been reading my blog for that long, but I'm a realist and understand that's most likely not the case.
However, you are here now, and that's what matters. I invite you to come back as often as you like, because I sincerely enjoy having you visit.
As always, I promise to keep learning, growing, improving, and striving to bring you the very best recipes I can, so you'll continue to have success in the kitchen.
I want you to feel proud to serve the people you love with the recipes I am grateful to bring to you.
Can these vintage holiday nut cup cookies be made in advance?
They sure can.
Feel free to make and bake the cookie cups a few days in advance of when you're planning to serve. Store them in an airtight container.
The almond buttercream frosting may also be made in advance and kept refrigerated in an airtight container until ready to use. You can even add the frosting to the piping bag (fitted with the tip) beforehand, if that is helpful. *Note - allow the frosting to sit at room temperature for at least 30 minutes before piping so it becomes more pliable.
Can these nut cups be frozen?
You bet!
Freeze them with or without frosting, it's your call. Add them in a single layer to an airtight freezer container or freezer bag.
Label and date the package, and freeze up to 4 months.
What nuts are best for this recipe?
I used a combination of pecans and walnuts, but feel free to use any single nut variety or a combination of your favorites. It's totally up to you.
Just make sure to measure the two cups of nuts after they've been chopped, because finely chopped nuts will measure differently than whole or halved nuts.
I like to use these dissolvable content labels for adding dates and container content information to the outside of refrigerator and freezer packages.
The step-by-step photo instructions:
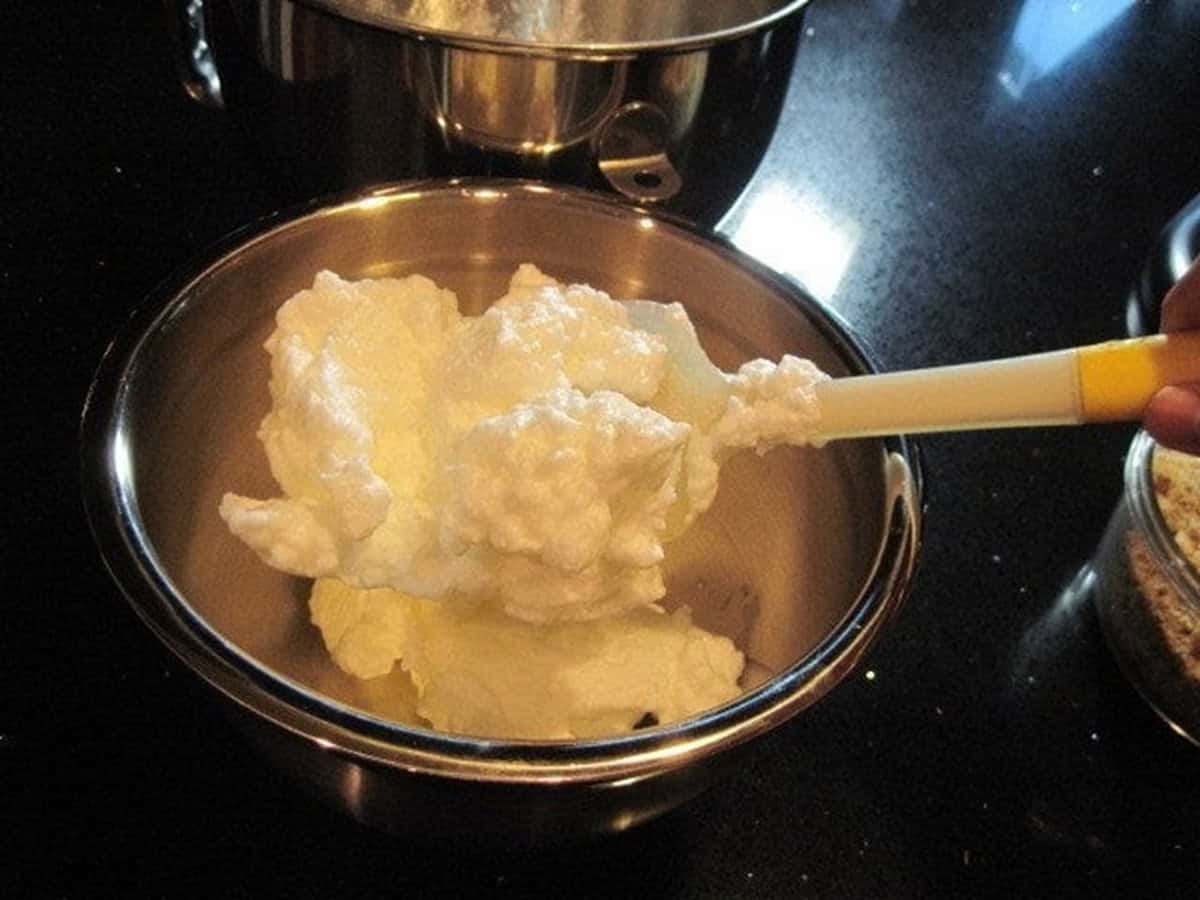
Why do beaten egg whites lighten the batter?
Once the egg whites are fully beaten and have formed light, fluffy, stiff peaks, they're gently folded into the heavier nut cookie batter in one-third increments at a time.
As the egg whites are gently incorporated into the batter, the batter lightens due to the whipped air in the egg whites, which helps the cookies rise and also helps lighten their texture when baked.
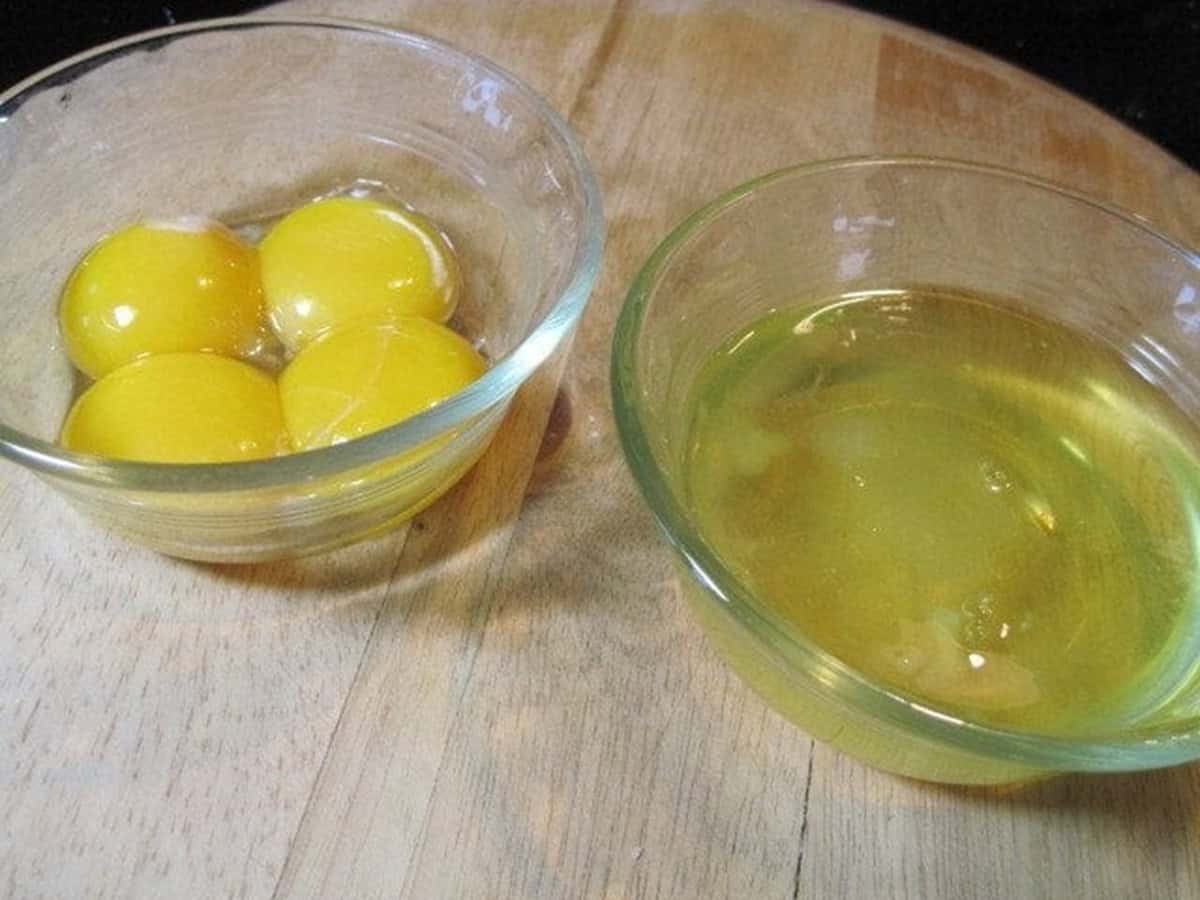
What is the best method for separating egg yolks from egg whites?
I prefer separating the whites from the yolks when the eggs are cold, right out of the refrigerator.
When the eggs are cold, the different parts of the egg remain separate units (so to speak), whereas warm, room-temperature eggs are softer, malleable, and more apt to combine quickly.
I tend to use the shifting method from shell to shell, but there are other (probably more dependable) ways to handle this task with more accurate results.
Salted butter or unsalted butter? That is the question!
I go against the norm when it comes to the butter I use for baking. I always use salted butter, but if you prefer, please feel free to use unsalted butter.
I've never had any issues with baked goods being too salty (using salted butter), and IMO the phrase "I like being able to control the salt in my baked goods" took off like a rocket because it sounded like it made sense. It doesn't, at least to me.
Unless, of course, you're using a brand of butter that has a very high sodium content (read the labels to find out specifically), you will not run the risk of these cookies being too salty using store-brand salted butter.
All that said, if you're on a low or no-sodium diet, you know what is best for your specific health and dietary needs.
Do these cookies require frosting?
They certainly do not.
When I first made these cookies back in 2011, I only dusted them lightly with a light touch of confectioners' sugar when they were cooled. It was just enough to add that touch of sweetness.
However, if you want to guild the holiday lily (so to speak), that little dollop of almond buttercream frosting on top really dresses these festive little cuties up, and (to me) reminds me of snowflakes, and maybe they do to you, too. Aw.
Salted Nuts or unsalted nuts?
I recommend using unsalted, or at the very least, lightly salted nuts for this recipe.
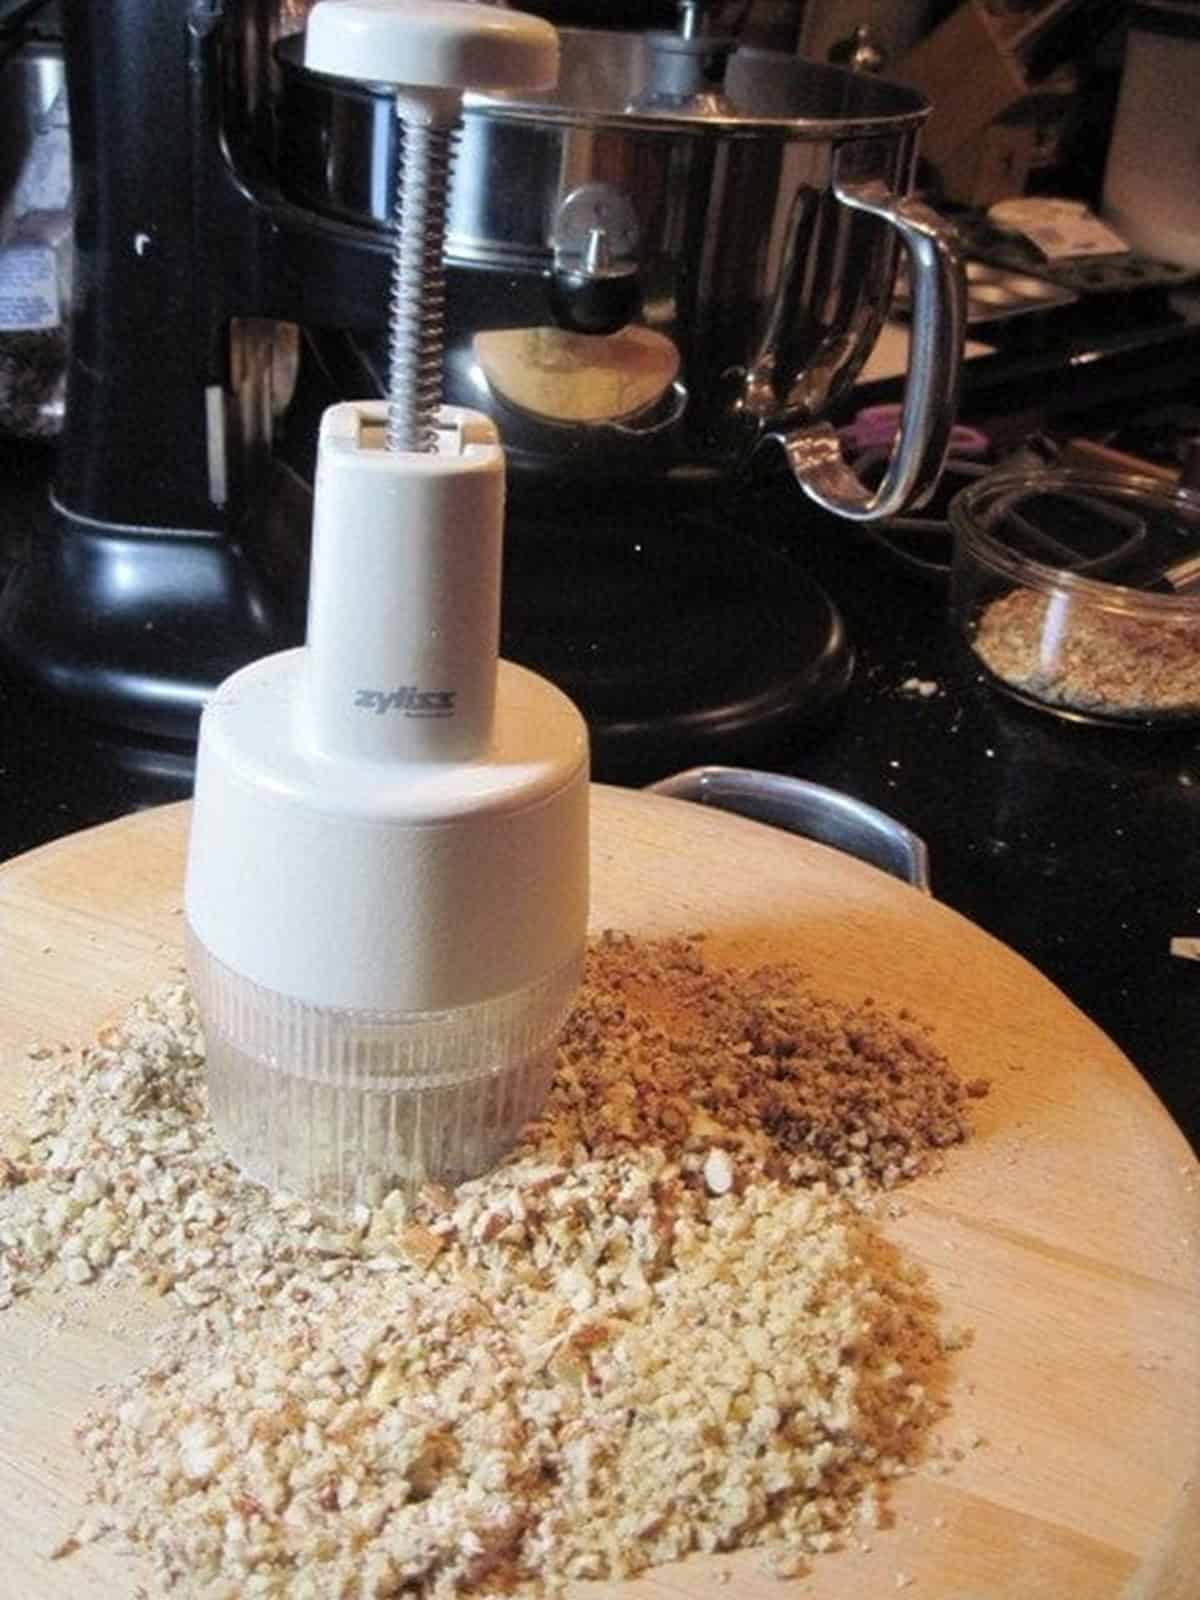
Tips for finely chopping nuts:
Feel free to use a chef's knife and cutting board, a rolling pin (and a large zip-top bag), a nut chopper, a small food processor, or, as I did, a small high-speed blender.
If using a food processor or a high-speed blender, pulse a small amount of nuts at a time, working in batches.
Processing large amounts of nuts at once can cause them to turn into nut butter due to the extra blending required to process the larger volume.
I like the texture of the chopped nuts in these mini holiday cookie-muffins to be a fine, but not quite sand-like consistency, without large pieces.
However, that is my personal preference. Feel free to chop the nuts you use into whatever consistency you prefer.
Save this for later.
Email forwarding service for saving information.
Additional recipes featuring nuts:
Homemade Pecan Turtle Candy may take a little time to prepare, but trust me when I say this recipe is worth every minute.
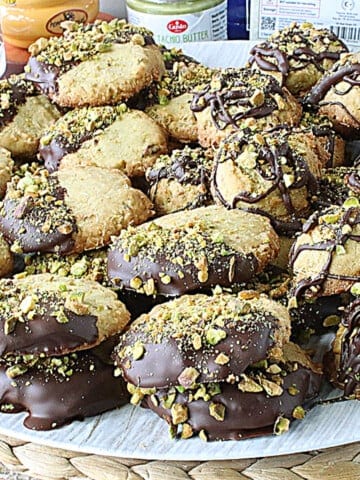
Dubai Chocolate Bar Cookies are my take on the viral Dubai chocolate candy bars that have recently flooded the internet. These cookies are a one-of-a-kind pistachio butter delight and taste like a million bucks!
Roast Turkey Holiday Cheeseball Appetizer is sure to bring out the oohs and aahs whenever he makes an appearance! This easy, creamy, nutty, smoky turkey-shaped cheeseball looks impressive and tastes even better!
Orange and Herb Spiced Nuts are hard to resist! They're lightly sweet, slightly salty, and a whole lot of YUM!! So be forewarned; once you start eating them, you might not be able to stop.
When you make today's recipe (and I hope that you will), I'd appreciate it if you'd take the time to come back and give it a star rating along with a comment on why you rated as you did.
Search engines such as Google appreciate comments and ratings and, in turn, will show my recipes to more people. Please look for the pink star rating box within the printable recipe card. Thank you!!
Printable Recipe Card

Vintage Holiday Nut Cup Cookies
Equipment
- Mini Cupcake Paper Liners holiday theme, optional
- mini star piping tip optional
- sandwich-size zip-top bag
- stand mixer optional
- hand mixer optional
- nut chopper optional
- ninja bullet blender optional
- kitchen scale optional
- kitchen timer optional
- Christmas Cookie Tins for storage, optional
- storage labels
Ingredients
TO MAKE THE COOKIE BATTER:
- 1 cup butter softened, to room temperature (I always use salted butter)
- 2 cups light brown sugar lightly packed
- 4 eggs separated into whites and yolks (both are needed for this recipe)
- 1 teaspoon pure vanilla extract
- ½ teaspoon pure almond extract
- 1 cup all-purpose flour
- ½ teaspoon baking powder
- ½ teaspoon kosher salt
- 2 cups finely chopped nuts all the same, or a variety lightly salted, or unsalted
TO MAKE THE BUTTERCREAM FROSTING:
- 4 tablespoons butter softened (I always use salted)
- 1 cup confectioners sugar
- 1 tablespoon milk or more, as needed to make a somewhat stiff piping consistency
- ¼ teaspoon pure almond extract
Instructions
- -Preheat oven to 375 degrees F (190 degrees C).
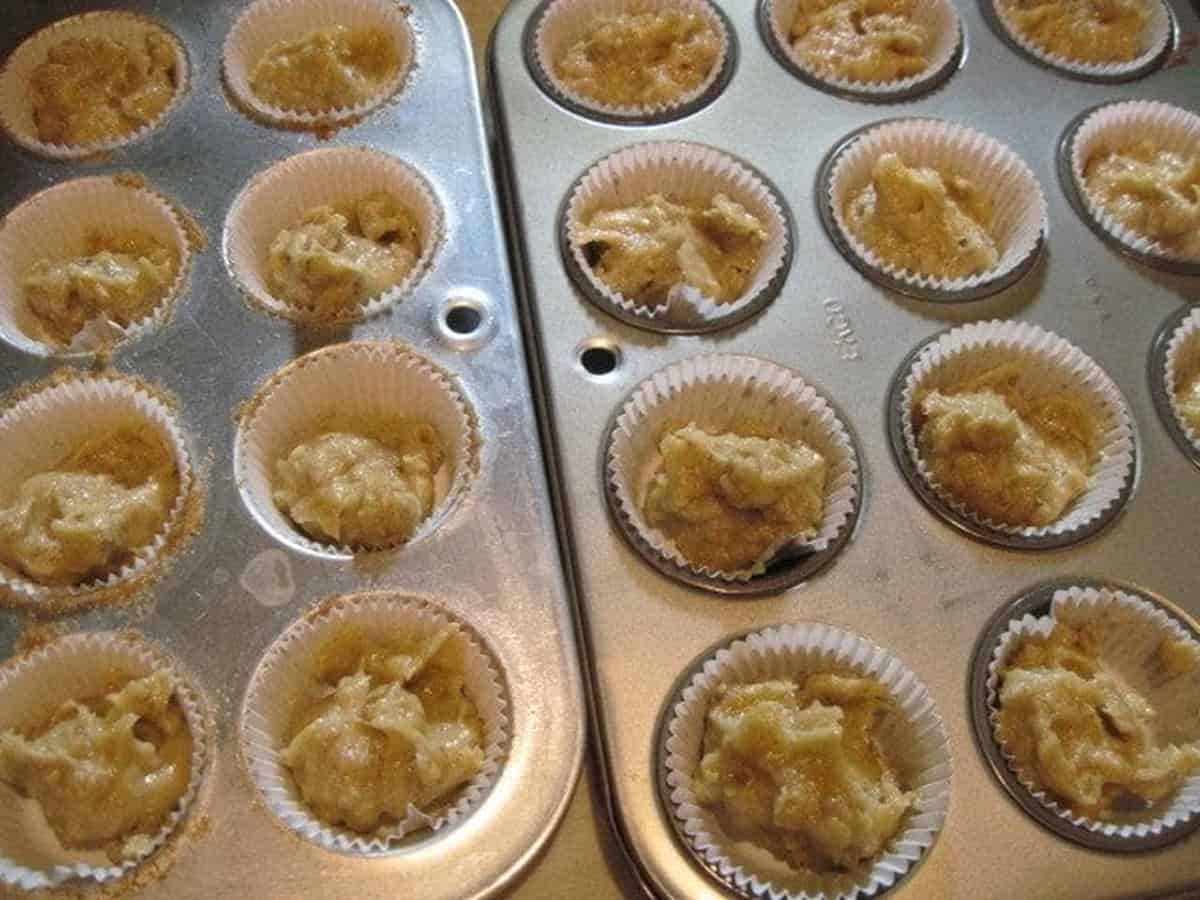
- -Prepare 2 mini-muffin pans by adding mini-muffin paper liners to each compartment. Spray each compartment lightly with baking spray. Set aside.
- -Chop assorted nuts (your favorite mixture or variety) to measure 2 cups of finely chopped nuts. Set aside.
To prepare the cookie batter:
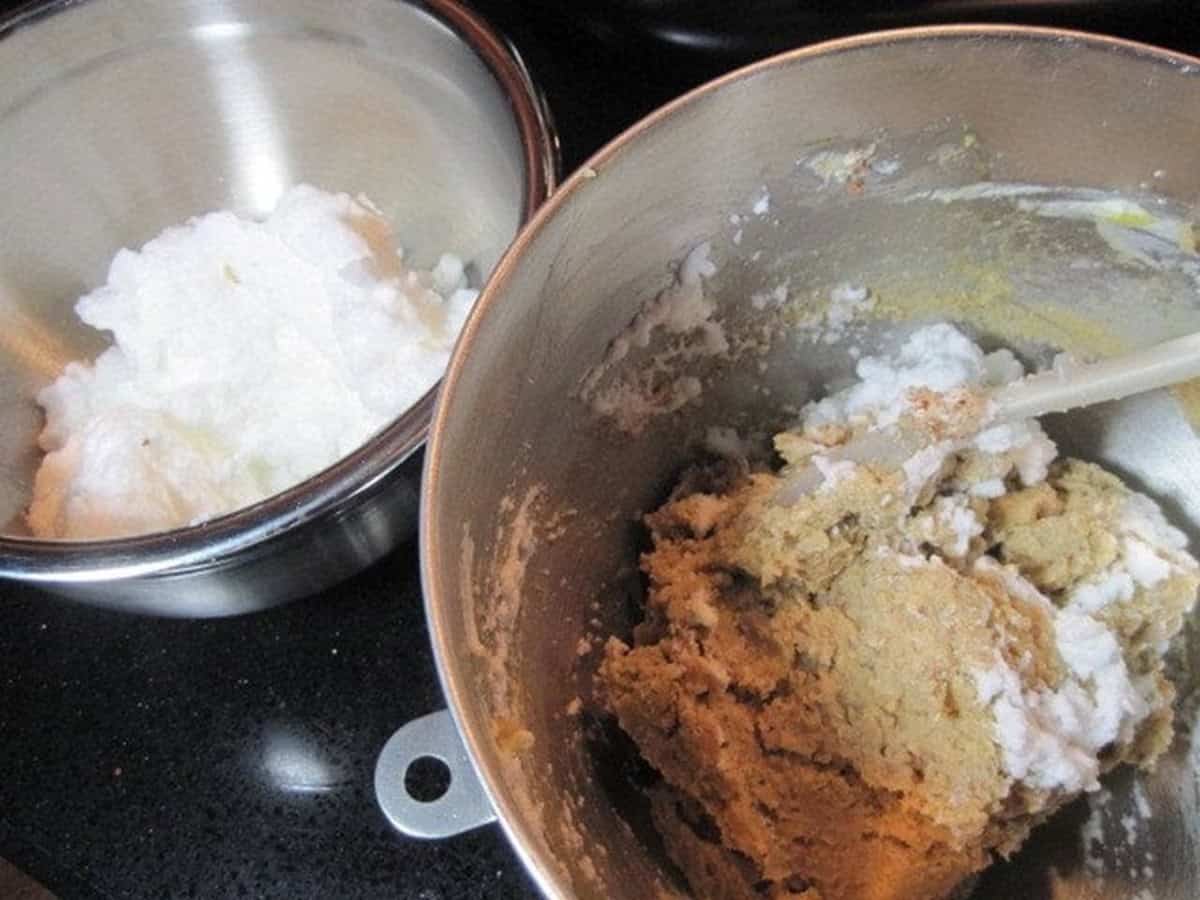
- -Using a stand mixer or an electric hand mixer (or if you really want to burn some holiday calories, use a whisk), beat the 4 egg whites until stiff peaks form. Set aside.
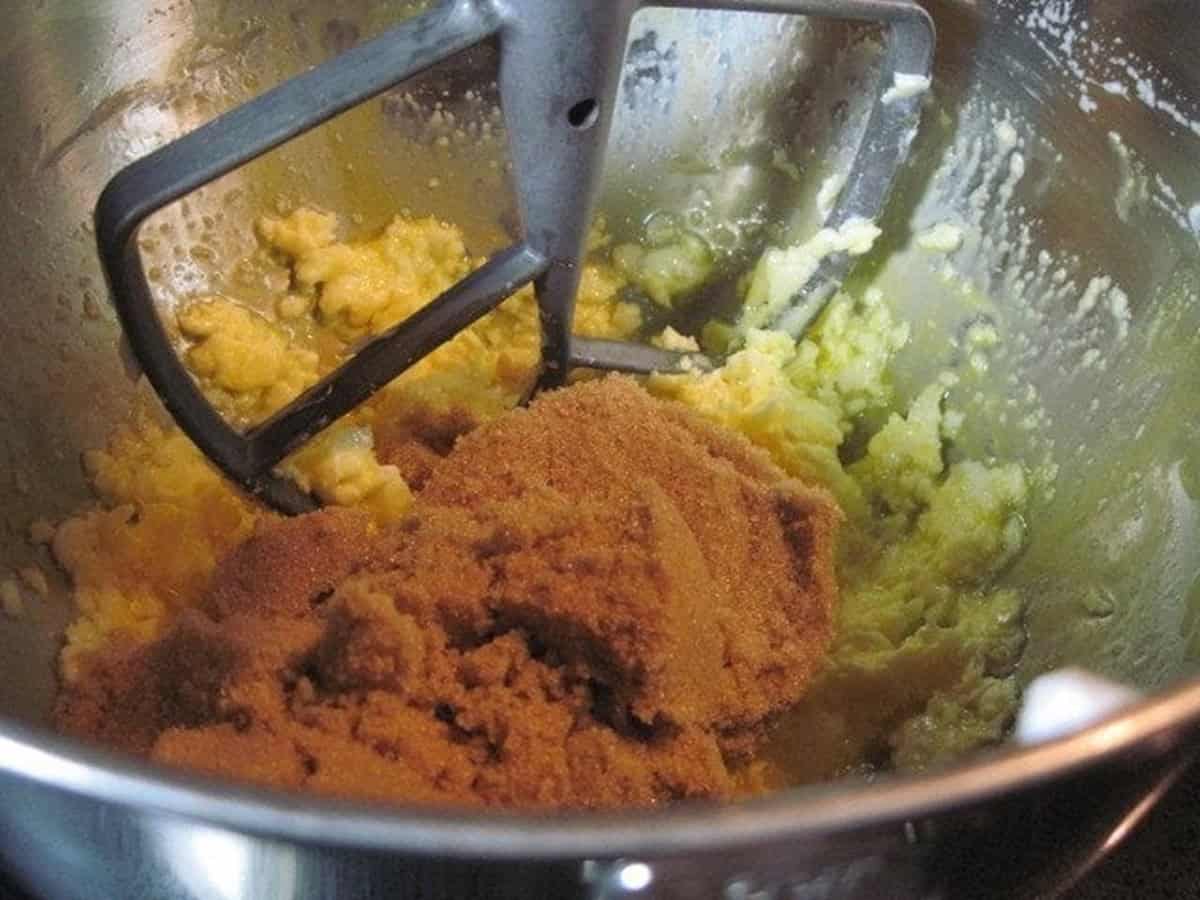
- -In a large mixing bowl, blend the softened butter, brown sugar, egg yolks, flour, and baking powder until thoroughly combined.
- -Using a wooden spoon or spatula, add the prepared nuts to the batter and stir well to thoroughly combine. *Note - the mixture will be quite stiff at this point, and that's what you want.
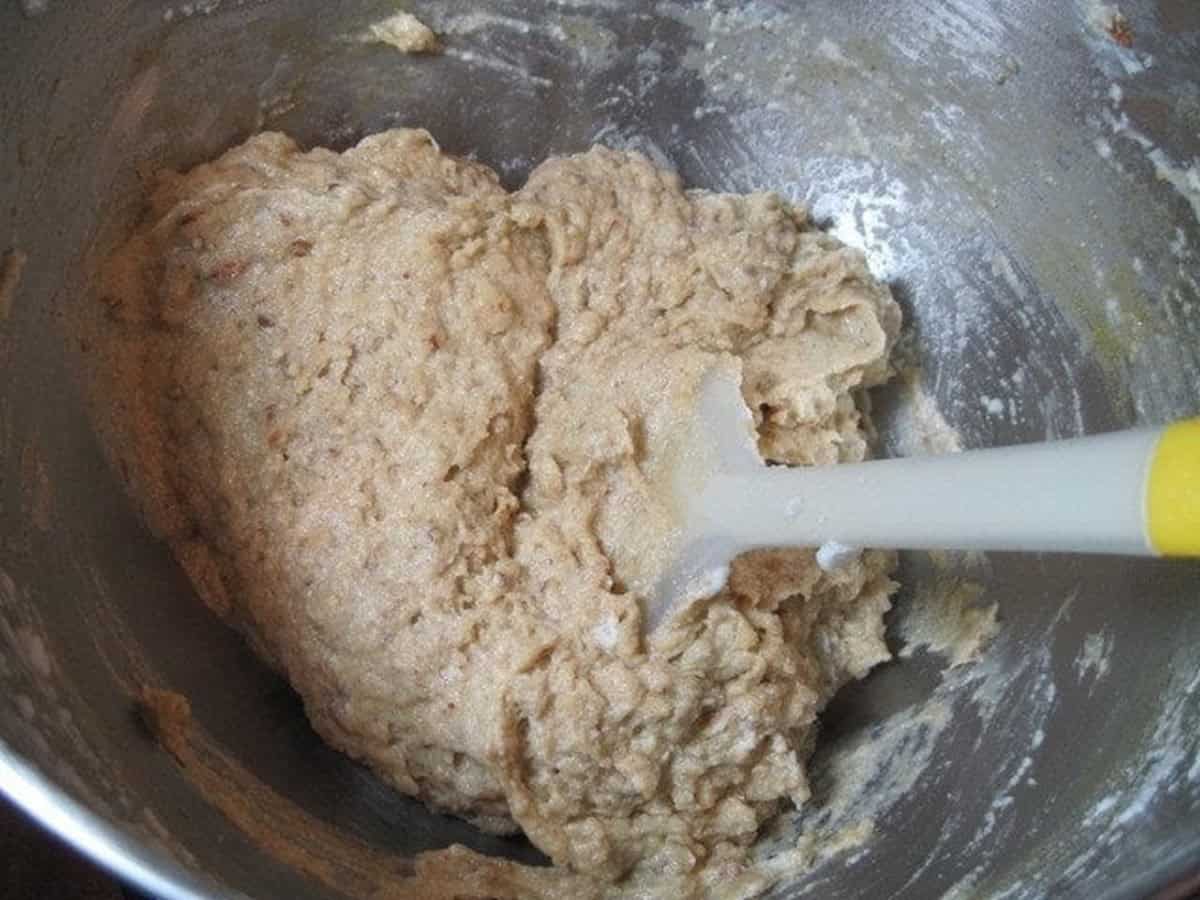
- -Gently fold the whipped egg whites (in ⅓ increments) into the stiff batter. When all of the whipped egg whites have been folded into the batter, you will notice that it is noticeably lighter in texture. This is what you want.
- -Fill each prepared mini muffin cup with approximately ½ tablespoon in each cup, being careful not to overfill the cups as they will rise during baking.
- -Bake each batch of cookies for 21-22 minutes, or until a toothpick inserted in the center of a cookie cup comes out clean. Remove the baked cookies to a wire rack to cool.
- -Allow the cookies to cool slightly for about 5 minutes before removing them from the tins to a wire rack, and cool completely before frosting.
- -Continue the same procedure with the remaining cookie batter and mini-muffin cups.
To prepare the buttercream frosting:
- Stir together the softened butter and confectioners sugar in a medium-size bowl. *Note - the mixture will be thick and lumpy.Add the almond extract and ½ tablespoon of milk. Stir well to combine and work out the lumps. If needed add a tiny bit more milk (at little a time) and continue stirring until you reach a thick consistency, but one that falls off the spoon or spatula with only a light bit of a shake. If it takes more force than that, add a tiny bit more milk and stir to combine.
- Add the mini star tip into the snipped corner of a plastic sandwich bag and work the frosting down to the tip of the bag. Set aside until the cookies are completely cooled.
To pipe the frosting onto the cookies:
- Gently hold the sandwich piping bag with frosting straight up and down over each cookie and gently press to pipe one small dollop of frosting onto each cooled cookie. Allow the frosting to dry completely and store the cookies in an airtight container at room temperature for up to 5 days or refrigerated in an airtight container for up to 7-10 days.
Video
Notes
Nutrition
I sincerely hope you'll enjoy making, eating, and sharing these delicious mini-muffin tin nut cup cookies as much as I've enjoyed bringing this recipe to you!
Should you have any questions or comments regarding anything you've seen on my site, please don't hesitate to reach out to contact me. It is always my distinct pleasure to get back with you just as soon as I possibly can!
Thank you so much for visiting me today in my Kudos Kitchen. I hope you found something you'll love and that you will come back and visit me often. Please know that there is always room for you around my kitchen table!
Until we eat again, I hope you have a delicious day!


All of the recipes you'll find here on my website are in loving memory of my son, Greg, who left this earth far too soon and will be forever in our hearts.

Kudos Kitchen says
Thank you to everyone who played, here and on Facebook!
Kudos Kitchen says
The winner has been chosen. Drum roll please......
And the winner is ~ Angie Maitland Barrett of Big Bears Wife! Congratulations Angie!!! I'll be in touch shortly to find out your mailing address.
Paula Lang says
Delicious, delicious, delicious!
Holly Anne says
The word has to be DELICIOUS! I love all your work and am looking forward to ordering a few pieces, but I really love that pitcher!
BigBearswife says
HAHA I'm going to go with delicious! lol
Love the pitcher and the holiday nut cups!
You do such great work in the kitchen and with a paintbrush
Laura Tomanek says
Delicious! 🙂 They look wonderful!
Luxury Hotels says
Delicious look and yummy recipes. watering in my mouth and superb sharing . i love it
Nicole says
Delicious!! 🙂
Ashley says
It's "Delicious"!
I'd love to make these but I am allergic. 🙁 Poo!
Katrina says
Delicious! That has to be it.
Tayentsminger@gmail.com says
Is the word Delicious!? The pitcher is so cute! Would love to win it!
Nelly Rodriguez says
Oh definitely the word delicious! "Chop your "delicious" nuts" lol! Love it, I'd love to win this!
Paula says
I'm not entering the contest Renee. I had to comment though and tell you that these little cakes look delicious and perfect with just the confectioners sugar.
I adore the fact that you took the time to create this post in rhyme. You are wonderful. Loved it all 🙂
The pitcher is beautiful.
Diane says
Is it "I"
I counted that at least 16 times maybe ?
Kathy says
Going to have to try this recipe and the word has to be "Delicious" since it was used a lot! Sounds like the recipe would be delicious!
Kitteh says
DELICIOUS! You used it 13 times! 🙂 I would make these but my hunny is allergic!
Pam says
I have to say, your recipe looks DELICIOUS!! Yeah, DELICIOUS! 🙂