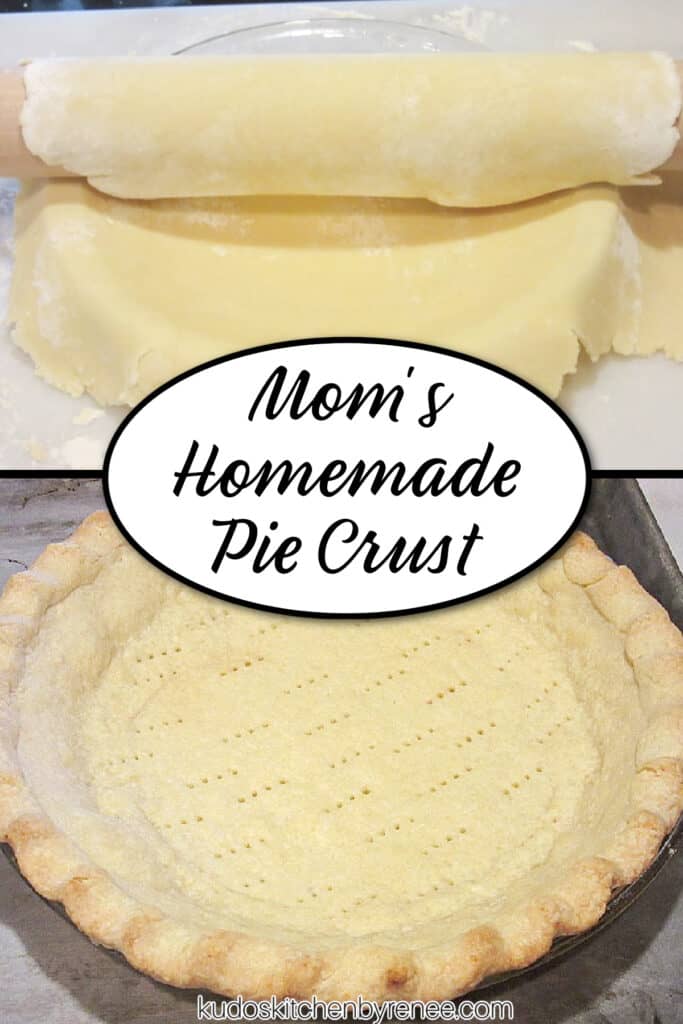
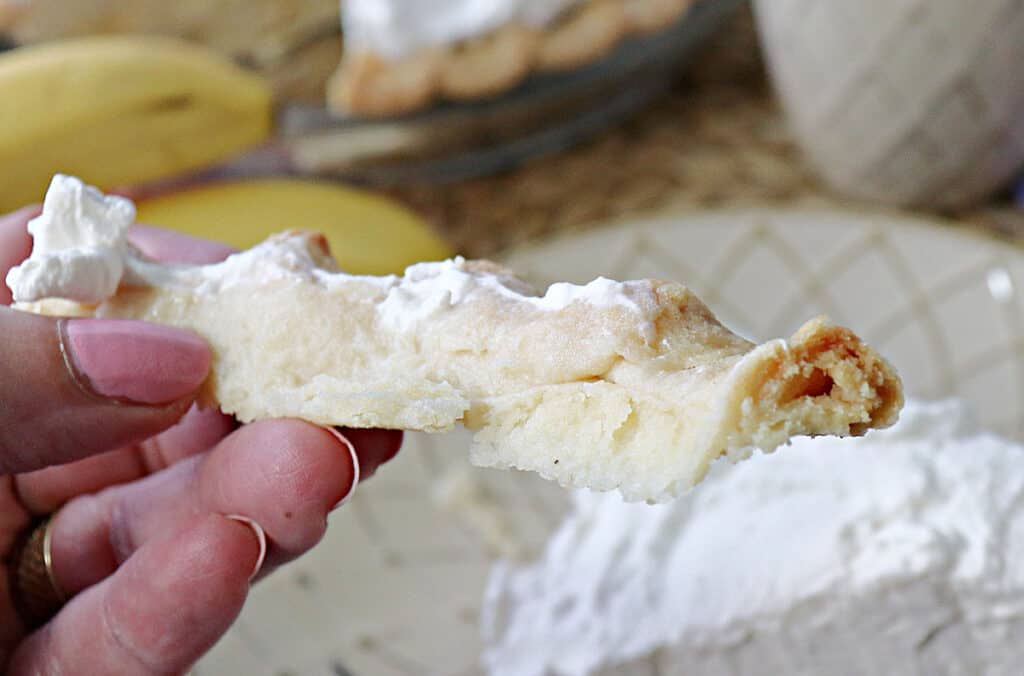
Hi, I'm Renee (aka mom), and today I'm sharing my tips and tricks for how I make my delicious flaky and buttery homemade pie crust. I like to call this Mom's Homemade Pie Crust Recipe. 🙂

There are times (we all have them) when you reach for the store-bought pie crust because they're super easy, readily available, and tasty too.
But, there are those other times when nothing but homemade will do. This is one of those times...
Table of Contents Found Here
- The ingredient list for making homemade pie crust:
- Kitchen tools and equipment needed:
- Can pie dough be made without a food processor?
- How to know when the dough is ready to chill:
- What is blind baking and when is it important?
- Why are pie weights important?
- What are some alternatives to pie weights when blind baking a pie crust?
- Why dock the pie dough and what does that actually mean?
- What is another way to prevent a soggy pie bottom?
- Can pie dough be frozen after making?
- Does the weather have anything to do with making good pie crust?
- Why vinegar in pie crust?
- How to make homemade pie crust:
- What is the best way to transfer a rolled-out pie crust to a waiting pie plate?
- Pie recipes (using homemade or store-bought crust) you'll love:
- Printable Recipe Card
- Please comment if you've made this recipe.
The ingredient list for making homemade pie crust:
*Please note that the exact measurements along with a "shop the recipe" feature from Instacart and Walmart is available inside the printable recipe card.
- all-purpose flour
- granulated sugar
- cold butter (I use salted)
- cold shortening (I use butter flavored)
- coarse salt
- ice water
Kitchen tools and equipment needed:
- food processor (optional)
- large mixing bowl with a pastry blender (if not using a food processor)
- measuring cups and spoons
- small bowl
- plastic wrap
- rolling pin
- pie plate
- paring knife
- pie weights (optional)
- parchment paper
Can pie dough be made without a food processor?
Yes. Grandma did it all the time.
The key is to keep all your pie dough ingredients as cold as possible, so the butter stays firm.
Working quickly in a large bowl with a pastry blender and some elbow grease will yield you great results without any fancy equipment.
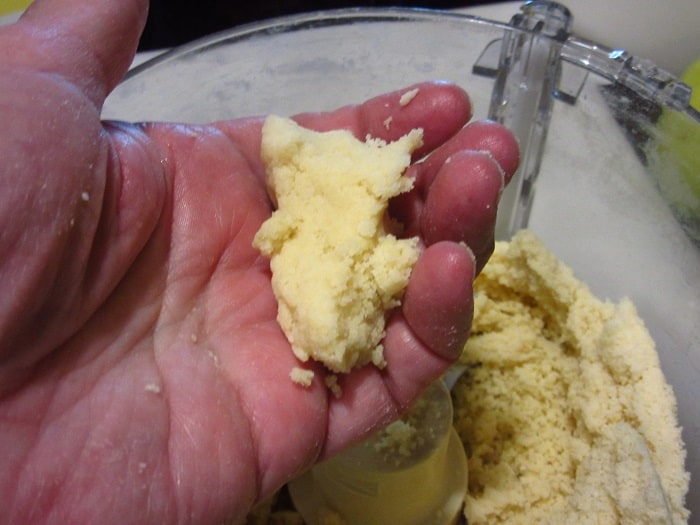
How to know when the dough is ready to chill:
You know the dough is ready with it holds together, with a little pressure.
It may seem dry, but don't fret; that's exactly what you want.
Once the dough sits to chill in the refrigerator, it will hydrate slightly, becoming less dry, making it easy to roll into ¼" thickness.
What is blind baking and when is it important?
Blind baking is a term used for making the bottom layer of a pie crust. It generally means "partially baking" or baking before adding a filling.
Blind baking a bottom crust is important for pies where the fillings aren't baked. Think cream pies for example.
Why are pie weights important?
They're extra insurance to make sure that the pie crust doesn't bubble up during blind baking, making sure you have lots of room for that delicious pie filling.
What are some alternatives to pie weights when blind baking a pie crust?
I only started using pie weights recently.
Before that, I would use uncooked, long-grain rice or dry beans (along with the parchment paper for easy removal). They are both great options.
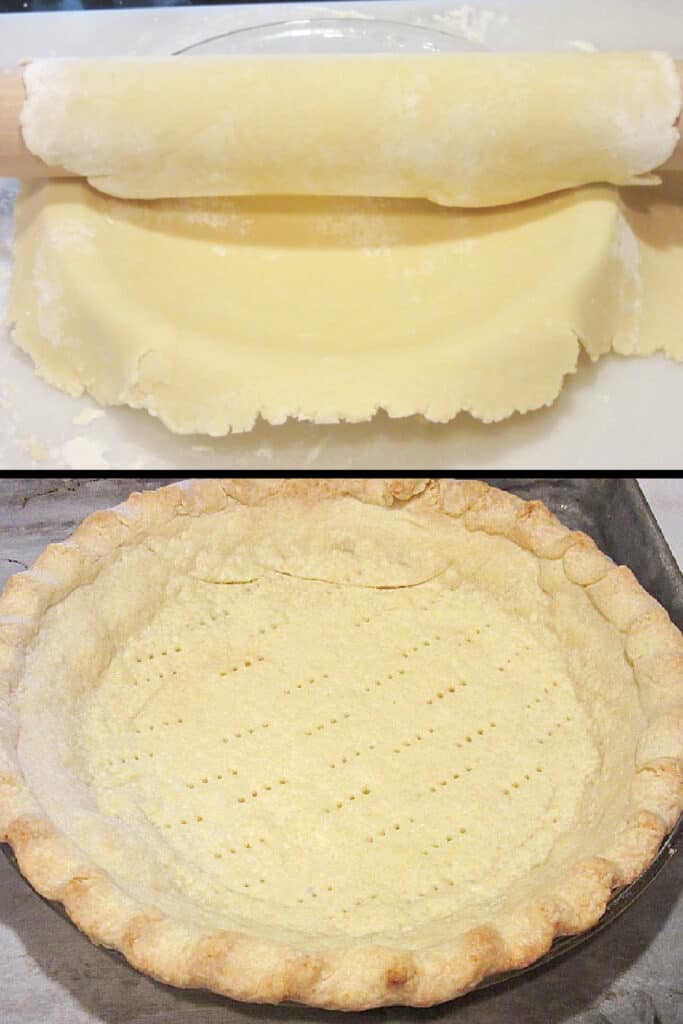
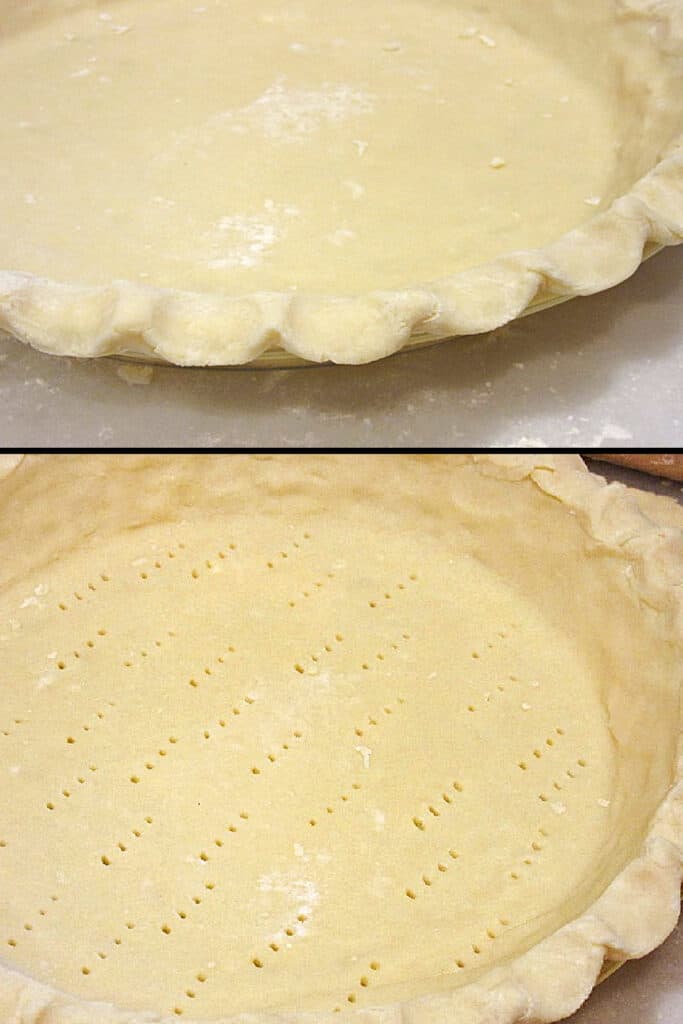
Why dock the pie dough and what does that actually mean?
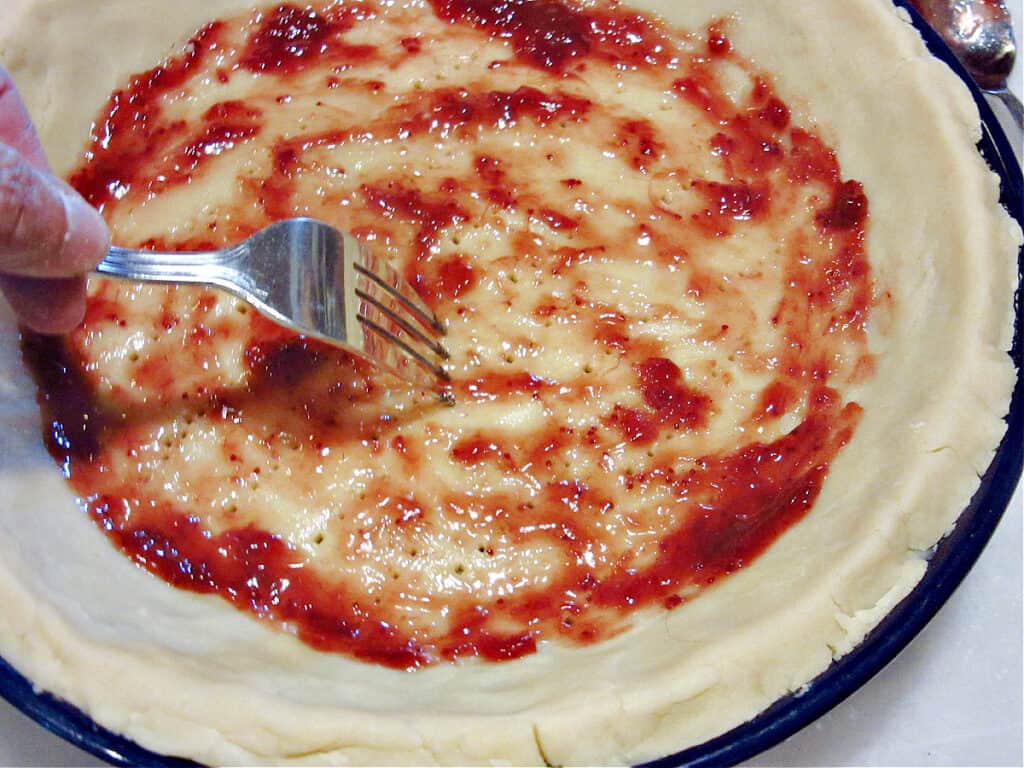
Another good practice to get into is to always dock (poking little holes) into the bottom of an uncooked pie dough before baking.
You can dock a pie dough using a paring knife or the tines of a fork.
Docking helps to keep the bottom crust flat while baking so no air pockets or air bubbles form, which will misshape the bottom crust.
What is another way to prevent a soggy pie bottom?
I recently started to brush the bottom of a pie crust (either partially baked or non-baked) with a light layer of a complimentary jam or jelly flavor.
The jam acts as a moisture barrier from the filling, and it will help prevent the wetness of the filling from seeping into the crust.
In addition, that thin layer of jam will add just a tiny hint of extra flavor that will take your pie (whatever flavor) to new heights of deliciousness.
*Note - if you're making a savory pie, a light brushing of egg wash on the bottom crust can be helpful to prevent a soggy-bottom.
Save this for later.
Email forwarding service for saving information.
Can pie dough be frozen after making?
Yes!
It's a great way to be able to make homemade pies on short notice if you always have premade pie dough on hand in the freezer.
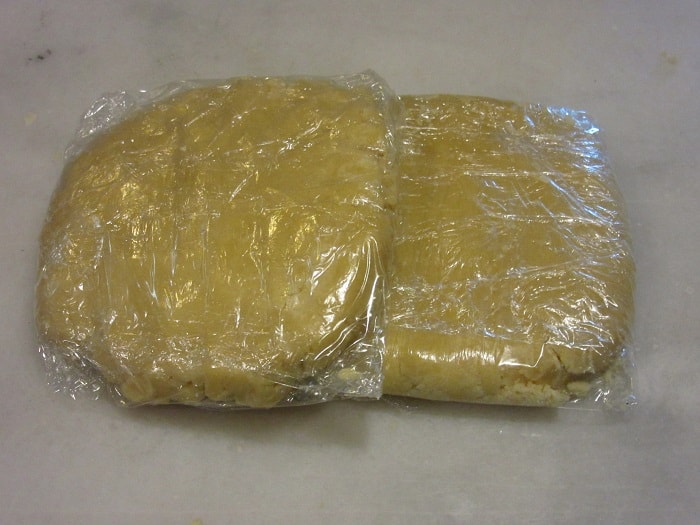
Divide the pie dough in half after making and shape each half into a flattened disc.
Wrap each disc well in two layers of plastic wrap and freeze for up to 4 months.
When ready to bake, remove the dough from the freezer and allow to thaw either on the countertop (or in the refrigerator), until pliable, but still cold.
Does the weather have anything to do with making good pie crust?
Actually, yes!
Making pie dough on a hot and humid day is not ideal unless of course, you're working in air-conditioning. If not, move quickly so the ingredients stay as cold as possible.
An ideal pie dough-making day is dry and cool. So when those days happen, why not make a few batches of Mom's Homemade Pie Crust and keep them in the freezer so you'll always be ready whenever the pie-making-mood strikes.
Why vinegar in pie crust?
I find the scant teaspoon of apple cider vinegar brightens and balances the flavor of the crust and also makes for a more tender and flakey consistency.
How to make homemade pie crust:
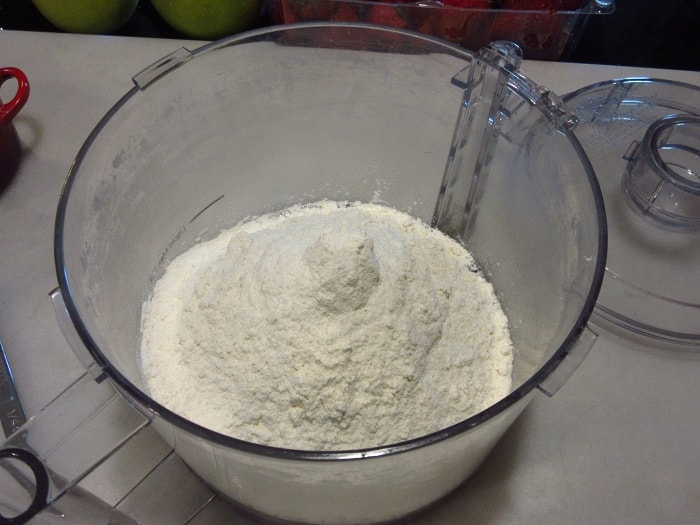
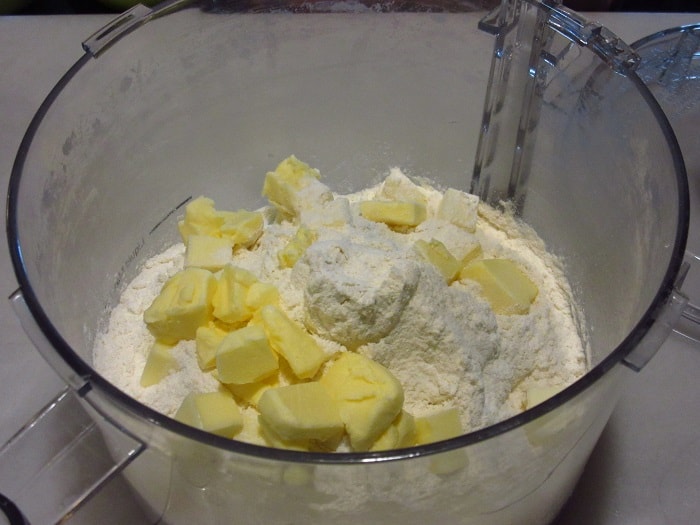
- Add the all-purpose flour and salt to a food processor or large bowl.
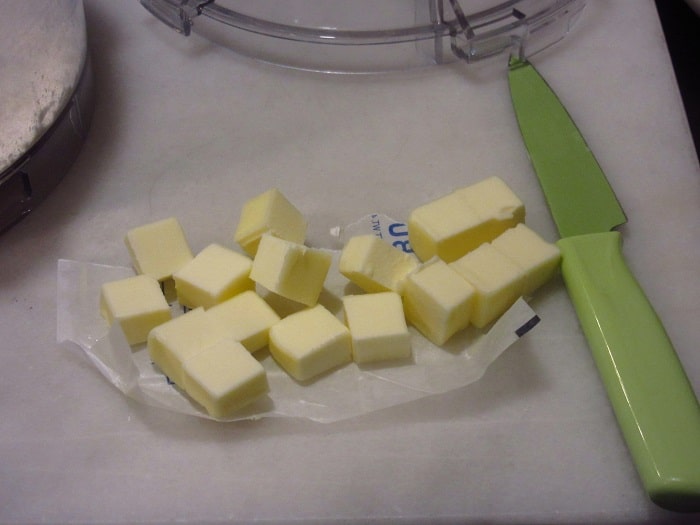
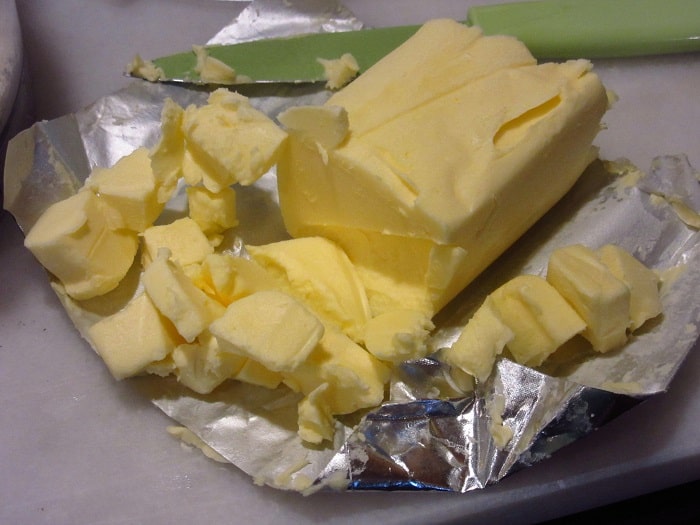
- Cube ice-cold butter and shortening and add it to the flour.
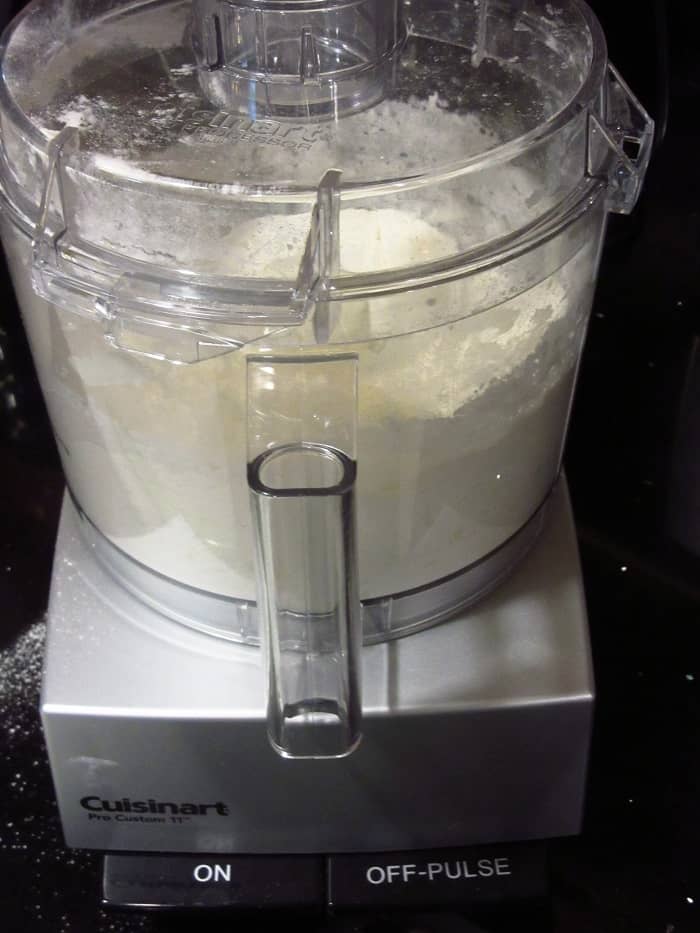
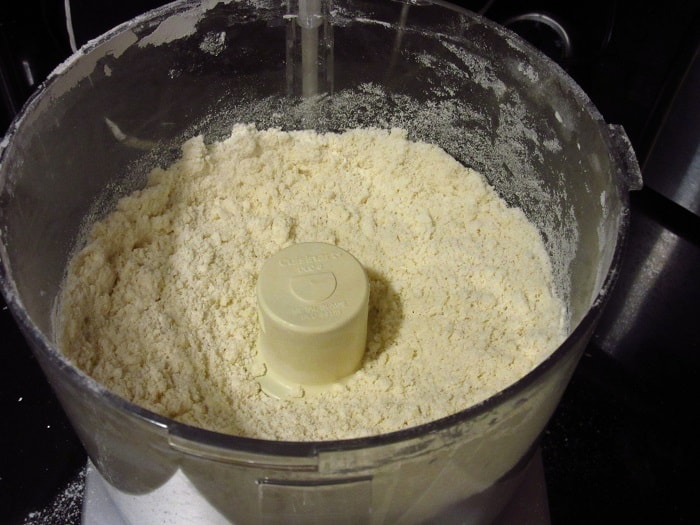
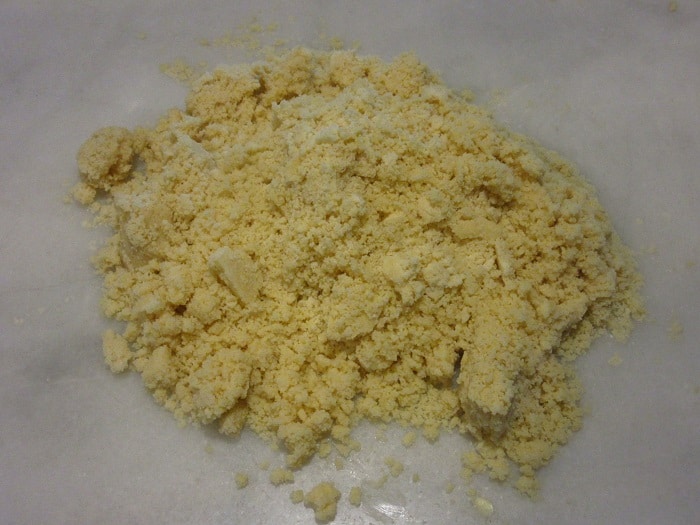
- Pulse the processor (or mix well with a pastry blender) until crumbles form.
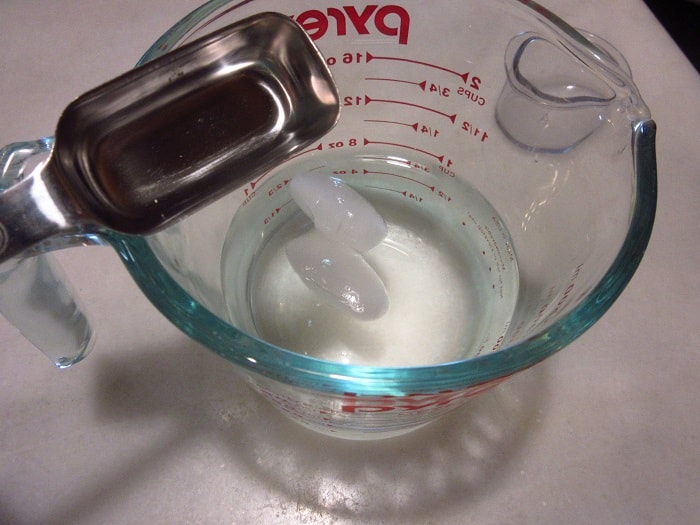
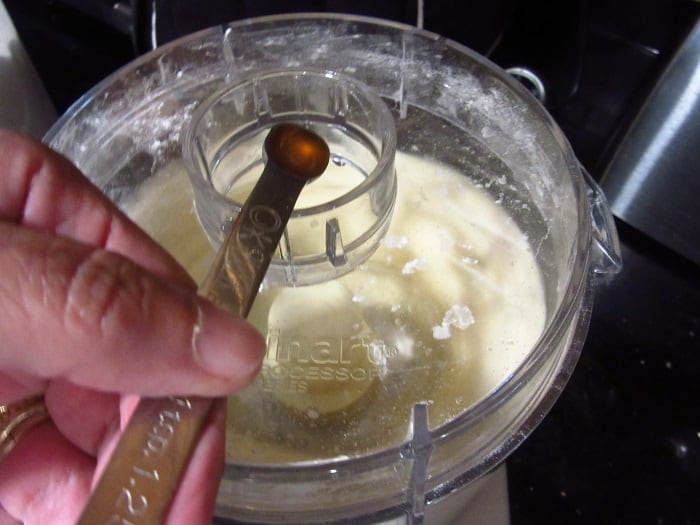
- Add ice water and a scant teaspoon of cider vinegar to the dough and pulse (or mix with a pastry blender) until the dough comes roughly together and will hold its shape when squeezed lightly.
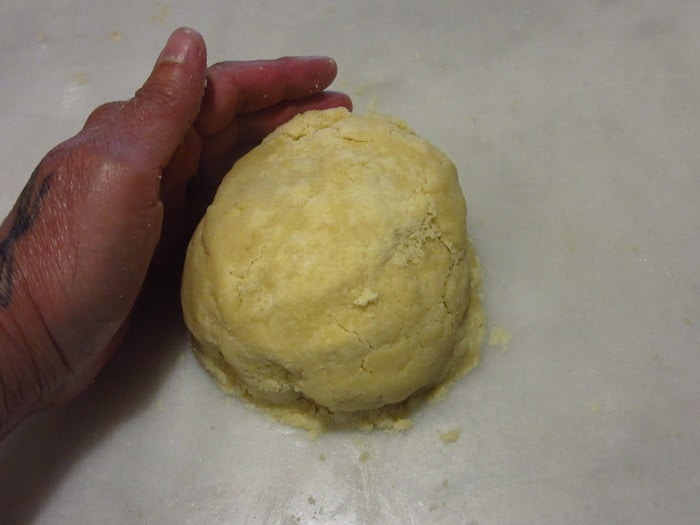
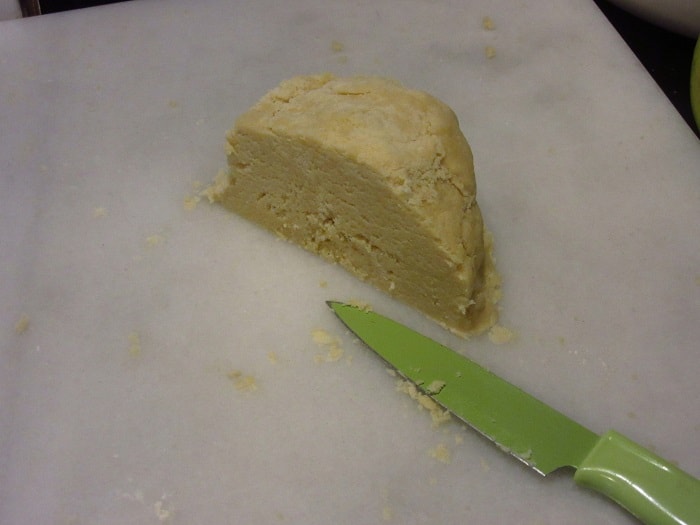
- Turn the dough out onto the counter and bring the dough together to form a rough ball. *Note - the dough will be shaggy, so don't fret.
- Divide the dough in half.
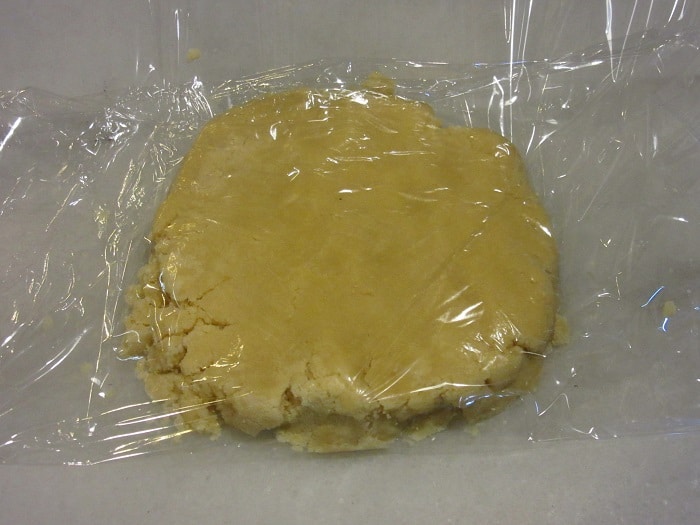
- Form each half into a flattened disc and wrap each disc well in plastic wrap.
- Refrigerate for at least 30 minutes, OR the dough may be kept in the refrigerator for up to 4 days, OR freezer for up to 4 months.
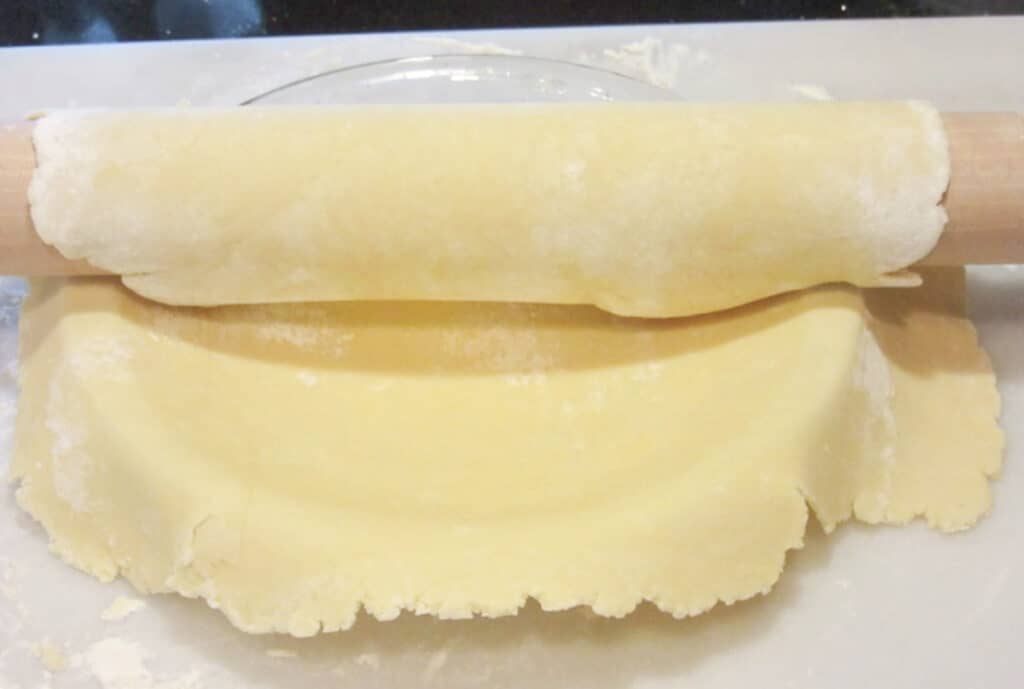
What is the best way to transfer a rolled-out pie crust to a waiting pie plate?
I like to use the rolling pin method.
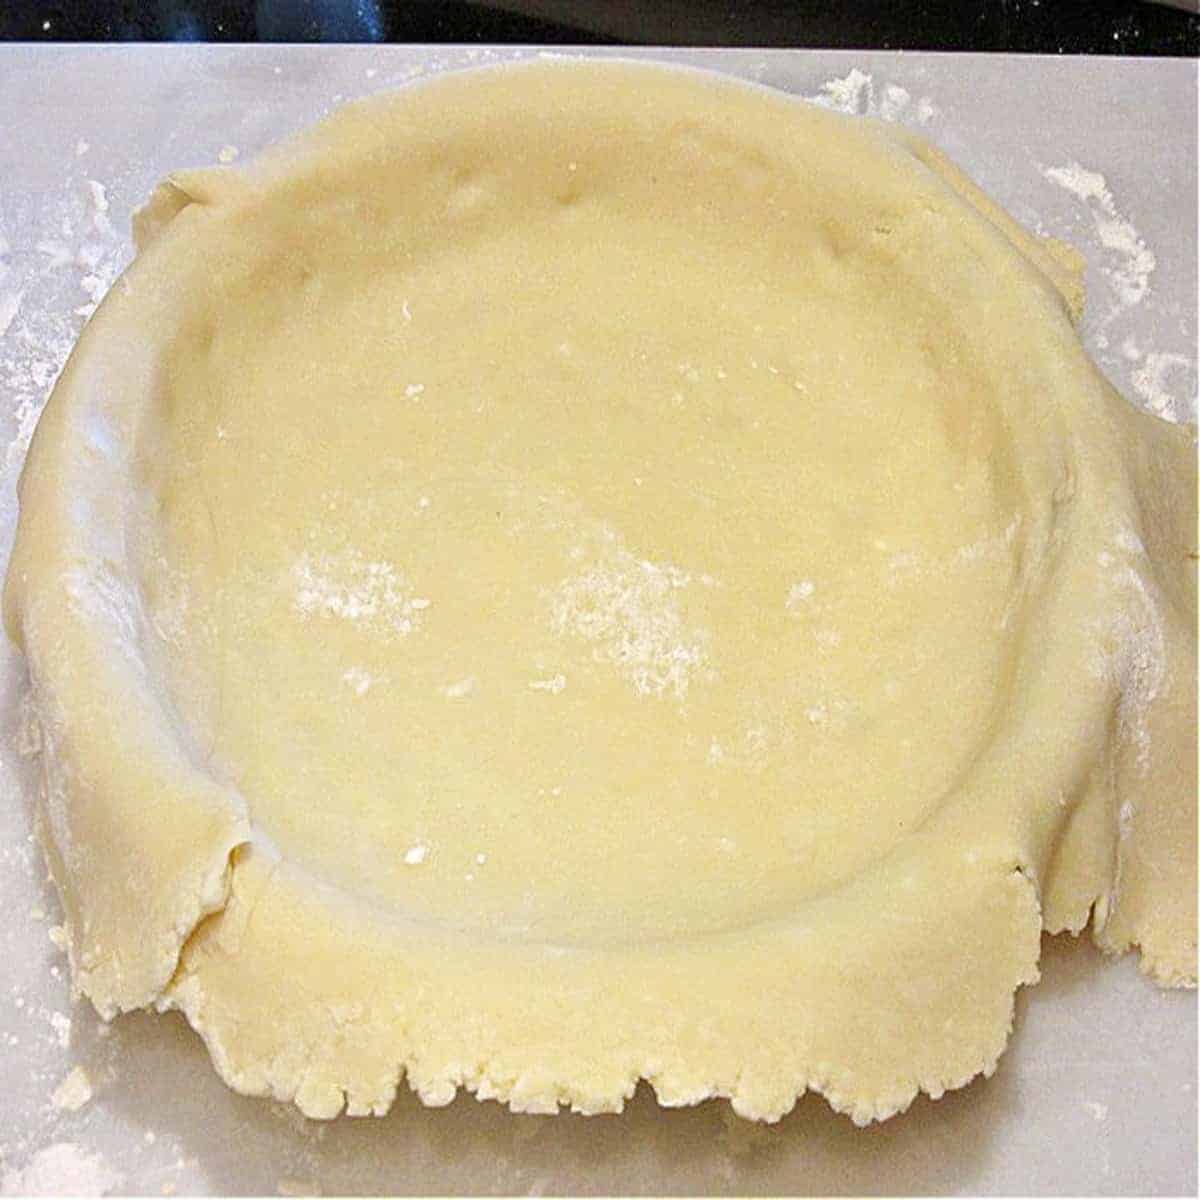
Loosely roll the dough onto the rolling pin and place it over the waiting pie pan.
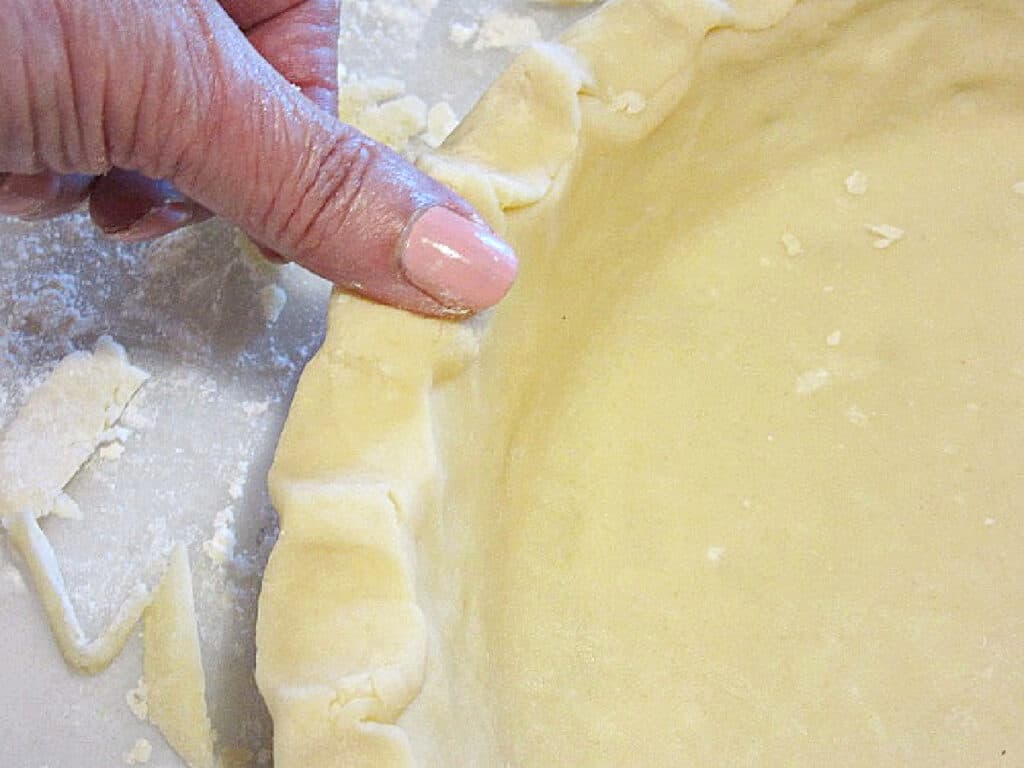
Carefully and evenly unroll the dough over the pie plate and gently press it into place making sure not to pull or stretch the dough or it will shrink in the oven while baking.
Pie recipes (using homemade or store-bought crust) you'll love:
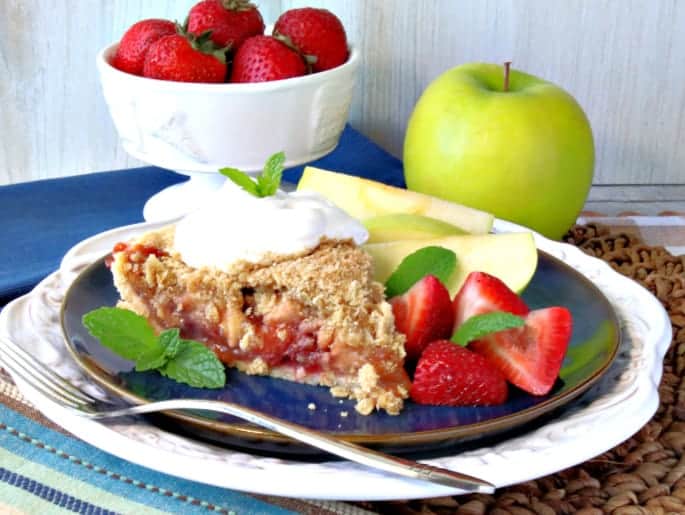
*Strawberry Apple Pie (shown below)
Who would have ever thought that a strawberry apple pie would be so good? The combination of fruit in this luscious pie complements each other nicely, without a dominant flavor or ingredient hogging center stage.
*Autumn Leaves Apple Pie (not shown)
This delightfully colorful autumn leaves apple pie may look like it’s difficult to make but with my tips and tricks, you too can make this adorable (and delicious) show-stopping apple pie!
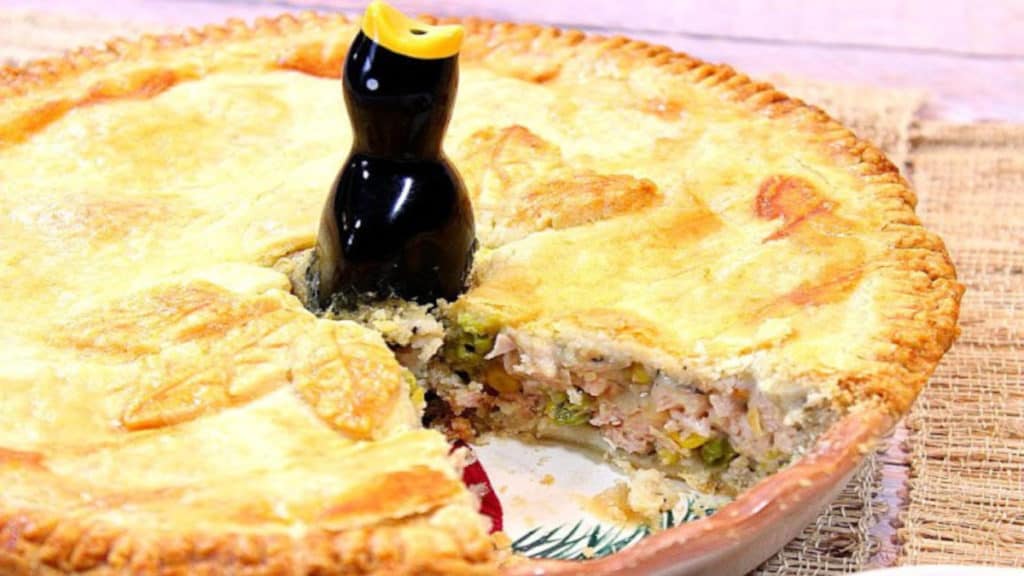
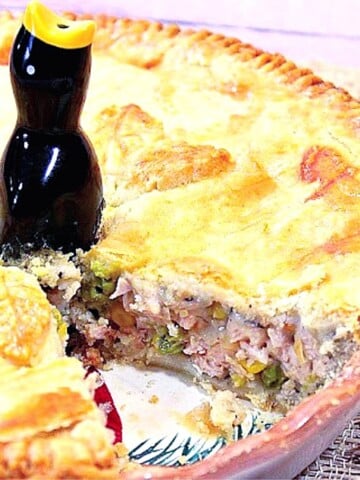
*Homestyle Pork Pot Pie (shown below)
Homestyle Pork Pot Pie goes together quickly with the use of store-bought pie dough (or homemade) and leftover pork. It’s comfort food that’s as easy as one, two, three.
*Strawberry Crostata with Sweet Almond Glaze (not shown)
Bring this Strawberry Crostata to the table and any occasion has been instantly upgraded to something truly special…and delicious!
*Mom's Homemade Pie Crust (shown below) THIS IS THE PLACE!!

When you make today's recipe (and I hope that you will), I'd appreciate it if you'd take the time to come back and give it a star rating along with a comment on why you rated as you did.
Search engines such as Google appreciate comments and ratings and, in turn, will show my recipes to more people. Please look for the pink star rating box within the printable recipe card. Thank you!!
Printable Recipe Card

MOM'S HOMEMADE PIE CRUST
Ingredients
- 2½ cups all-purpose flour
- 2 teaspoons granulated sugar
- 1 teaspoon coarse salt
- ½ cup cold butter, cut into cubes
- ½ cup cold shortening, cut into cubes
- ½ cup ice water less if it's a humid day
- ⅛ teaspoon apple cider vinegar
Instructions
- Add the all-purpose flour and salt to a food processor or large bowl.
- Cube ice-cold butter and shortening and add it to the flour.
- Pulse the processor (or mix well with a pastry blender) until crumbles form.
- Add ice water and a scant teaspoon of cider vinegar to the dough and pulse (or mix with a pastry blender) until the dough comes roughly together and will hold its shape when squeezed lightly.
- Turn the dough out onto the counter and bring the dough together to form a rough ball. *Note - the dough will be shaggy, so don't fret.
- Divide the dough in half.
- Form each half into a flattened disc and wrap each disc well in plastic wrap.
- Refrigerate for at least 30 minutes, OR the dough may be kept in the refrigerator for up to 4 days, OR freezer for up to 4 months.
Notes
Nutrition
I sincerely hope you've enjoyed today's homemade pie dough recipe as much as I've enjoyed bringing it to you!
Should you have any questions or comments regarding anything you've seen on my site, please don't hesitate to reach out to contact me. It is always my distinct pleasure to get back with you just as soon as I possibly can!
Thank you so much for visiting me today in my Kudos Kitchen. I hope you found something you'll love and that you will come back and visit me often. Please know that there is always room for you around my kitchen table!
Until we eat again, I hope you have a delicious day!


All of the recipes you'll find here on my website are in loving memory of my son, Greg, who left this earth far too soon and will be forever in our hearts.


Taryn says
Great recipe. The dough was easy to work with.
Renée says
Glad to hear it, Taryn. Thanks for letting me know.
Take care,
Renee
Sam says
Loved this pie crust! It was perfect for my apple pie. Thank you!