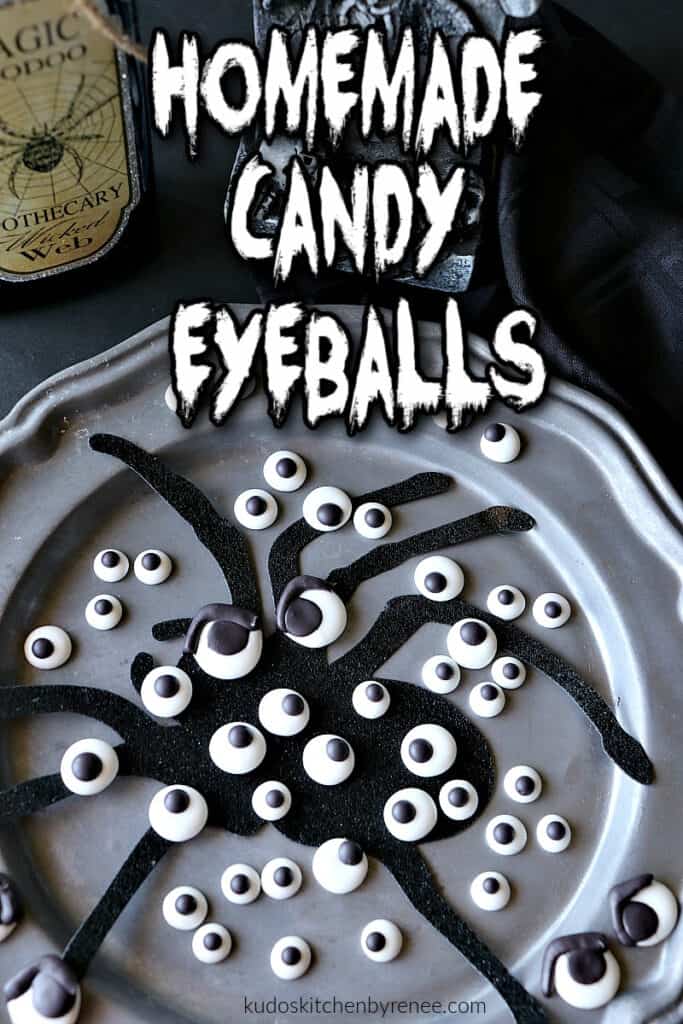
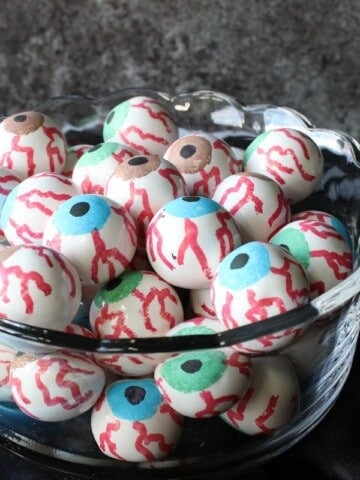
EYE think you'll agree that making and using these Homemade Candy Eyeballs for your Halloween sweets and snacks, that your freaky tricks and treats will never LOOK the same again!

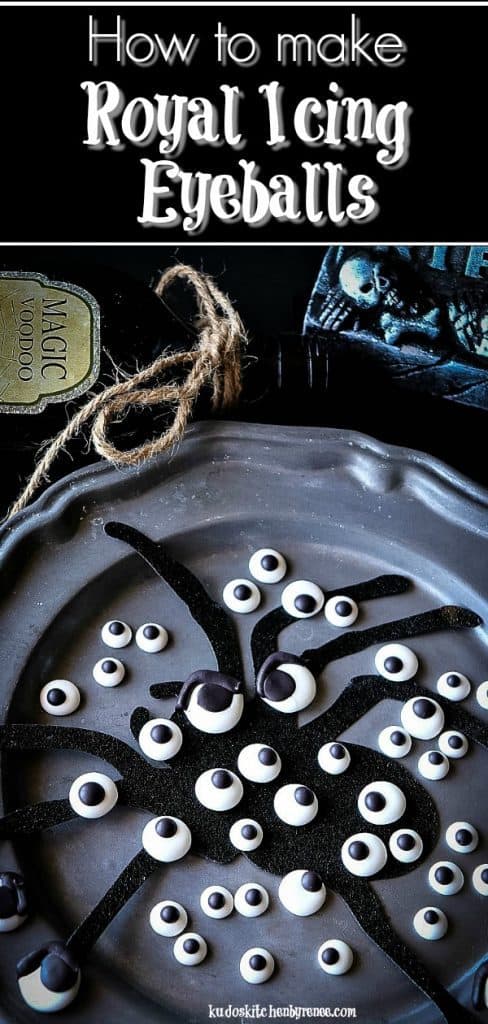
Eye would be remiss if eye didn't share with you just how easy it is to make these candy eyeballs.
After all, you can't have a spooky Halloween treat (in my opinion) without some glaring eyeballs watching your every move!
Table of Contents Found Here
- The ingredient list:
- Kitchen tools and equipment needed:
- Why this recipe works:
- Money-saving tip:
- How long can I store homemade candy eyeballs?
- What is meringue powder and why is it important?
- Why is meringue powder better than using fresh egg whites when it comes to this recipe?
- How long can royal icing made with meringue powder be stored?
- Additional royal icing Halloween treats:
- Printable Recipe Card
- Please comment if you've made this recipe.
The ingredient list:
**Note - The following lists of ingredients plus kitchen tools and equipment contain affiliate links (highlighted in blue) for your consideration and shopping convenience.
Kitchen tools and equipment needed:
- Piping Bag, Zip-Top Bag, OR Parchment Triangle
- Large Bowl with Hand Mixer, OR Stand Mixer
- Small Bowls
- Black Gel Food Color
- Parchment Paper
- Baking Sheet
- Scissors (to snip the tip off the piping bag)
- Food Storage Containers
Why this recipe works:
Of course, you can always purchase candy eyeballs at the store, but those only come in one size and shape, as if one size really fits all. Ha!
By making your own candy eyeballs, you can tailor them to your specific needs and vision.
If hindsight really is 20/20, then I'm here to help you envision what's possible!
Money-saving tip:
Eye'm (LOL, sorry) going to let you in on a little secret.
Since you don't need a lot of homemade royal icing to make a google of oogling candy eyeballs, eye would suggest that you use a little leftover white royal icing you may have from another project (perhaps a cups-worth) and use that to make your candy eyeballs.
From only one cup of royal icing, depending on the size of the eyeballs you're making, you'll be able to make a gaggle of googling, oogling eyeballs.
How long can I store homemade candy eyeballs?
As long as you keep your eyeballs in a covered container away from moisture and humidity, these eyeballs can keep in your pantry indefinitely!
How's that for keeping your EYE on the prize?
What is meringue powder and why is it important?
Meringue powder is an egg white substitute which helps to harden the royal icing as it drys.
Save this for later.
Email forwarding service for saving information.
Why is meringue powder better than using fresh egg whites when it comes to this recipe?
Since this royal icing is not cooked, the meringue powder is a safer alternative than using raw egg whites.
Meringue powder is pasteurized and free from harmful bacteria.
How long can royal icing made with meringue powder be stored?
As long as the royal icing is stored in a cool, dry, airtight container, it can remain unrefrigerated for several weeks.
Always stir the royal icing before using and if you need to thin it, add a slight bit of warm water a little bit at a time until you reach your desired consistency.
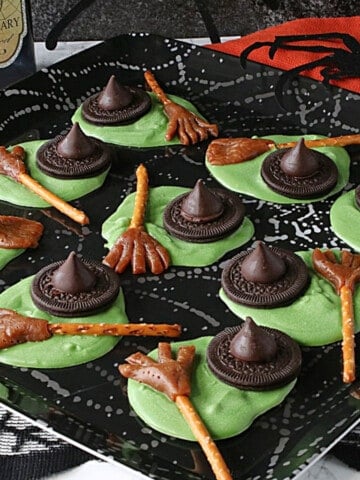
Additional royal icing Halloween treats:
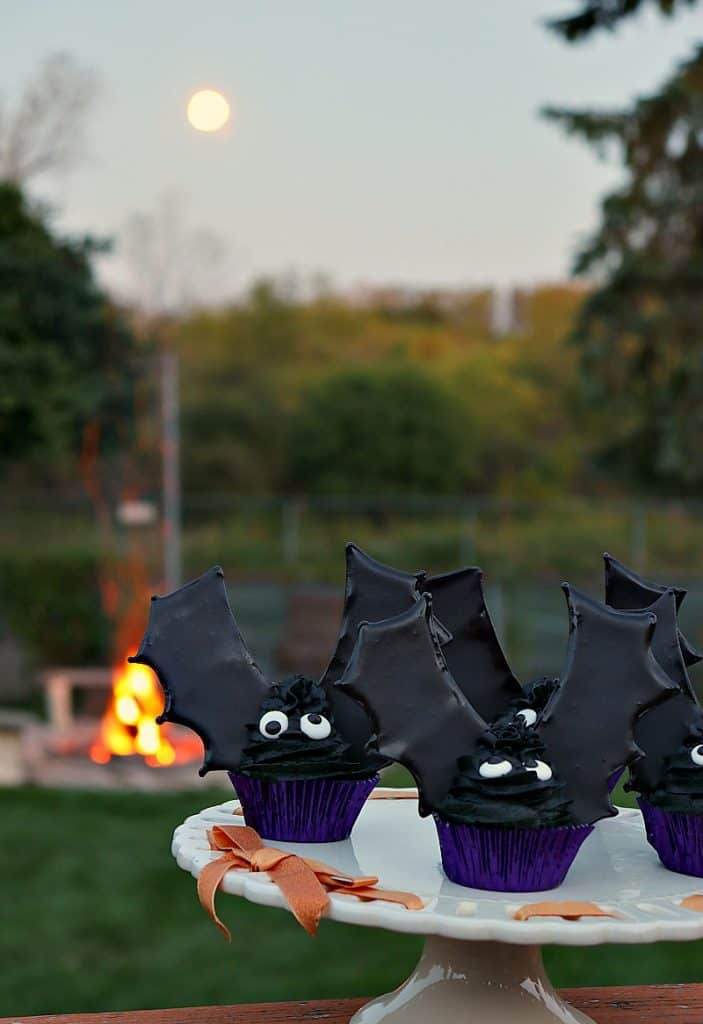
*Royal Icing Bat Wing Cupcakes (pictured below, and shown with royal icing eyeballs)
"Take a bite out of these royal icing bat wing cupcakes before they take a bite out of you! You’ll be glad you did because they’re BATtastically delicious, and not at all threatening to make. Let me show you how."
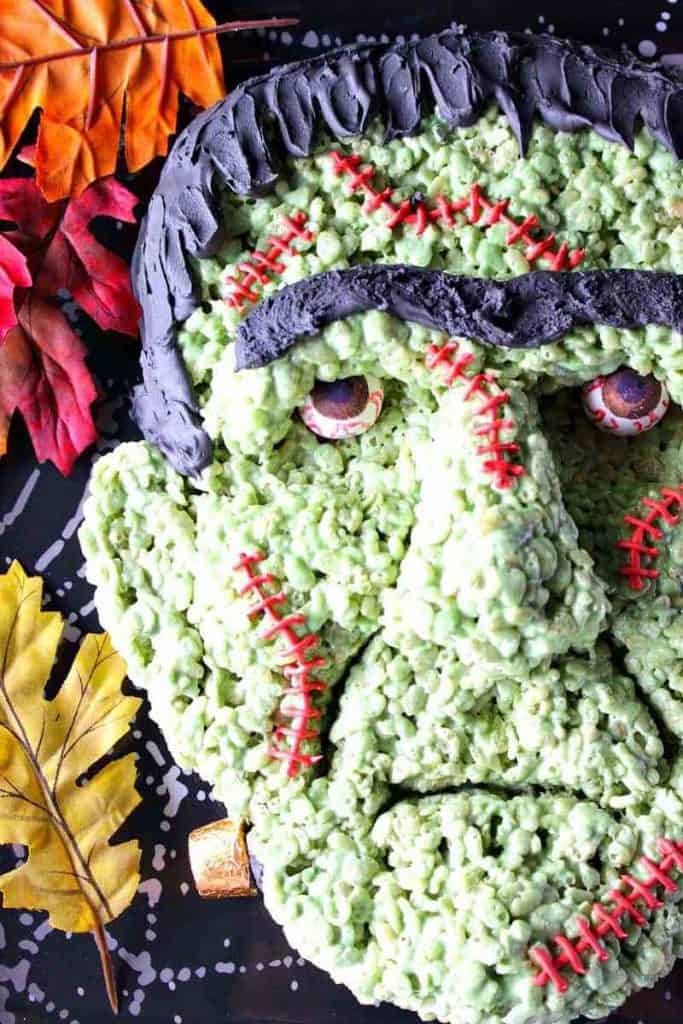
*Frankenstein Rice Cereal Treat (pictured below)
"Surprise and delight all the goblins you know at this year’s Halloween party by serving up this easy to make Freaky Frankenstein Rice Cereal Halloween Treat. Think it’s too difficult to make? Think again! I’ll share with you my TIPS and TRICKS with an easy to follow step-by-step photo tutorial."
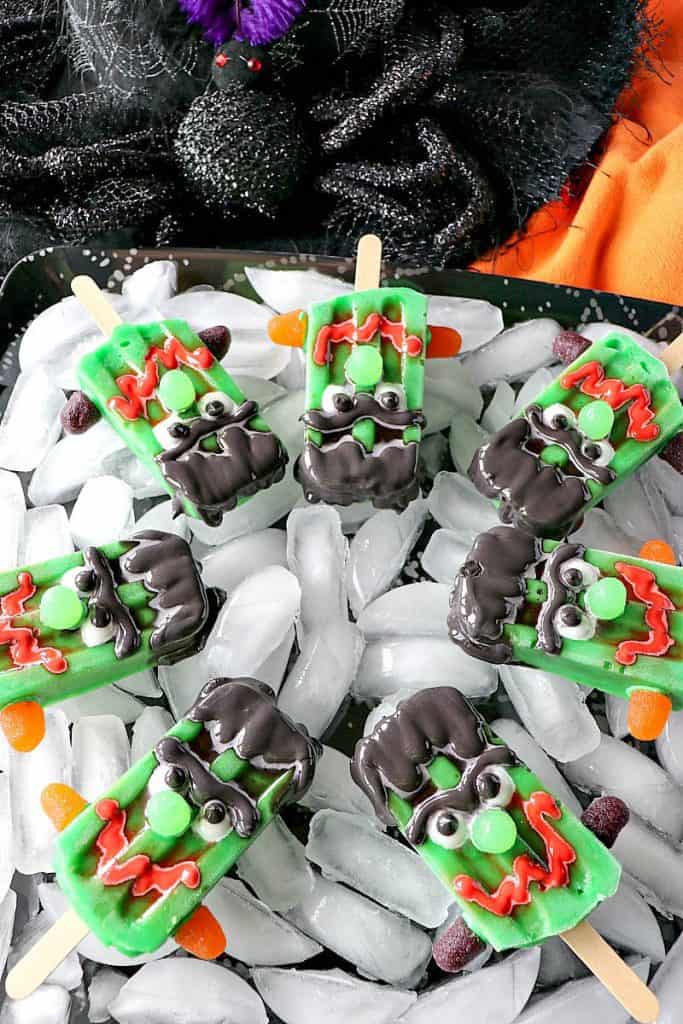
*Frozen Frankenstein Pudding Pops (pictured below)
"The kids will think you’re the coolest mom around when you make them these Frozen Frankenstein Pudding Pops! Thank you scary much!!"
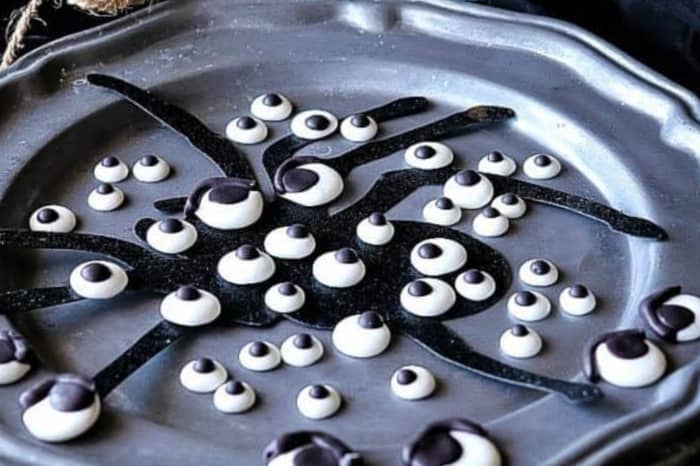
*Homemade Candy Eyeballs (pictured below) This is the place!!
When you make today's recipe (and I hope that you will), I'd appreciate it if you'd take the time to come back and give it a star rating along with a comment on why you rated as you did.
Search engines such as Google appreciate comments and ratings and, in turn, will show my recipes to more people. Please look for the pink star rating box within the printable recipe card. Thank you!!
Printable Recipe Card

Homemade Candy Eyeballs
Ingredients
- 3 cups confectioners sugar
- ½ teaspoon almond extract
- 1½ tablespoons meringue powder
- 2 tablespoons light corn syrup
- warm water
- black gel food color
Instructions
- Add the sugar, meringue powder, almond extract, and corn syrup into a large bowl.
- Add a few drops of warm water and blend with a mixer, adding additional warm water as needed, to form an icing that is smooth in consistency, but not too runny.
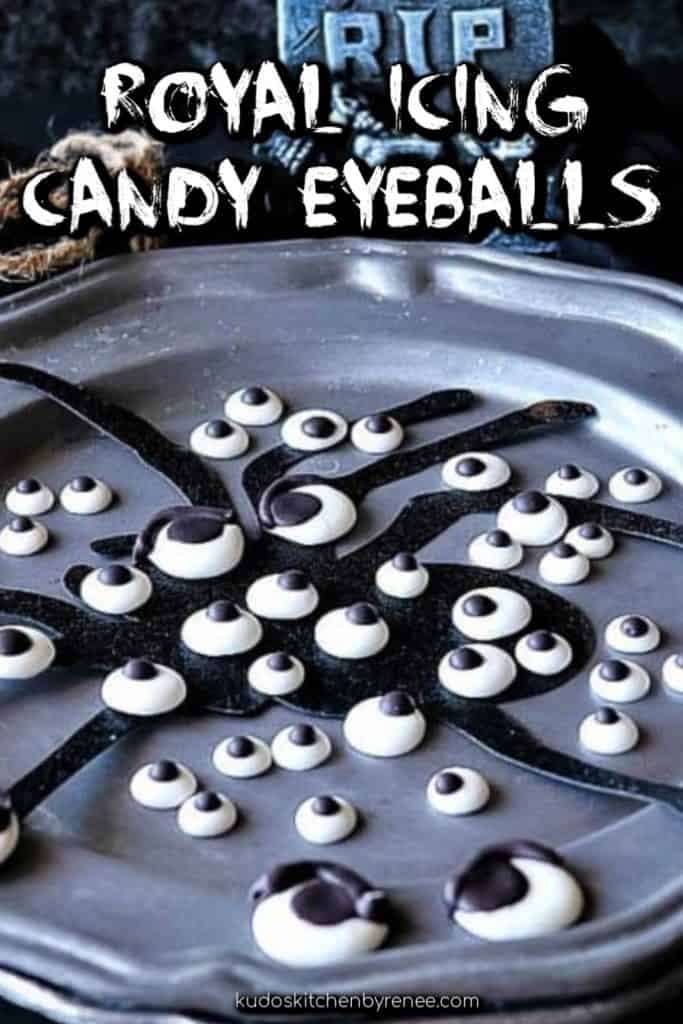
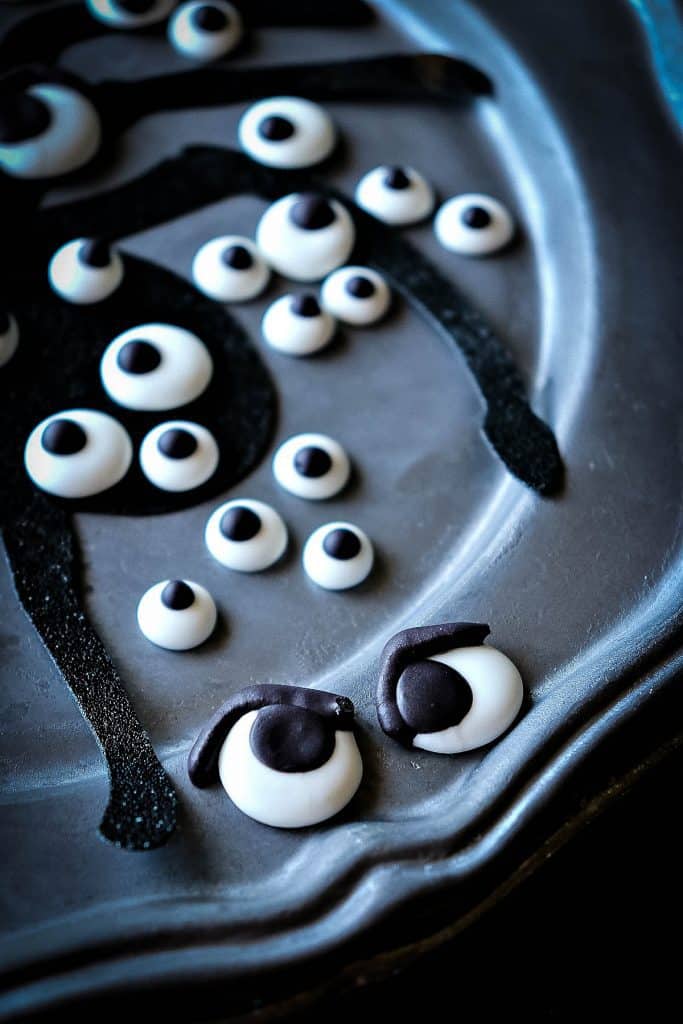
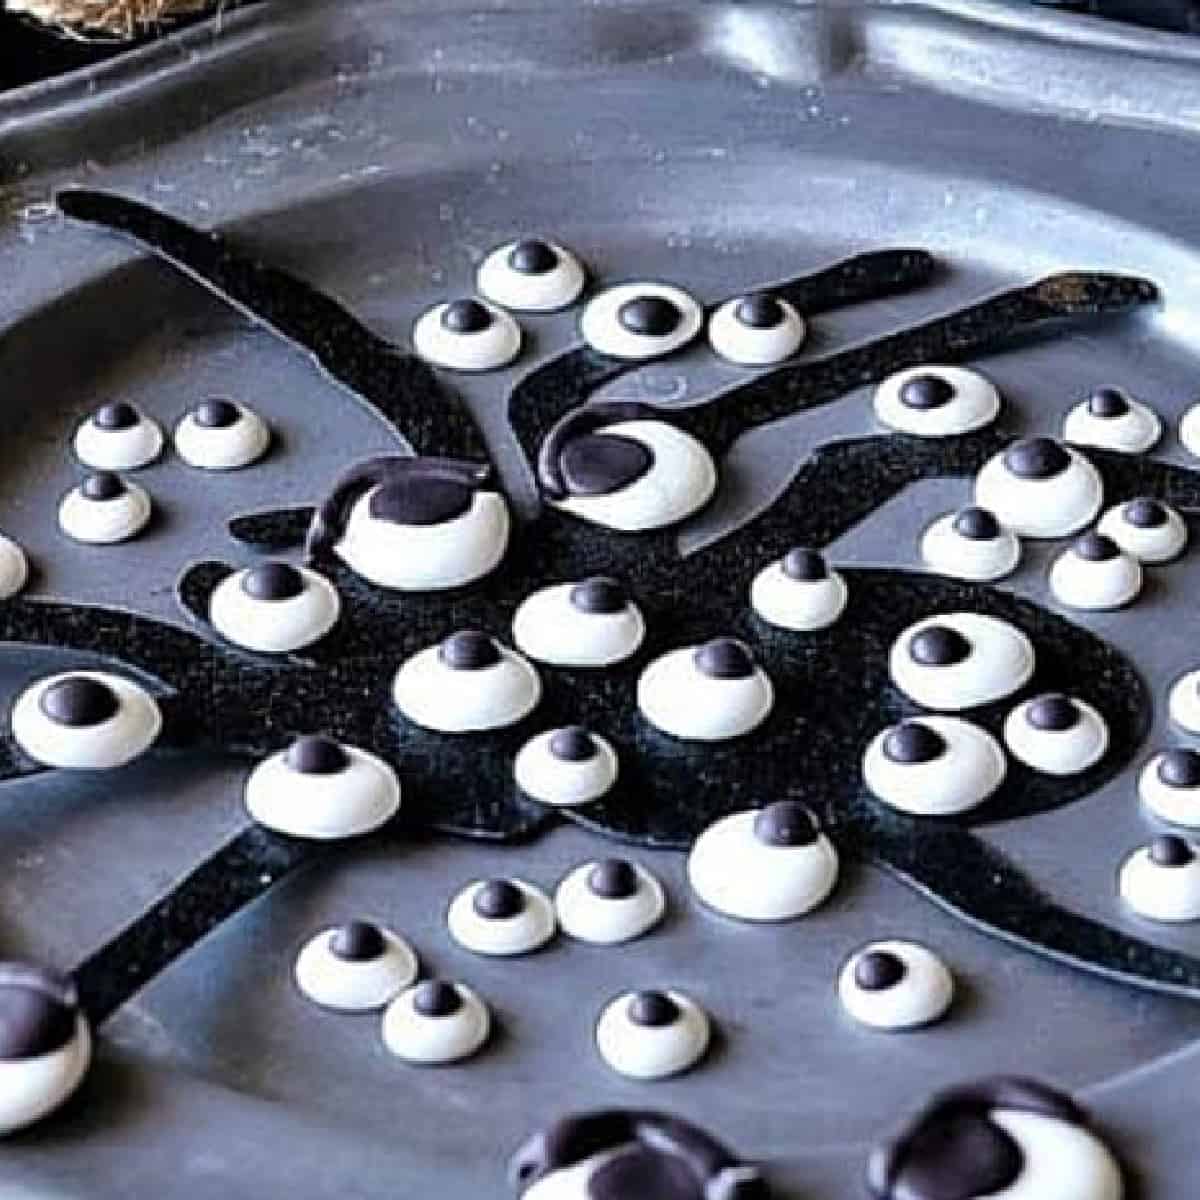
- Pipe dots of white royal icing onto parchment paper. The size of your dots will vary depending on your project. Set aside.
- Mix a few drops of black gel color into a small bowl with approximately 3 tablespoons of white royal icing. Spoon the black royal icing into a piping bag or zip top bag.
- Pipe a small dot of black royal icing onto the white royal icing circle.
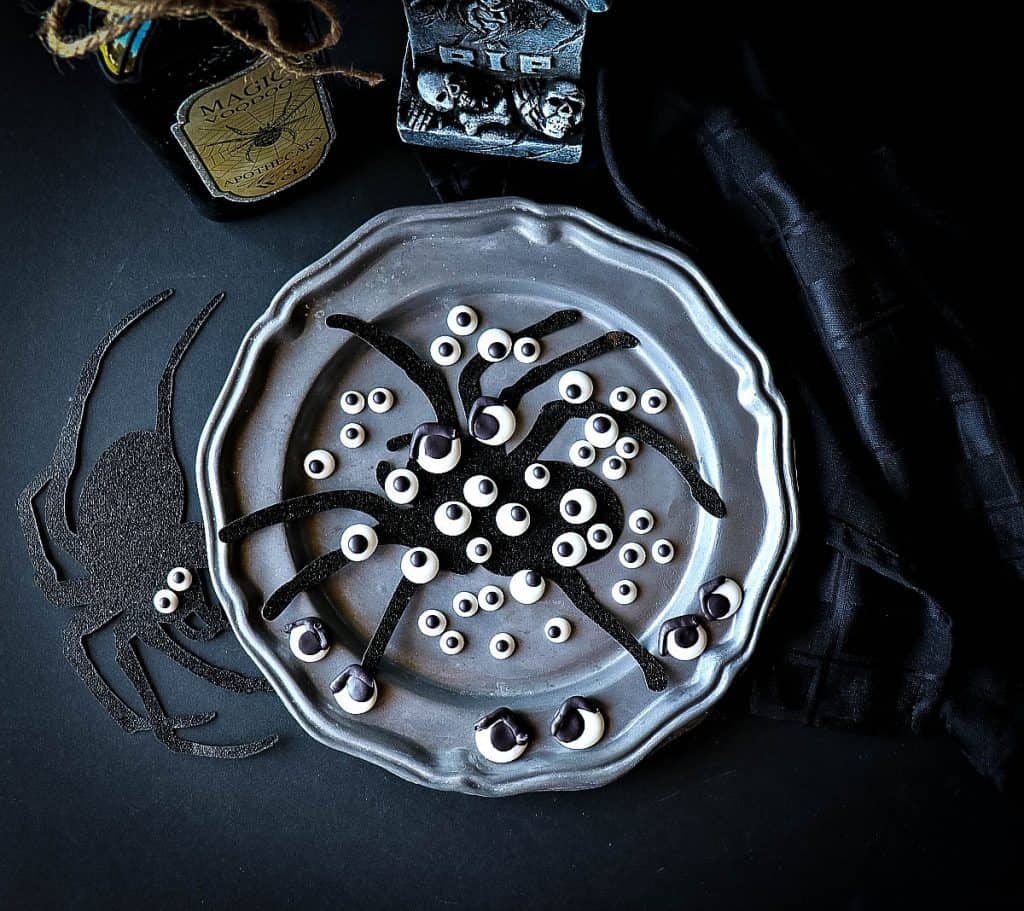
- Set the eyeballs aside for 24 hours to dry completely.
- These eyeballs may be stored in a zip-top bag or covered container in a cool, dry place for months.
Video
Notes
Nutrition
And NOW for a treat you didn't SEE coming...
MORE fun and spooky Halloween recipes by this year's group of Halloween food bloggers.
- Hocus Pocus Spellbook Cookie Sandwiches from Big Bear's Wife
- Candy Corn Cupcakes from Pastry Chef Online
- Chocolate Spider Cheesecake Cheeseball from Sweet ReciPEAs
- Skeleton in the Grave Dirt Cups from Mrs Happy Homemaker
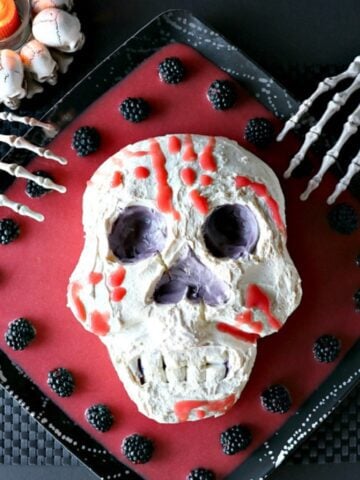
- Super Spooky Graveyard Cake from I am a Honey Bee
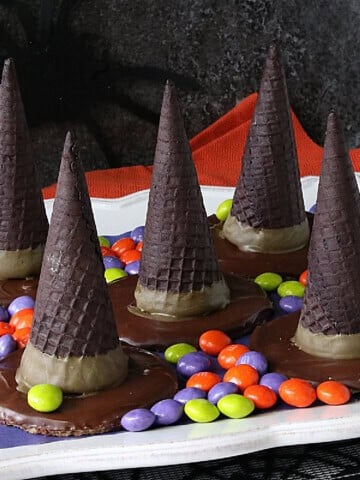
- Halloween Mousse Ice Cream Cones from Pint Sized Baker
- Halloween Monster Snack Mix from Grumpy’s Honeybunch
- Royal Icing Eyeballs from Kudos Kitchen
- Black Chocolate Cupcakes Filled with Slime from The Baking Fairy
- The Crypt Keeper Cocktail from Who Needs A Cape?
- Halloween Deviled Tea Eggs from Karen's Kitchen Stories
- Jack-O-Lantern Cookies from The Redhead Baker
- Halloween Brownies from Savory Experiments
- Halloween Candy Cookie Skillet from Katie's Cucina
“When witches go riding, and black cats are seen, the moon laughs and whispers ‘tis near Halloween.”
EYE sincerely hope you've enjoyed today's recipe for homemade royal icing eyeballs as much as EYE have enjoyed bringing it to you!
Should you have any questions or comments regarding anything you've seen on my site, please don't hesitate to reach out to contact me. It is always my distinct pleasure to get back with you just as soon as I possibly can!
Thank you so much for visiting me today in my Kudos Kitchen. I hope you found something you'll love and that you will come back and visit me often. Please know that there is always room for you around my kitchen table!
Until we eat again, I hope you have a delicious day!


Tricia Bell says
Can I sub vanilla for the almond extract?
Renée says
Yes, you sure can, Tricia!
Happy eyeball making! 🙂
Renee
Missy says
Thank you!! This feels very easy and that is a relief as the candy eyeballs are so expensive!
Renée says
You're welcome, Missy!
Plus you can tailor these to whatever size you need and they'll keep well, stored in an air-tight container, for a long, long, time.
Enjoy making the eyeballs!
Have fun 🙂
Renee
Sydnie says
So fun for the holidays coming up! Excited to use this with my family!
wilhelmina says
These are so dang cute! They will make great additions to my monster cookies! I really love the ones with eyebrows.
Valentina | The Baking Fairy says
How cute are these! You make royal icing work look so easy!
Renée says
It's not hard. The key is adding the right amount of water. I do hope you'll try it.
Christie says
I have never been good at royal icing. I'll be trying my hand at these though. Hopefully, it will help decorate cookies in no time.
Renée says
The more you work with royal the icing the easier it gets. The key is to add water sparingly until you get the proper consistency. The more water, the more fluid and better for flooding. Too runny and it won't stay in the area you want it, so adding water sparingly is key.
Liz Mays says
I'm wildly impressed by these!
Renée says
They couldn't be simpler to make. Try them.
Karen says
Very cute! As always, you are soooooo talented!
Renée says
You are so sweet, Karen. Thank you so much!!
Shadi Hasanzadenemati says
These are super cute! I would love to make these for Halloween!
Renée says
You've got plenty of time. Better get on it! LOL
Teresa Schroeder says
Favorite character is Jack Skellington
Renée says
Nice!
Nellie Tracy says
This is such a great idea and recipe! Perfect timing for Halloween!
Renée says
Thanks, Nellie! Now you have time to make thousands before Halloween. LOL