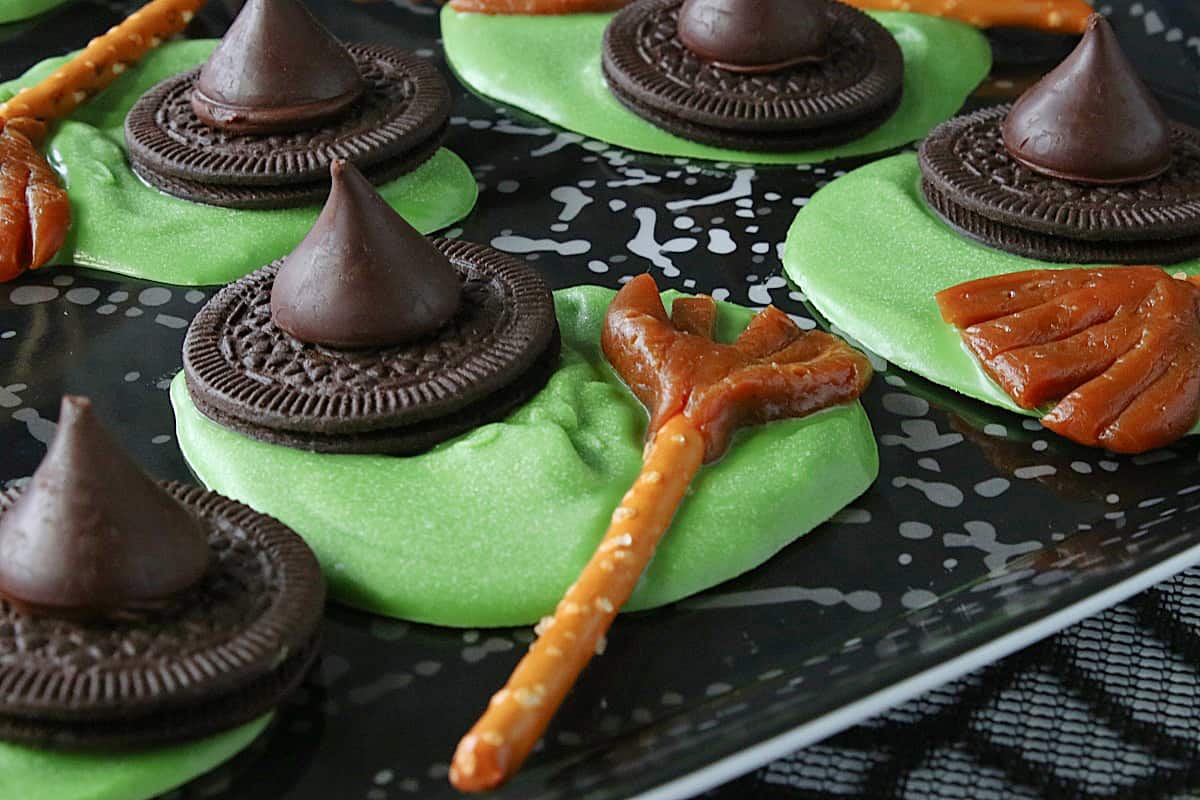
Melted Witch Candy is my fun wink and a nod to an iconic movie classic, and I'll bet you can easily guess "witch" movie I'm talking about.
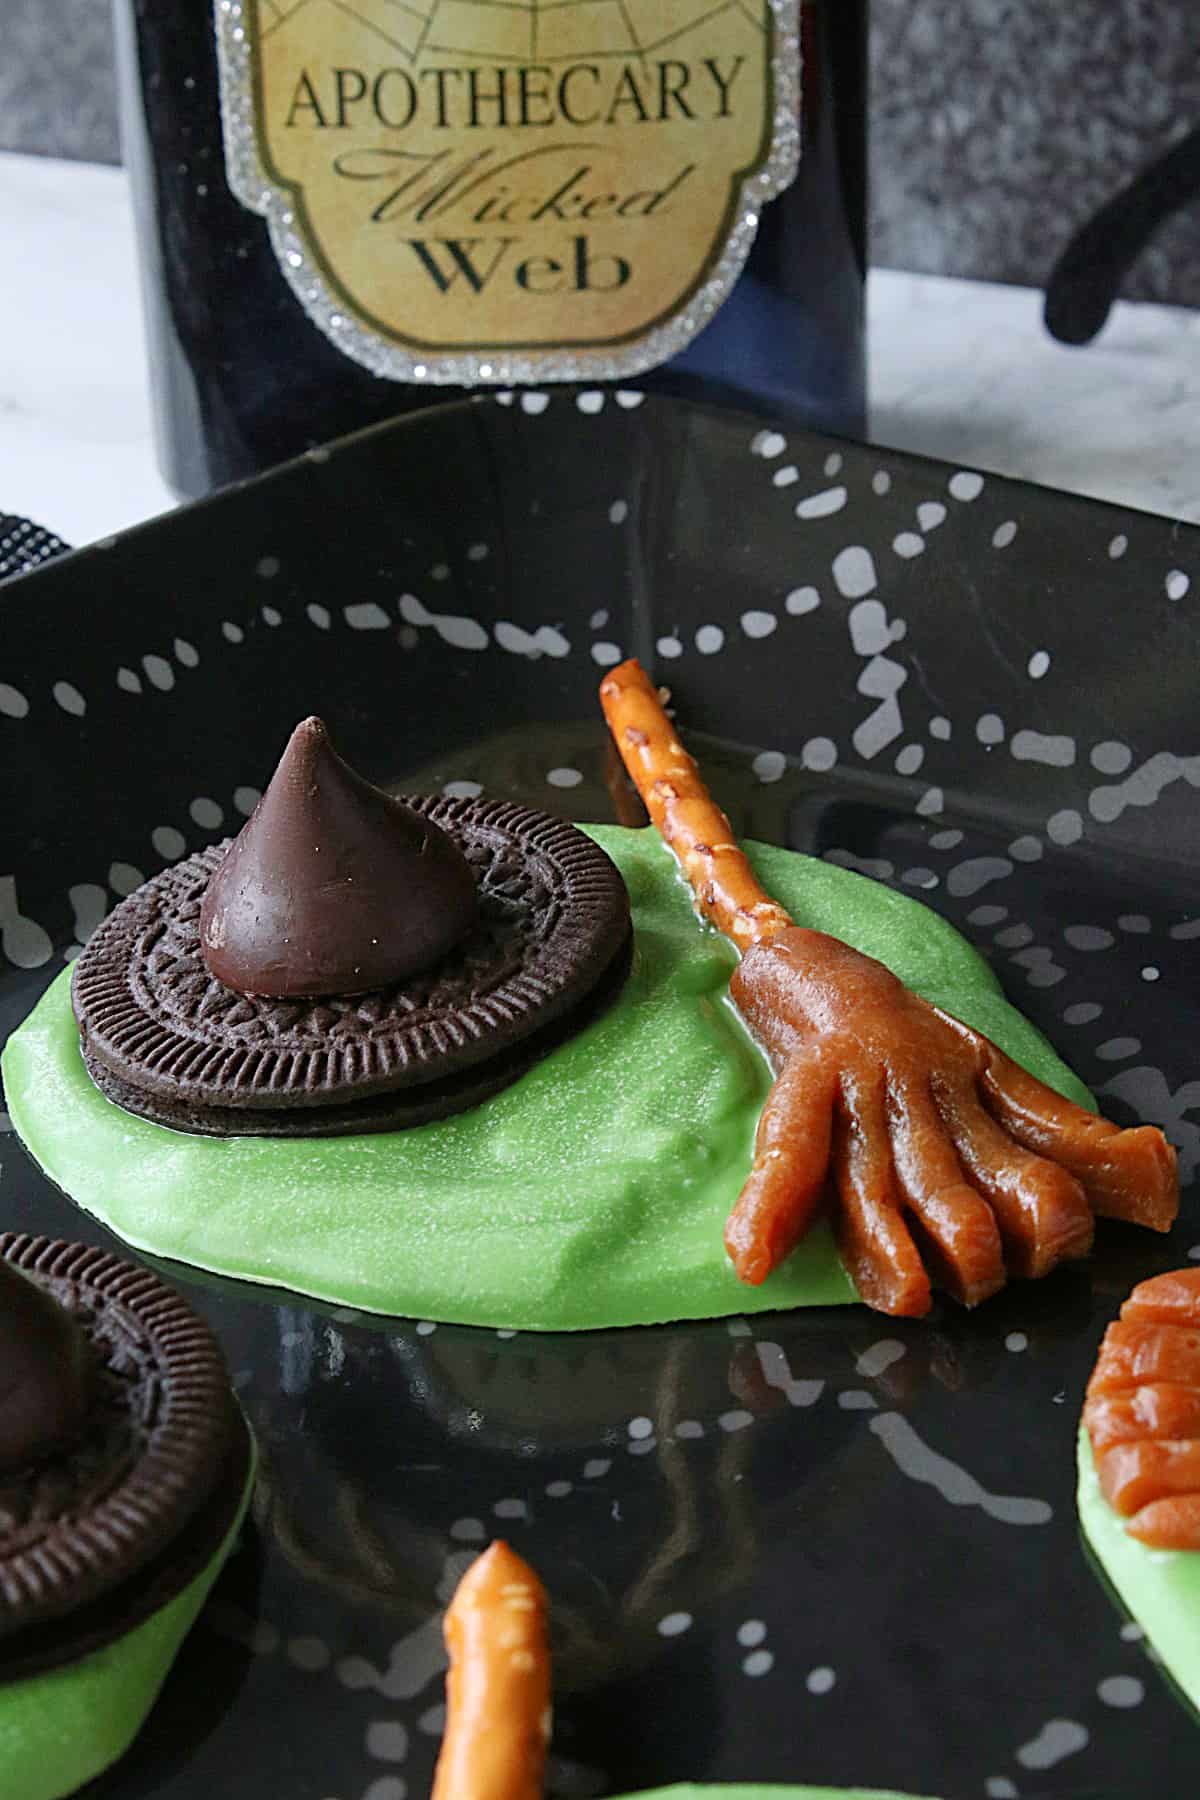
I'm melting, I'm melting...Good! Hurry up!! I'm hungry!!!
Melted witch candy will become a beloved Halloween treat for the kids and grandkids. Make some this year and surprise your little goblins.
This recipe post and its contents may include affiliate links for your consideration. I may earn a commission from qualifying purchases, but your prices are never increased as a result. Thank you.
Go directly to the recipe.
- The ingredients:
- Ingredient information:
- Kitchen tools and equipment needed:
- How many melted witch candies does this recipe make?
- How long will this recipe take from start to finish?
- How to store these Halloween candy melt candies:
- Can these be frozen?
- Renee's top tips for success:
- How to thin melted candy melts (if needed):
- Additional Halloween treats you'll enjoy:
- Printable Recipe Card
- Please comment if you've made this recipe.
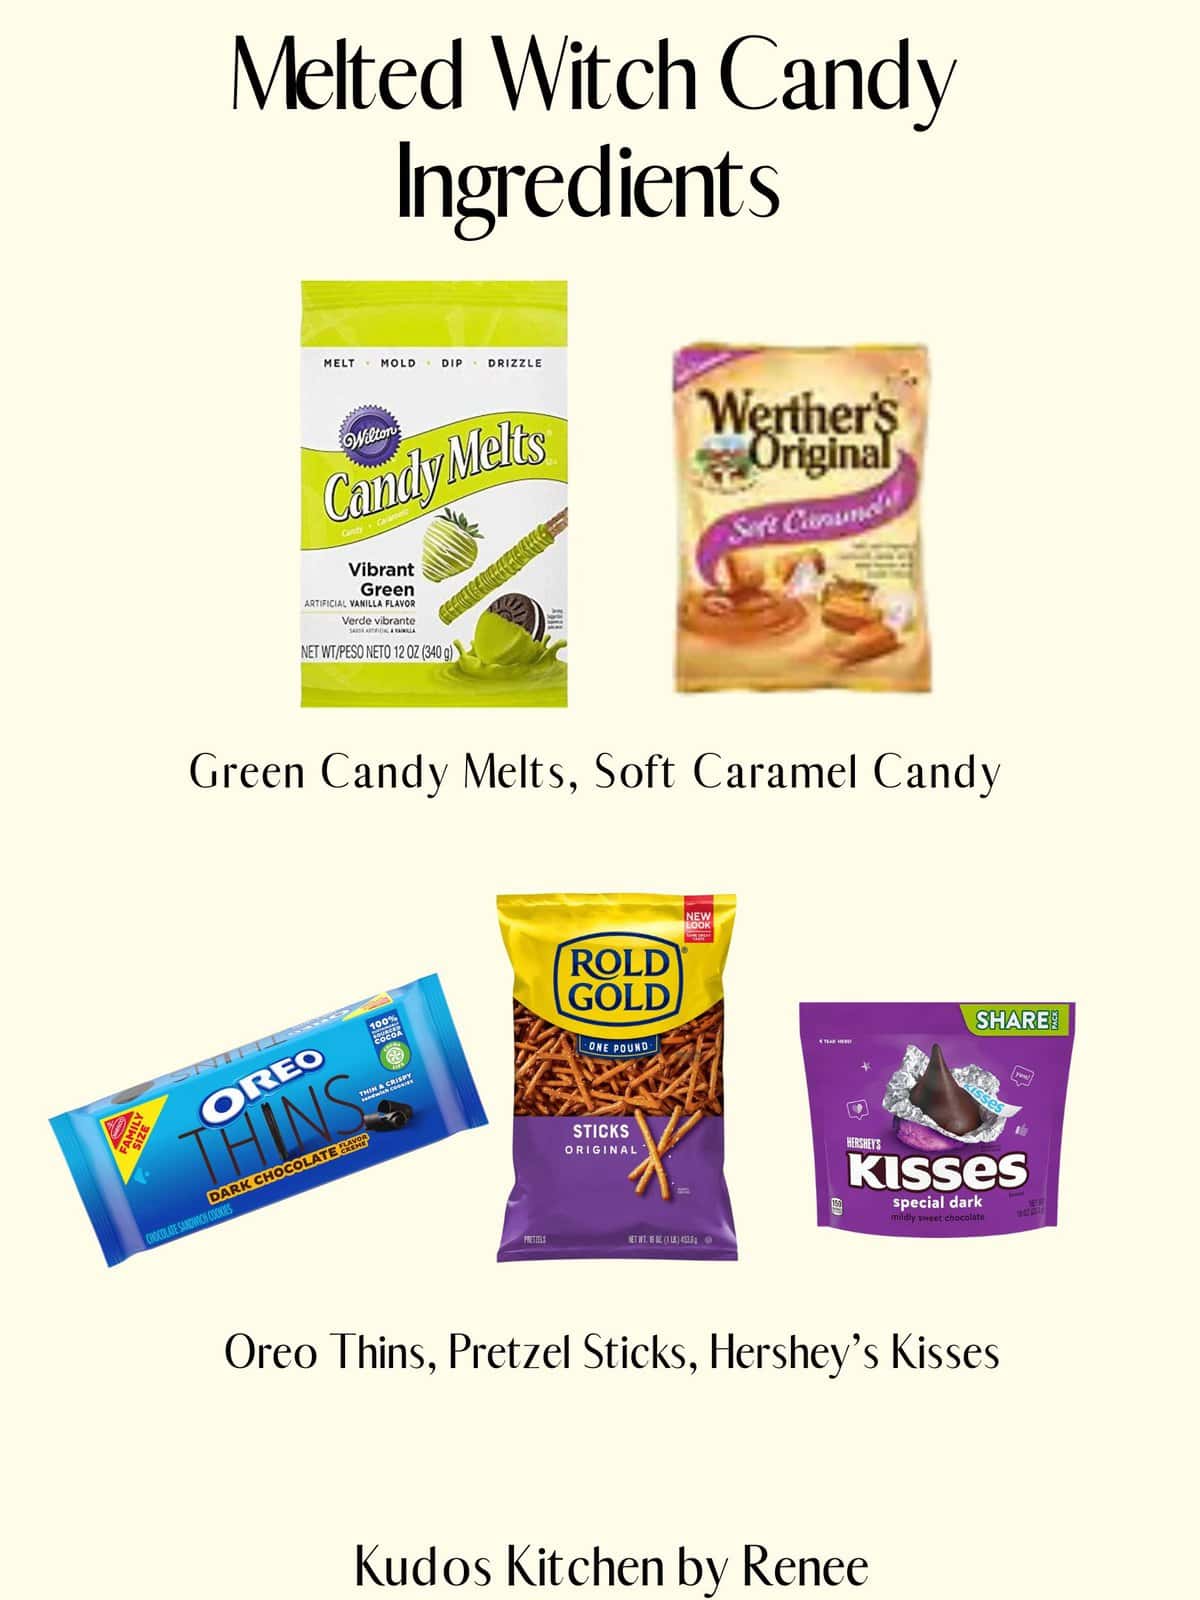
The ingredients:
*Please note that the exact measurements along with a "shop the recipe" feature from Instacart and Walmart is available inside the printable recipe card.


Ingredient information:
CANDY MELT CANDY - I used a combination of dark green and light green candy melt because that's what I had on hand. You certainly only need to use one shade of green, and the one I linked in the recipe card is the shade of green that I think is closest to what you've seen in the images shown.
OREO THINS - You can also use regular-thickness Oreos. It's not a big deal, but when I spotted the thins in the store (with their dark center filling), I knew those were the ones for me. The choice is yours. You can also use the Halloween-colored Oreos if you prefer. They'll all be fun and delicious.
HERSHEY'S KISSES - Again, I used the dark chocolate kisses because I felt they would match the color of the Oreo thins. Traditional Hershey's milk chocolate kisses are acceptable (and delicious) if you cannot find (or don't like) the dark chocolate kisses.
SOFT CARAMELS - You want soft caramel to shape and press it easily around the pretzel stick, and cut the broom bristles easily with a paring knife. A hard caramel candy (although delicious) will not work for this application.
PRETZEL STICKS - I used thin pretzel sticks that are approximately 4 or 5 inches long. Handle them carefully, but know that breakage will most likely occur at some point, so have extras on hand as backup and for nibbling.
Kitchen tools and equipment needed:
MICROWAVE SAFE BOWL - This is my preferred method of melting chocolate. However, there is a fine line that you don't want to cross when using the microwave. When melting chocolate in a microwave, ALWAYS use low power (40% - 50%) with many short cooking intervals and plenty of stirring between intervals. Trying to rush the process and using too high of power will always cause heartache, resulting in a seizing (hardening) of the chocolate and not an evenly melted and smooth end product.
SPATULA - A silicone spatula is my favorite because you can leave it in the bowl in the microwave as you melt and stir the candy to a smooth and glossy finish.
SMALL SKILLET - You'll only be using this for a straightforward task: to melt the bottom of the chocolate kiss candy so it will adhere to the Oreo cookie on its own. Make sure you melt the kisses enough (better sample a few melted kisses first to make sure you've got that process down to a science. lol) because too little melting won't hold the kiss securely to the cookie.
*Note - If you prefer not to use the skillet method for melting the kiss candy, feel free to use a small dab of the melted green candy to adhere the kiss candy to the cookie. The choice is yours.
PARING KNIFE - You'll use this to make small slices in the caramel candy to make the broomstick bristles. Use some baking spray on the tip of the knife to help with some stickiness.
SKEWER - Instead of trying to push the pretzel stick directly into the caramel and risk breakage, I used a skewer (metal or wood both work) to make a hole first and then press the pretzel into that hole.
BAKING SPRAY - Spray this lightly onto parchment paper to prevent the melted witch candy from sticking after hardening and drying. Also, use it on the paring knife (as stated above) when making the broomstick bristles.
BAKING SHEETS - These will be useful for moving your melted witch candies during drying. It's unnecessary to use baking sheets, but if your kitchen is a busy place (and who's isn't?), they're helpful.
PARCHMENT PAPER - Silpat sheets will also work, but I prefer parchment paper. I use the unbleached kind but feel free to use whatever you like. As mentioned, you'll benefit from using a tiny touch of baking spray on the parchment paper for a double dose of anti-stick insurance.
How many melted witch candies does this recipe make?
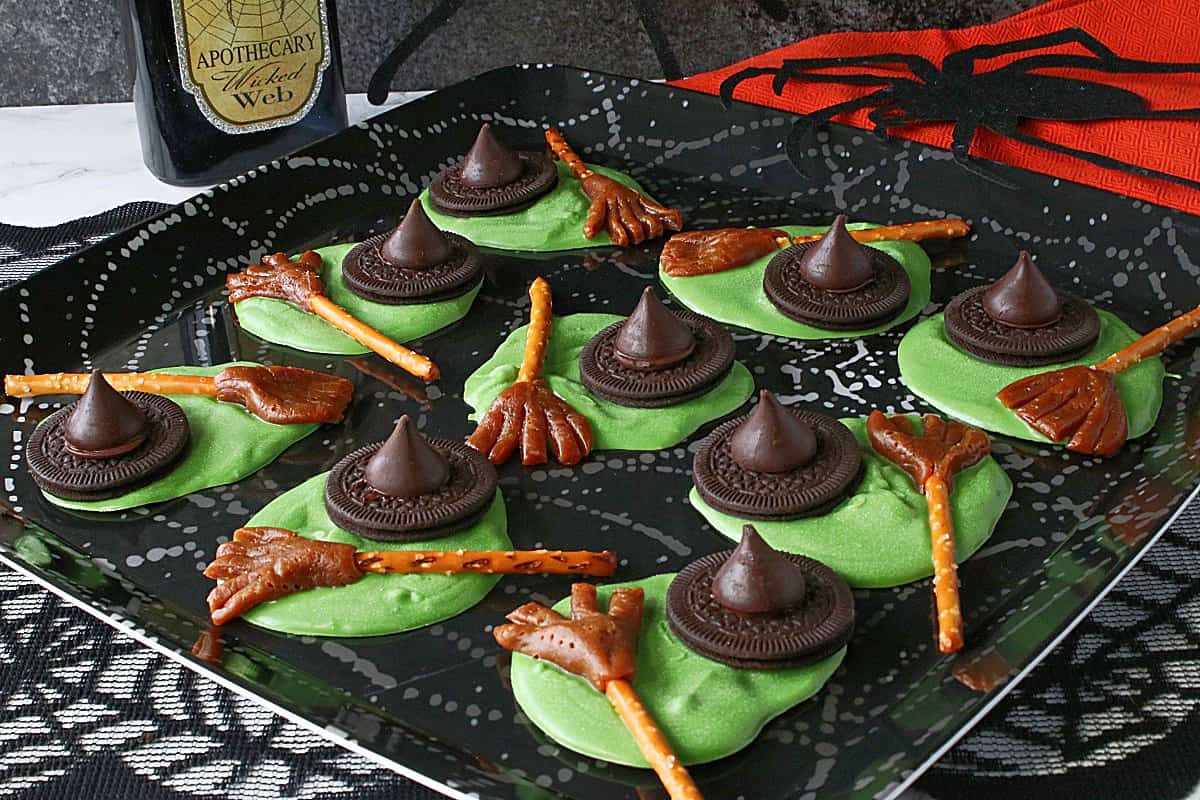
As written, this recipe makes 12 melted witch candies.
If you'd like to make more than 12, increasing this recipe to make as many as you need is easy. Remember that for every six witches, you'll need one bag of candy melts plus six additional Oreos, pretzels, caramels, and kisses (and so on).
How long will this recipe take from start to finish?
Not long at all, probably less than 30 minutes after everything is factored in.
The only fiddly part is making the witches' broomsticks, but you can make those a few days in advance if that makes things easier for you.
How to store these Halloween candy melt candies:
These can be stored, covered, at room temperature for up to 3 days, or they can be stored in the refrigerator, covered, for up to 5 days.
Can these be frozen?
I don't recommend freezing these candies due to a potential texture change in the candy melts.
Renee's top tips for success:
Use the baking spray for the parchment paper and also the paring knife. It will make your life (and cleanup) a lot easier.
Don't heat the chocolate on too high of heat in the microwave. Use only 40 or 50 percent power and stop to stir the chocolate often.
To make adding the pretzel sticks to the caramel easier, soften the (unwrapped) caramels on low power for a couple of seconds.
Don't snack on all the supplies before you've made the witches.
How to thin melted candy melts (if needed):
You may want to reach for water, but that is a huge NO-NO and will only make the chocolate (or candy melts, in this instance) seize up and harden!
Since chocolate has a very high-fat content, the only things that will thin it are other high-fat ingredients such as oil, shortening, or butter.
Additional Halloween treats you'll enjoy:
You'll totally DIG these Twice-Baked Halloween Potato Graves. With just a little bit of effort, this spooky yet easy-to-make dinner is to DIE for.
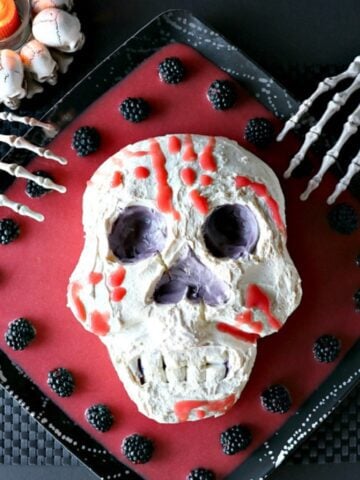
The impact this spooky Swiss Meringue Skull will have when you set him out on the table will be one of freight, and delight.
Can you wrap your "head" around eating gory Brain Food Jello Salad for Halloween? Try not to "think" about it too much, and you'll be just fine. *insert evil laughter here*
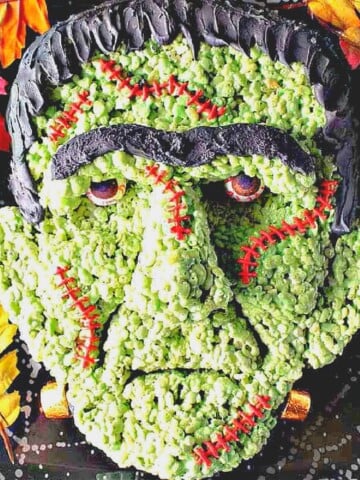
Surprise and delight all the goblins you know by serving up this easy to make freaky Frankenstein Rice Krispie Treat. Think he's too difficult to make? Think again! I'm sharing all my tips and TRICKS with an easy-to-follow step-by-step photo tutorial.
When you make today's recipe (and I hope that you will), I'd appreciate it if you'd take the time to come back and give it a star rating along with a comment on why you rated as you did. Search engines such as Google appreciate comments and ratings and, in turn, will show my recipes to more people. Please look for the pink star rating box within the printable recipe card. Thank you!!
Printable Recipe Card
Melted Witch Candy
Equipment
- skewer for making a hole in the caramel candy
Ingredients
- 2 bags green candy melts
- 12 pretzel sticks plus more in case any break
- 12 soft caramel candy
- 12 Oreo thin cookies I used dark chocolate
- 12 dark chocolate candy kisses
Instructions
- Add the candy melts to a large microwave safe bowl and microwave on medium power, stirring often, until smooth and creamy. Do not rush this process. It may take a few minutes of removing, stirring, and returning to medium power to continue melting.
- Place a sheet of parchment paper on a baking sheet and spray it with baking spray. Make sure the entire sheet is lightly coated with spray, so the candy won't stick once dry.
To make the broomsticks:
- Gently but firmly press about 1" of the pretzel stick into one end of the softened caramel. *Note - if needed put the unwrapped caramels in the microwave for 2-3 seconds to make them more pliable. Be careful, they will be hot! Work the caramel around the pretzel stick making sure it's secure.
- Use your fingertips to press the caramel flat on the end to represent the broom and then use a paring knife to cut slices in the caramel to represent the bristles. *Note - spraying the tip of the paring knife with baking spray will make this job a bit less sticky.Set the brooms aside until ready to assemble.
To make the witch's hat:
- Carefully melt the bottom of the unwrapped kisses on a small skillet and immediately attach the melted kiss to the center of the Oreo thin cookie.Set the hats aside until ready to assemble.
How to assemble the melted witch candy:
- Spoon approximately 2 tablespoons of melted chocolate onto the prepared parchment lined baking sheet. *Note - you don't want perfectly round circles. You're looking for a "melted witch" shape.
- Top each melted witch with a prepared witch hat and a witch's broomstick.
- Allow the candy to dry and harden completely before serving.
Video
Notes
Nutrition
I sincerely hope you've enjoyed today's fun and easy-to-make Melted Witch Candy for Halloween this year.
Should you have any questions or comments regarding anything you've seen on my site, please don't hesitate to reach out to contact me. It is always my distinct pleasure to get back with you just as soon as I possibly can!
Thank you so much for visiting me today in my Kudos Kitchen. I hope you found something you'll love and that you will come back and visit me often. Please know that there is always room for you around my kitchen table!
Follow me across my social media platforms and join in on the conversation: FACEBOOK, INSTAGRAM, PINTEREST, TIKTOK, YOUTUBE, and my KUDOS KITCHEN AMAZON STORE
Until we eat again, I hope you have a delicious day!


Renée says
These are so fun and easy to make...not to mention delicious!