
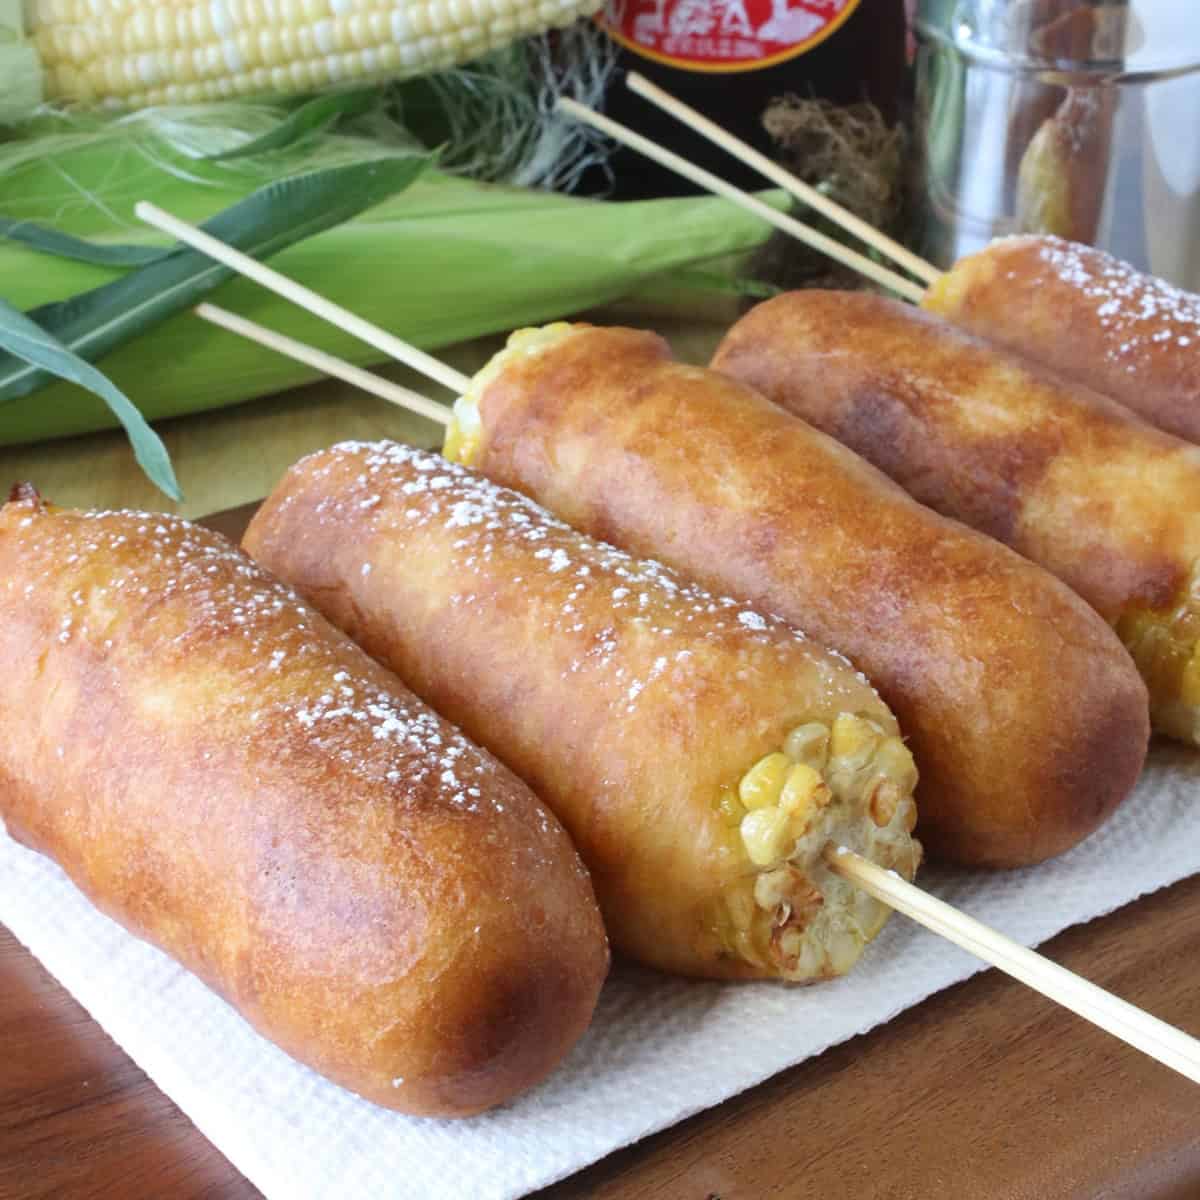
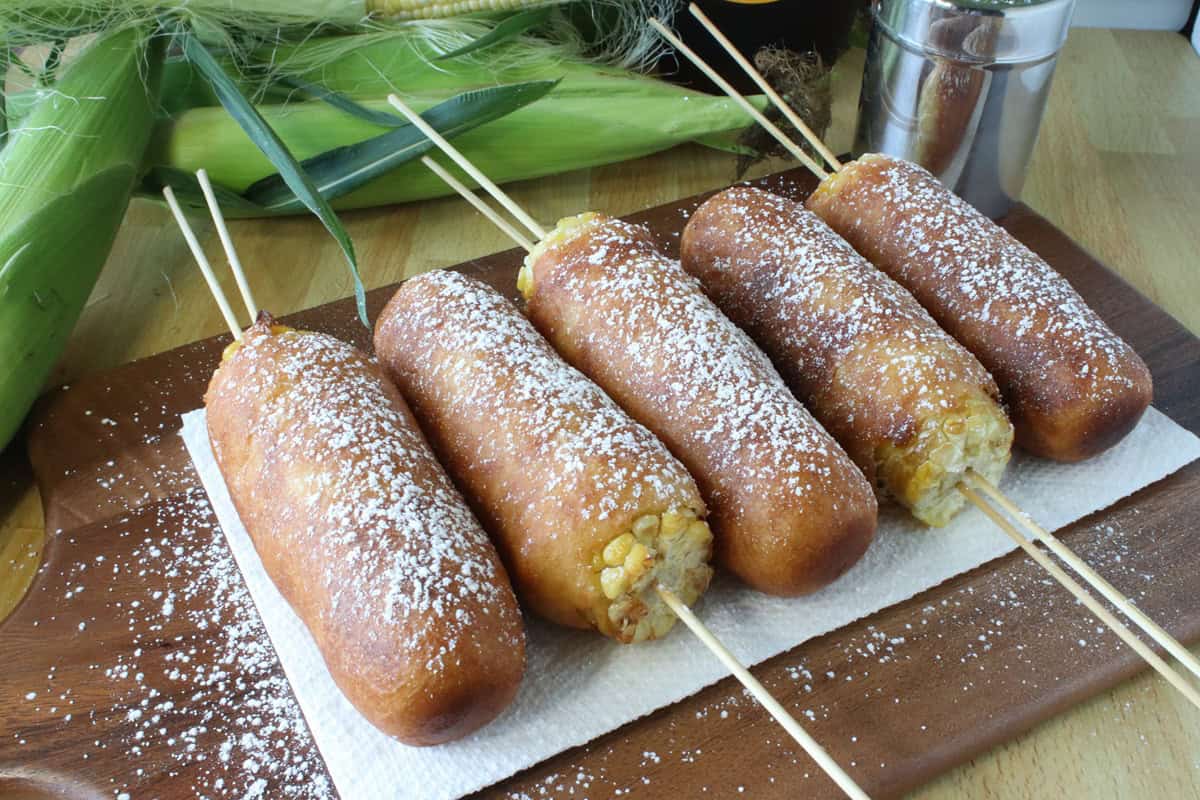
Corn on the Cob Fritters are for when you have a hankerin' for corn on the cob, but you're feeling a little extra frisky, and a whole lot more fun!!
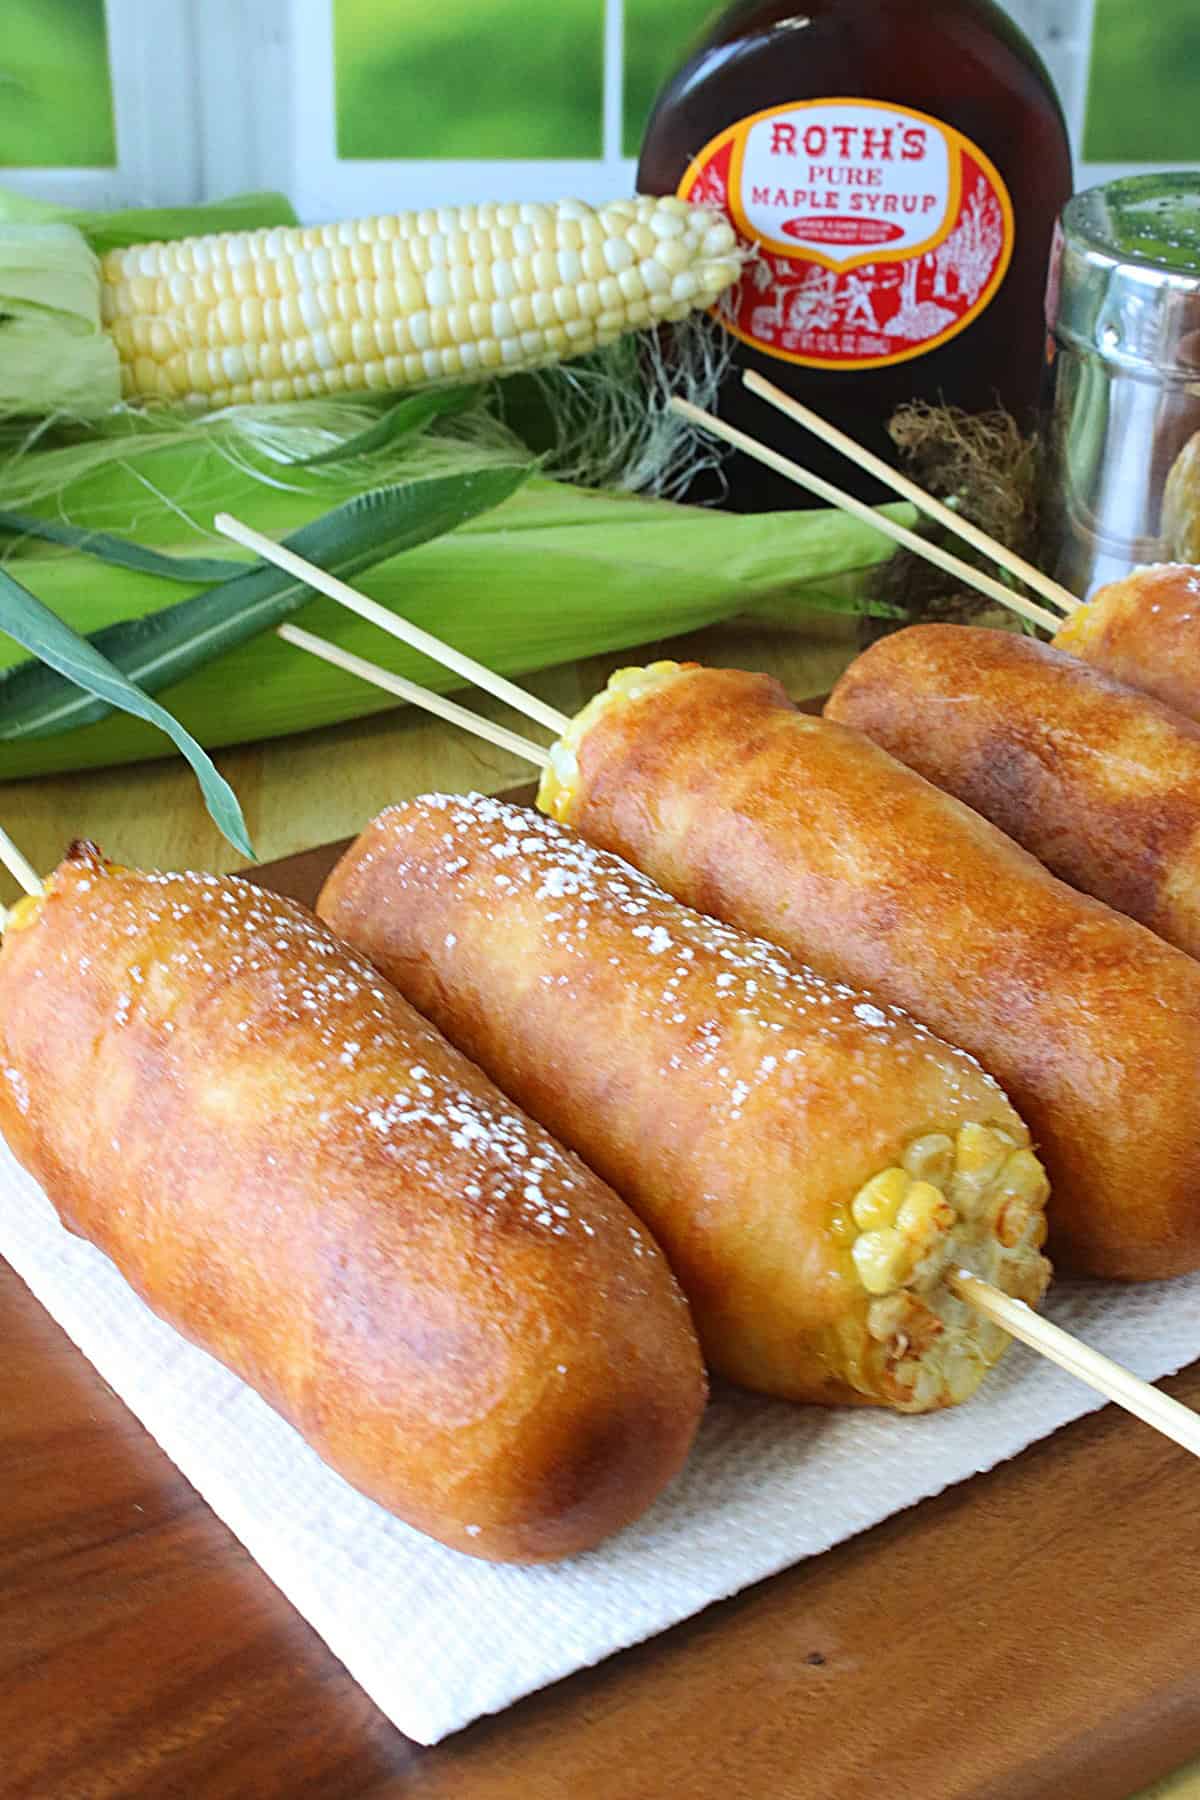
Who doesn't love fresh summer sweet corn? Since you're here, I'm fairly certain you do...or know someone who does. Since that's the case, I invite you to take a look at some of these other sweet corn recipes that I know you'll enjoy: Mexican Street Corn Dip, No-Churn Roasted Sweet Corn Ice Cream, Pumpkin Corn Chowder with Shrimp, Mexican Street Corn Risotto, and Zucchini and Corn Gratin.
This recipe post and its contents may include affiliate links for your consideration. I may earn a commission from qualifying purchases, but your prices are never increased as a result. Thank you.
Table of Contents Found Here
- The ingredients list for making corn on the cob fritters:
- Why batter and deep fry corn on the cob?
- Why does this recipe work?
- What oil temperature is best for frying battered corn on the cob?
- What is the best oil for deep-fat frying?
- Can the oil used for deep-fat frying corn on the cob fritters be reused?
- What are the best skewers to use when frying corn on the cob?
- Can corn on the cob fritters be made in advance?
- How to store battered, deep-fried corn on the cob:
- How to reheat leftovers:
- What is the best size pot for making fried corn on the cob?
- The best way to store fresh corn on the cob:
- Best way to shuck and cleanly remove silks from corn:
- Recipe Quick Take:
- Printable Recipe Card
- Please comment if you've made this recipe.
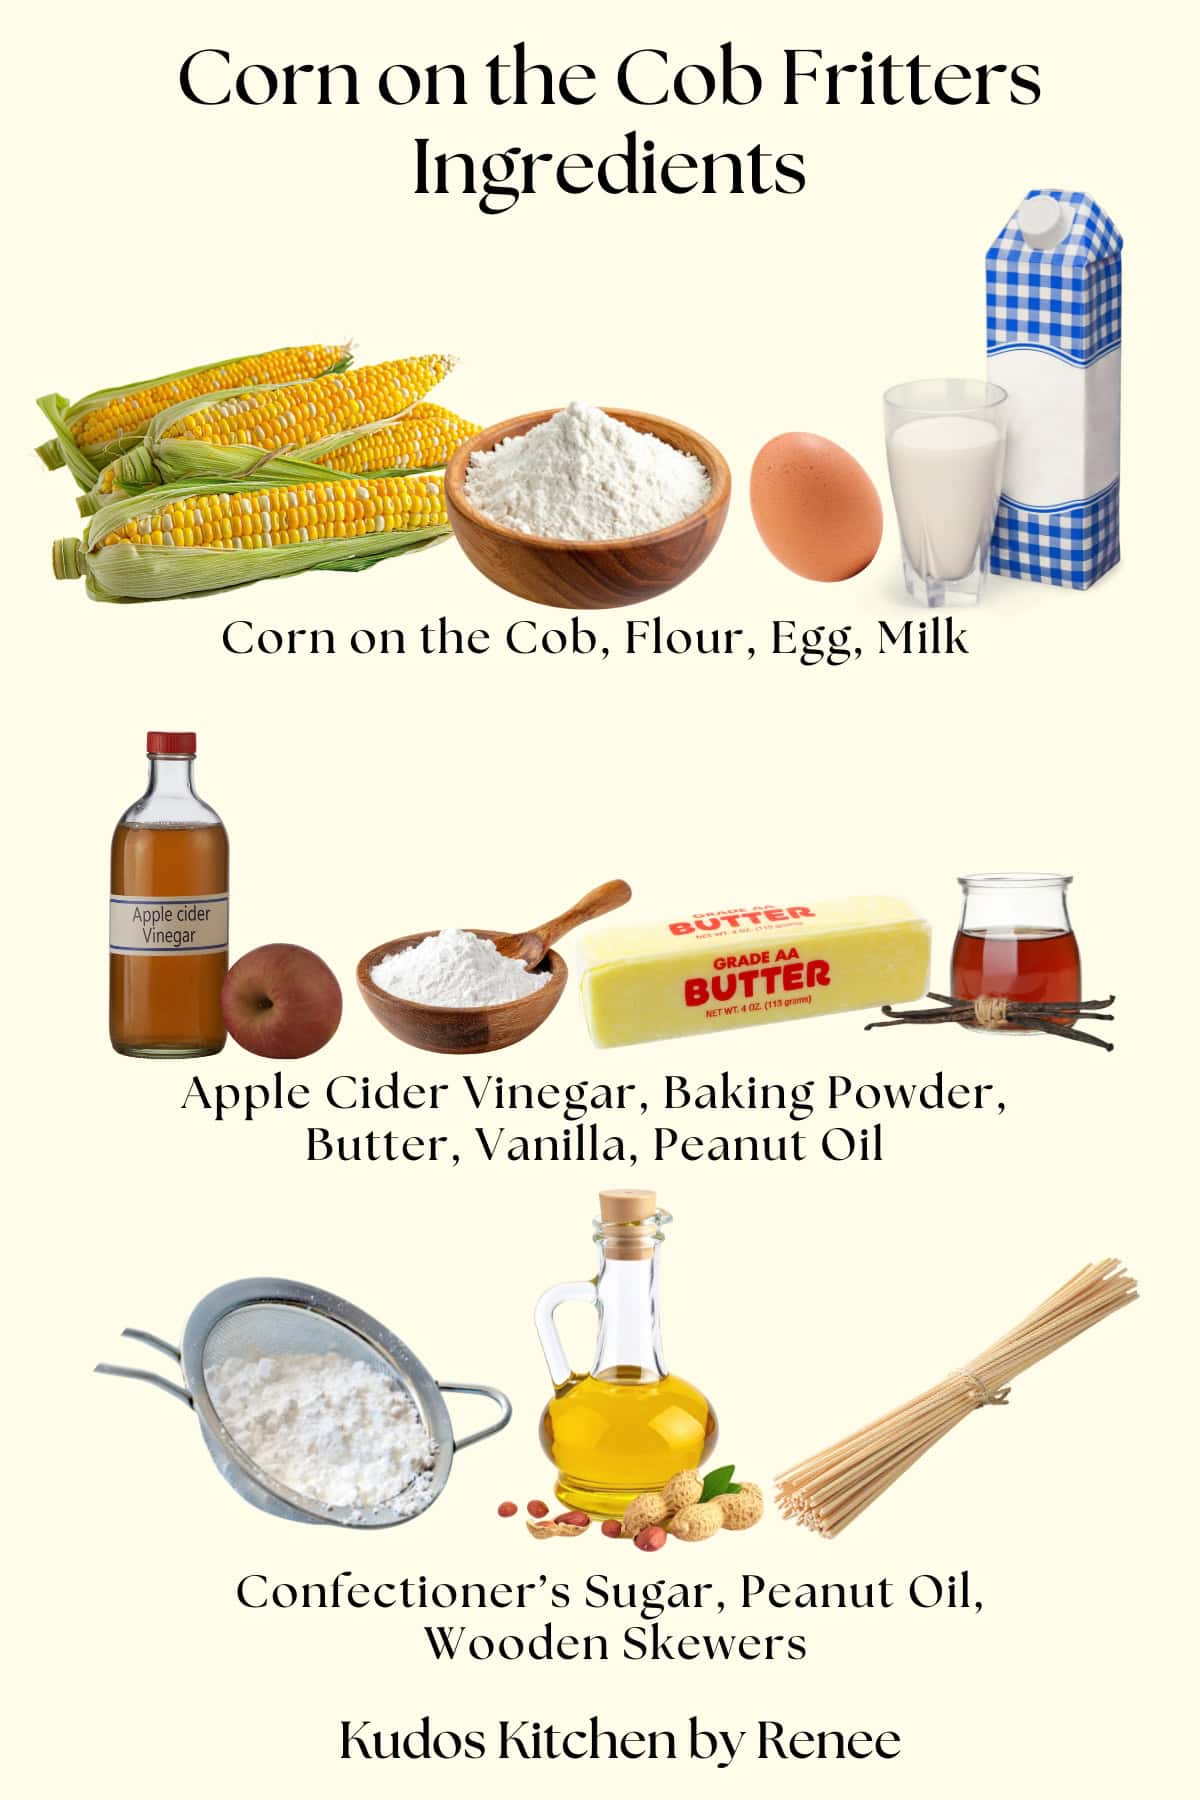
The ingredients list for making corn on the cob fritters:
*Please note that the exact measurements along with a "shop the recipe" feature from Instacart and Walmart is available inside the printable recipe card.

Why batter and deep fry corn on the cob?
Three reasons really...
- Because it's delicious!
- Because it's relatively simple to do.
- Because it's fun and completely different.
Why does this recipe work?
It's a sweet and savory new way to eat corn on the cob that's just like being at the local county fair, only a lot less expensive.
What oil temperature is best for frying battered corn on the cob?
I recommend using an instant-read thermometer and bringing the oil to 350-360 degrees Fahrenheit.
What is the best oil for deep-fat frying?
I like to use peanut oil when deep fat frying because it has a very high smoke point (450 degrees), and it imparts the deep-fat-fried flavor I enjoy.
However, you can also use refined avocado, vegetable, or canola oil.
Can the oil used for deep-fat frying corn on the cob fritters be reused?
It sure can.
Cool the oil completely before straining the brown bits from the oil and funneling it back into a clean (or previously used) oil container. Label the container and store it in a cool, dark place until ready to use again.
You may reuse deep fat frying oil 3-4 times before discarding it and starting with fresh oil.
What are the best skewers to use when frying corn on the cob?
I used 2 wooden skewers per ear (for structural integrity and safety), and soaked the skewers in water for 30 minutes before inserting them into the corn before frying.
I don't recommend using metal skewers, however, as they may get hot during frying and will also become a burn hazard when serving.
Can corn on the cob fritters be made in advance?
No. I don't recommend it.
These are intended to be served directly out of the hot oil (after a few minutes of cool-down time, of course) while they're beautifully golden and crispy on the outside.
How to store battered, deep-fried corn on the cob:
Store leftovers loosely covered in the refrigerator for up to 3 days.
How to reheat leftovers:
Reheat the corn on the cob fritters, uncovered, in a moderate oven or air fryer until hot.
What is the best size pot for making fried corn on the cob?
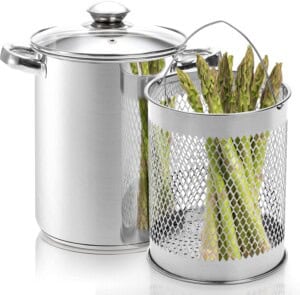
I find that the best pan for frying ears of corn, or even bratwurst on a stick (aka corn-wurst), is a tall asparagus pot (shown below), which is great for deep-frying tall items on a stick such as corn and sausage.
But don't think this pot is only for deep-frying tall things or cooking asparagus; it's also wonderful for cooking eggs, new potatoes, carrots... you name it.
You'll find a million and one uses for this unique and versatile pot, and you'll reach for it often as I do.
Save this for later.
Email forwarding service for saving information.
The best way to store fresh corn on the cob:
Soak the ears of corn in a sink full of water, with the husks on, for several hours. Remove the corn and surface-dry on paper towels.
Add the corn covered with damp paper towels to a large bag (or bags), and keep the bag open for air circulation.
Stored this way, the corn on the cob will stay fresh for up to 4 days. Remove the corn from the refrigerator when ready to use, and shuck and remove the silks as instructed below.
Best way to shuck and cleanly remove silks from corn:
If you watch the video, you'll see that I carefully chop the stem end off of each ear of corn, approximately 1-2 inches up from the stem.
Once done, place the prepared ear of corn in the microwave (husks intact) and microwave on high power for 3 minutes.
Caution: they will be HOT and partially cooked.
Once the corn is cool enough to handle, remove from the microwave. Gently peel back the husks, and you’ll be amazed at how easily those pesky silks come right off the corn.
It's like magic and completely hassle-free.
I typically cook one ear of corn at a time in the microwave, but feel free to do several at once.
Recipe Quick Take:
- DIFFICULTY LEVEL - Moderate
- PREP TIME - 15 Minutes
- FRY TIME - Approximately 2 Minutes per ear
- MAKE AHEAD - No
- FREEZABLE - No
- FLAVOR PROFILE - Sweet and savory. Crisp. Buttery. Delicious.
Printable Recipe Card

Corn on the Cob Fritters
Equipment
- asparagus pot or other tall, narrow pot
- instant read thermometer for heating the oil to temperature
- chef's knife for preparing corn
- cutting board for preparing corn
- wooden skewers soaked in water for 30 minutes
- sugar shaker optional
- paper towels
Ingredients
- 6 ears corn shucked with silks removed
For the batter:
- 1½ cups all-purpose flour plus additional for flouring each ear of corn
- 1 teaspoons baking soda
- 1 teaspoon baking powder
- 2 tablespoons granulated sugar
- 1 large egg slightly beaten
- 1¼ cup buttermilk or buttermilk alternative
- ¼ cup butter, melted and cooled slightly
- ½ teaspoon pure vanilla extract
To fry the corn:
- 2½ cups peanut oil heated to 325 degrees F
To serve the corn on the cob fritters:
- confectioners sugar optional
- maple syrup optional
- melted butter optional

Instructions
- Use the pointed end of the wooden skewers to push them through each corn cob (two skewers per cob) until the skewers are approximately ¾'s way through the cob. Set aside while heating the oil.
- Heat the oil in a tall, narrow pot to 350-360 degrees F (using an instant read thermometer), making sure that the oil is at least 4" from the top of the pot to allow for oil expansion when frying, and to prevent boil over.
- In a large bowl whisk together the flour, baking powder, baking soda, sugar and salt.In a medium-size bowl whisk together the egg, buttermilk (or buttermilk replacement), melted (and slightly cooled) butter, and vanilla extract until fully combined.
- Pour the wet ingredients into the dry ingredients and whisk the two together to form a slightly lumpy and thick pancake batter (do not overmix). Allow the batter to sit for 5 minutes before coating the corn.
- Cover each ear of corn with a light dusting of flour, making sure to brush off the excess. Spoon (or dip) the thick batter evenly onto the flour dusted corn and then immediately (but carefully) add the corn (tip side down) into the hot oil making sure to hold onto the sticks so it doesn't fully immerse into the oil, only as far up as the batter goes.Hold the battered corn in the oil until the batter is lightly puffed and golden brown. Remove the fried corn to a paper towel lined plate or baking sheet and continue the same process with the remaining corn. Keep the corn warm in a low (300 degree oven) uncovered until ready to serve.
- Serve the corn on the cob fritters with a light sprinkling of powdered sugar, or a drizzle of maple syrup or melted butter.
Video
Notes
Nutrition
I sincerely hope that you'll enjoy making, serving, and of course eating, this fun and delicious new corn on the cob recipe as much as I've enjoyed bringing it to you!
Should you have any questions or comments regarding anything you've seen on my site, please don't hesitate to reach out to contact me. It is always my distinct pleasure to get back with you just as soon as I possibly can!
Thank you so much for visiting me today in my Kudos Kitchen. I hope you found something you'll love and that you will come back and visit me often. Please know that there is always room for you around my kitchen table!
Until we eat again, I hope you have a delicious day!

All of the recipes you'll find here on my website are in loving memory of my son, Greg, who left this earth far too soon and will be forever in our hearts.

Comments
No Comments