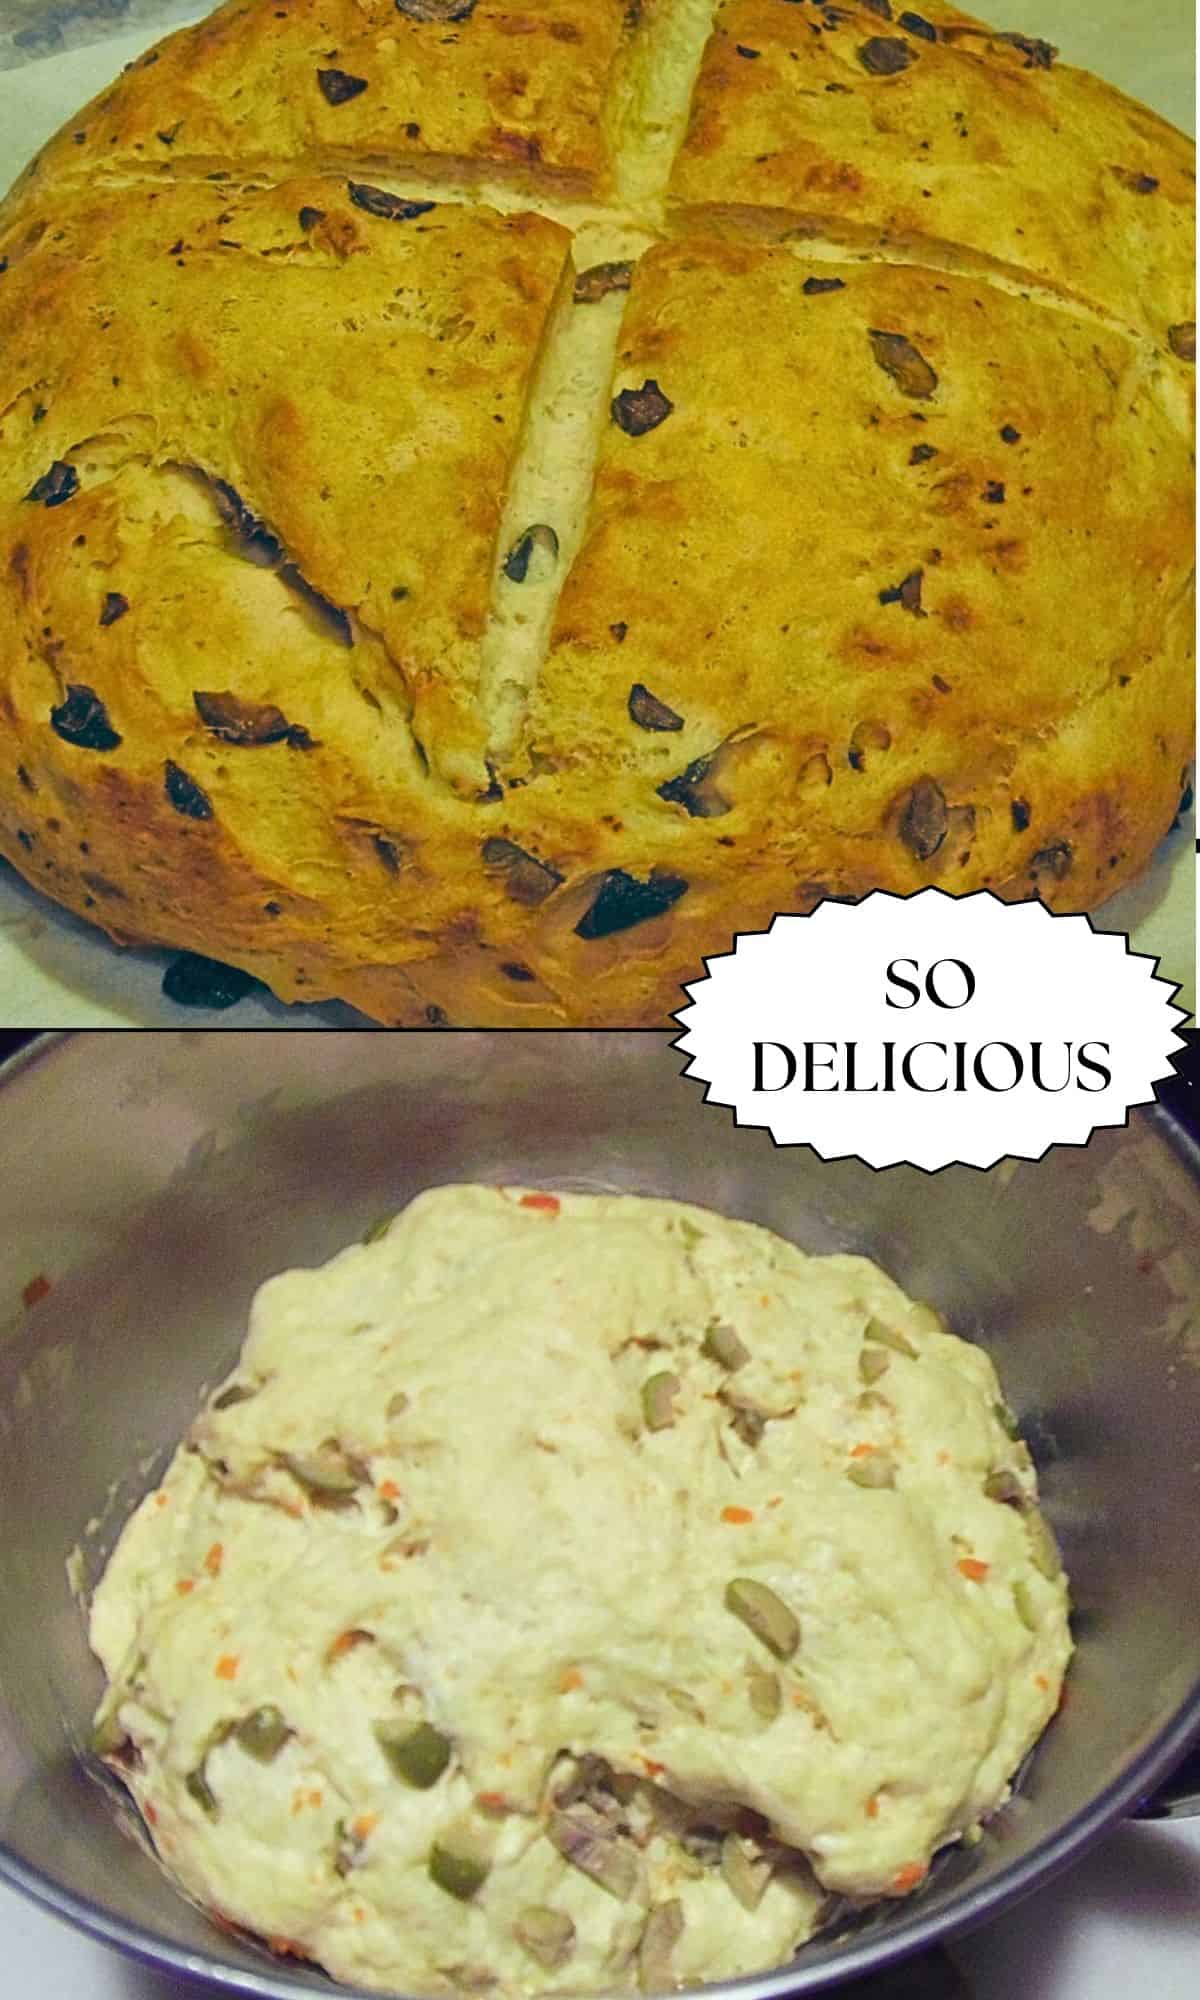
Rustic Olive Bread is wonderfully fruity with a gorgeous interior crumb. It's easy to make, a pleasure to serve, and a pleasure to eat!
If you like baking with yeast, I've got a bunch more recipes on my site that I wholeheartedly invite you to try. Recipes like: Homemade English Muffin Bread, Homemade Rye Bread with Dill, Sally Lunn Batter Bread, and Oatmeal Honey Bread with Sunflower Seeds.
This recipe post and its contents may include affiliate links for your consideration. I may earn a commission from qualifying purchases, but your prices are never increased as a result. Thank you.
Table of Contents Found Here
Recipe Disclaimer:
I originally published this recipe on my website in 2013. I'm working hard to update all my older recipes with recipe cards, new photos, and additional recipe information, but getting to all of them will take time. Please bear with me.
This recipe now has a printable recipe card plus additional helpful information, but the photos remain unchanged.
In the meantime, let me assure you that this recipe is still a winner and one I'm sure you'll be well pleased with when you make it at home.
The Ingredient list:
*Please note that the exact measurements along with a "shop the recipe" feature from Instacart and Walmart is available inside the printable recipe card.
- all-purpose flour
- pimento stuffed olives (or your favorite variety of pitted olives)
- active-dry yeast
- warm water
- extra virgin olive oil
- kosher salt
Necessary kitchen tools and equipment:
- stand mixer with dough hook (optional)
- mixing bowls
- dough whisk (optional)
- wooden spoon
- kitchen scale (optional)
- measuring cups and spoons
- instant read thermometer
- chef's knife
- cutting board
- plastic wrap
- baking sheet
- parchment paper
- cooling rack
- serrated knife (for slicing)
How this recipe came to be:
I was trying to recreate a bread I had tasted at my sister's house after she'd taken a trip to her local farmers market.
What I recall was a delicious loaf that had an over-the-top olive oil flavor and that had a texture that was light and airy but left your fingers needing a napkin (or a good licking) to cleanse them of all that delicious olive oil that was left behind.....Hardly a bad thing. 😉
Here's the recipe I came up with but it fell slightly short of the oily finger syndrome.
Save this for later.
Email forwarding service for saving information.
It did, however, have a wonderfully fragrant and fruity olive taste that made for some really wicked tasting slices AND bread crumbs with the few slices I managed to hide from the family, (oh yeah, I SO did that)!
Can this bread be frozen after baking?
It sure can!
Wrap it well in several layers of plastic wrap, label and date the package, and freeze for up to two months.
Thaw in the refrigerator overnight.
Does this homemade olive bread make good toast?
It makes AMAZING toast!! Try it for yourself to find out.
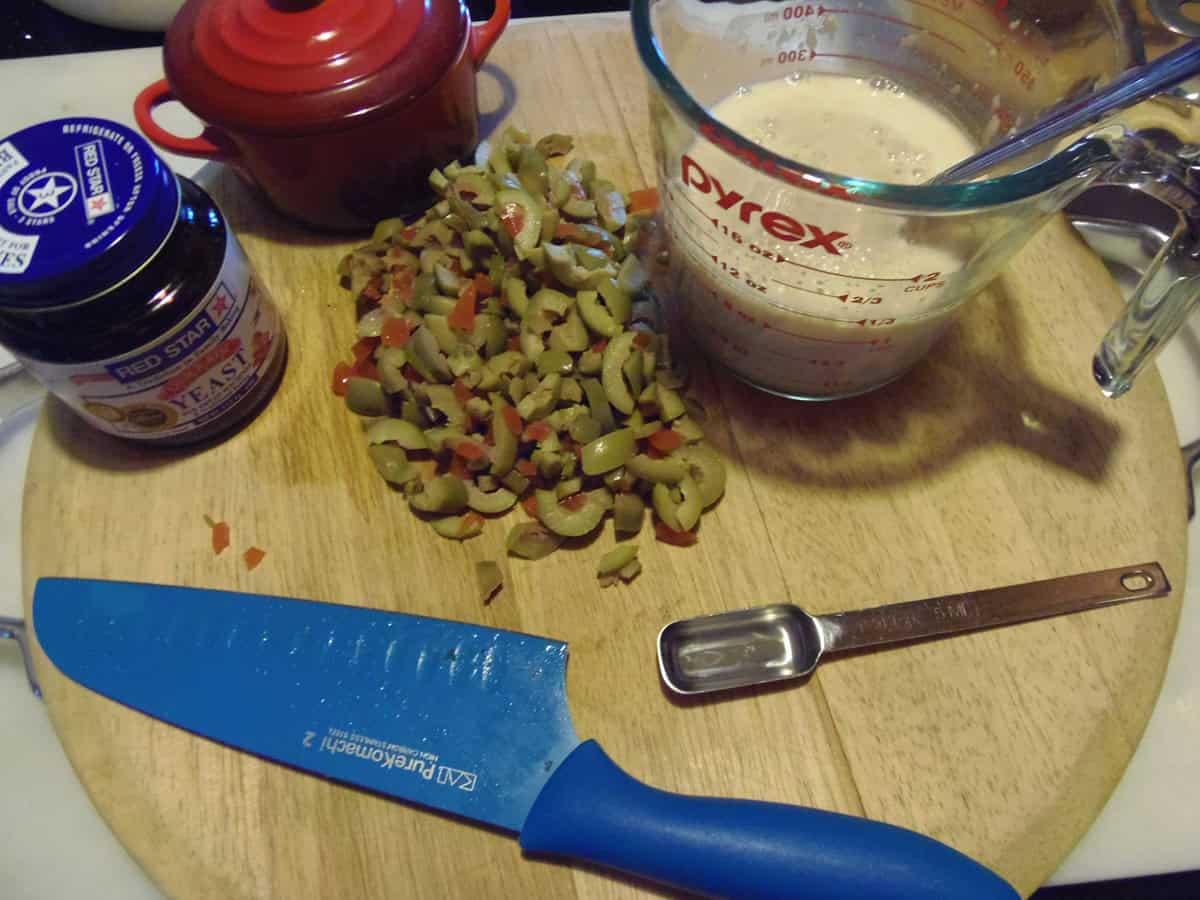
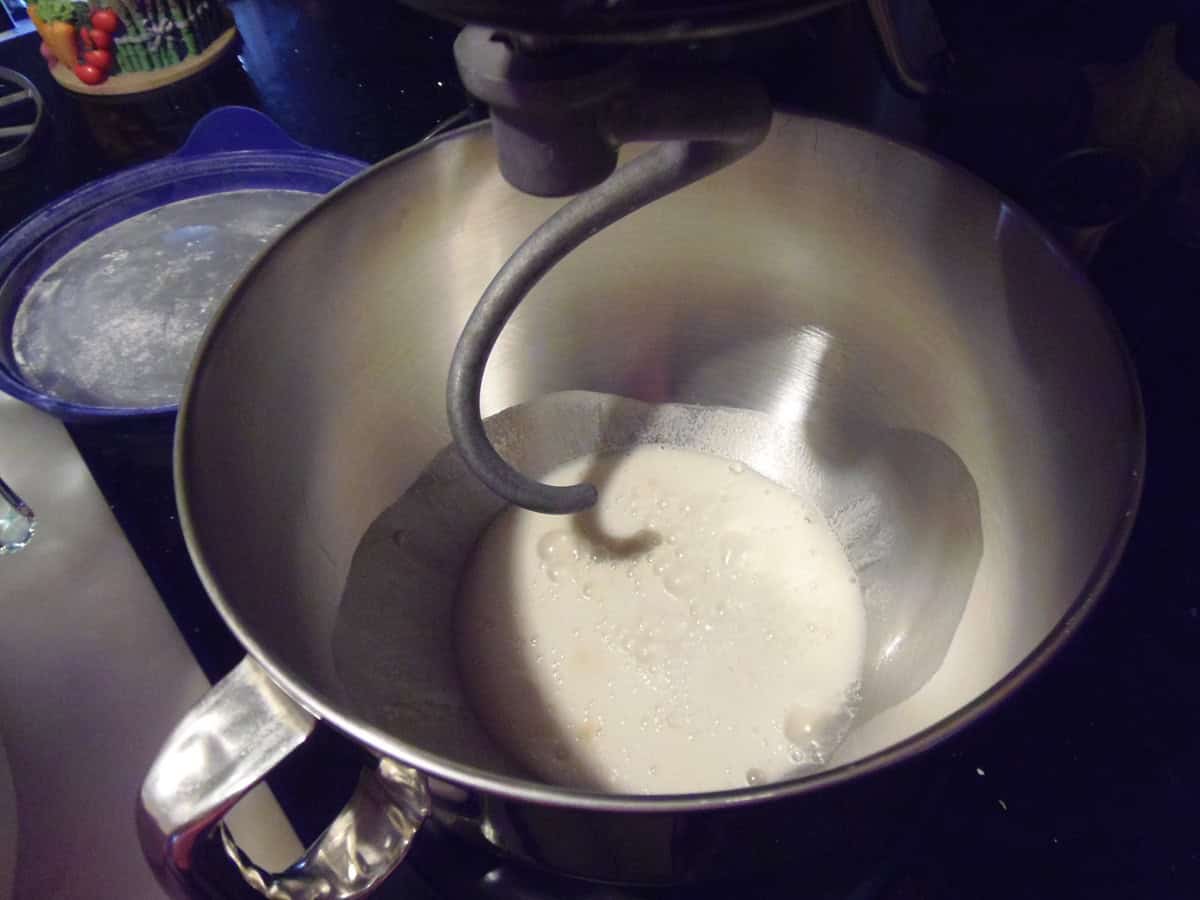
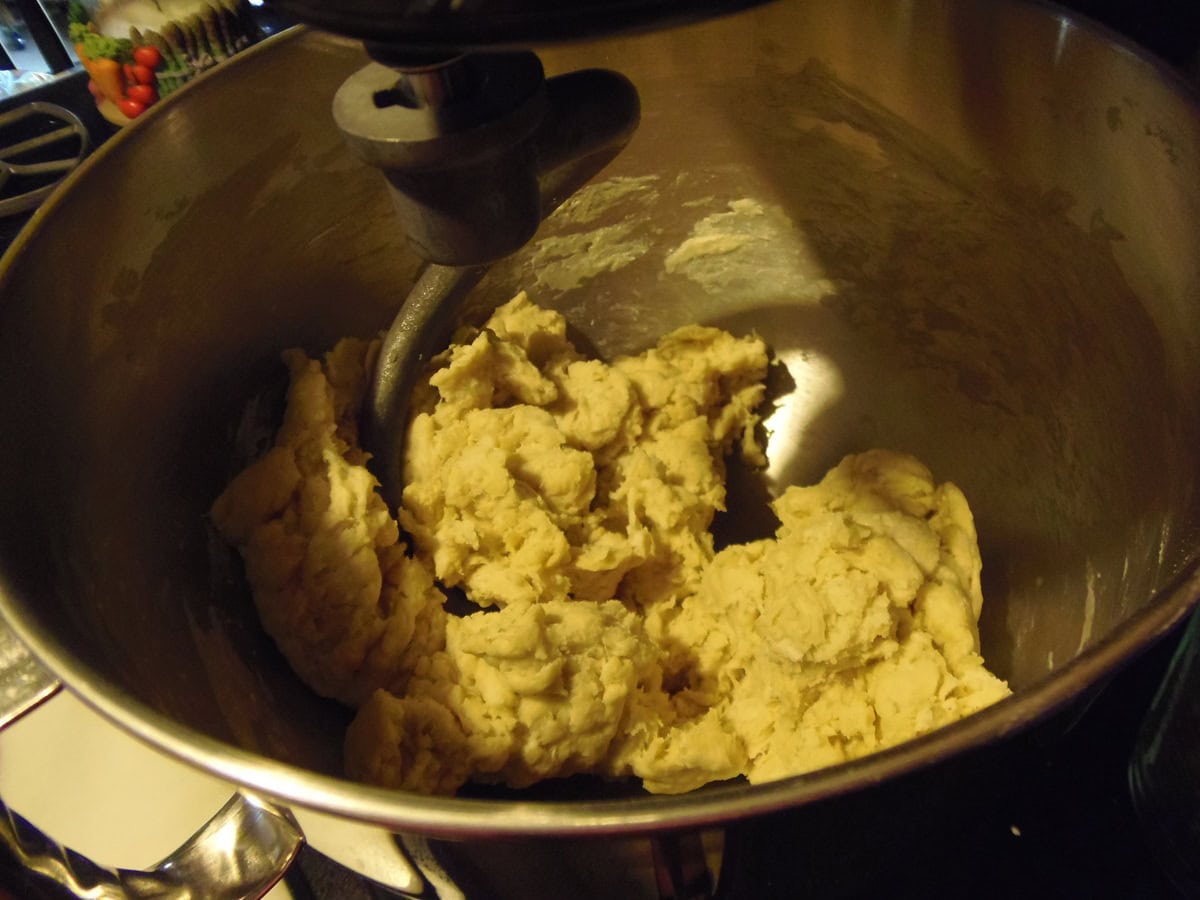
The step-by-step photo instructions:

When you make today's recipe (and I hope that you will), I'd appreciate it if you'd take the time to come back and give it a star rating along with a comment on why you rated as you did.
Search engines such as Google appreciate comments and ratings and, in turn, will show my recipes to more people. Please look for the pink star rating box within the printable recipe card. Thank you!!
Printable Recipe Card

RUSTIC OLIVE BREAD
Equipment
- KA stand mixer
- dough whisk
- kitchen scale
- serrated knife (for slicing)
- instant read thermometer optional
Ingredients
- 1 cup warm water 110-115 degrees
- 2 ½ teaspoons active dry yeast
- 2 teaspoons granulated sugar
- 1 teaspoon kosher salt
- ½ cup extra virgin olive oil
- 5 cups all-purpose flour
- 1 cup pimento-stuffed green olives roughly chopped (feel free to use whatever kind of olives you prefer)
Instructions
- -In a small bowl, mix together the warm water, yeast, and sugar. Allow it to sit for 5 minutes until the mixture gets foamy.
- -Stir the salt and olive oil into the yeast mixture.
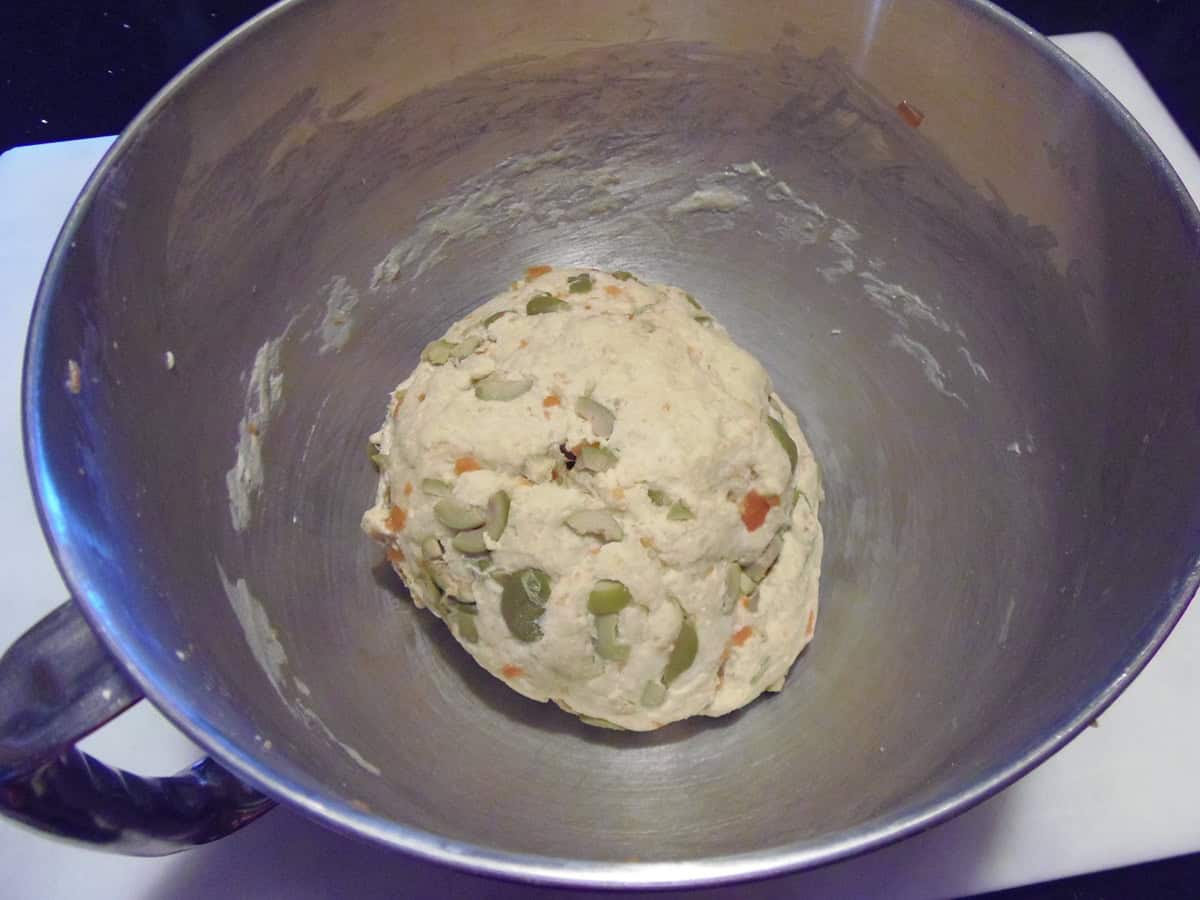
- -Add the yeast and olive oil mixture into the bowl of a stand mixer (or large bowl), and using the dough hook (or wooden spoon), add in the flour 1 cup at a time, stirring (kneading) after each addition.
- -Once the dough no longer sticks to the sides of the bowl and has formed a ball, add in the chopped olives and knead (stir) for an additional few minutes until the olives are incorporated evenly throughout the dough.
- -Turn the dough out onto a lightly floured surface.
- -Spray the inside of the bowl with olive oil spray and return the dough ball to the bowl.
- -Spray the top of the dough ball with a little more olive oil spray and cover the bowl with plastic wrap.
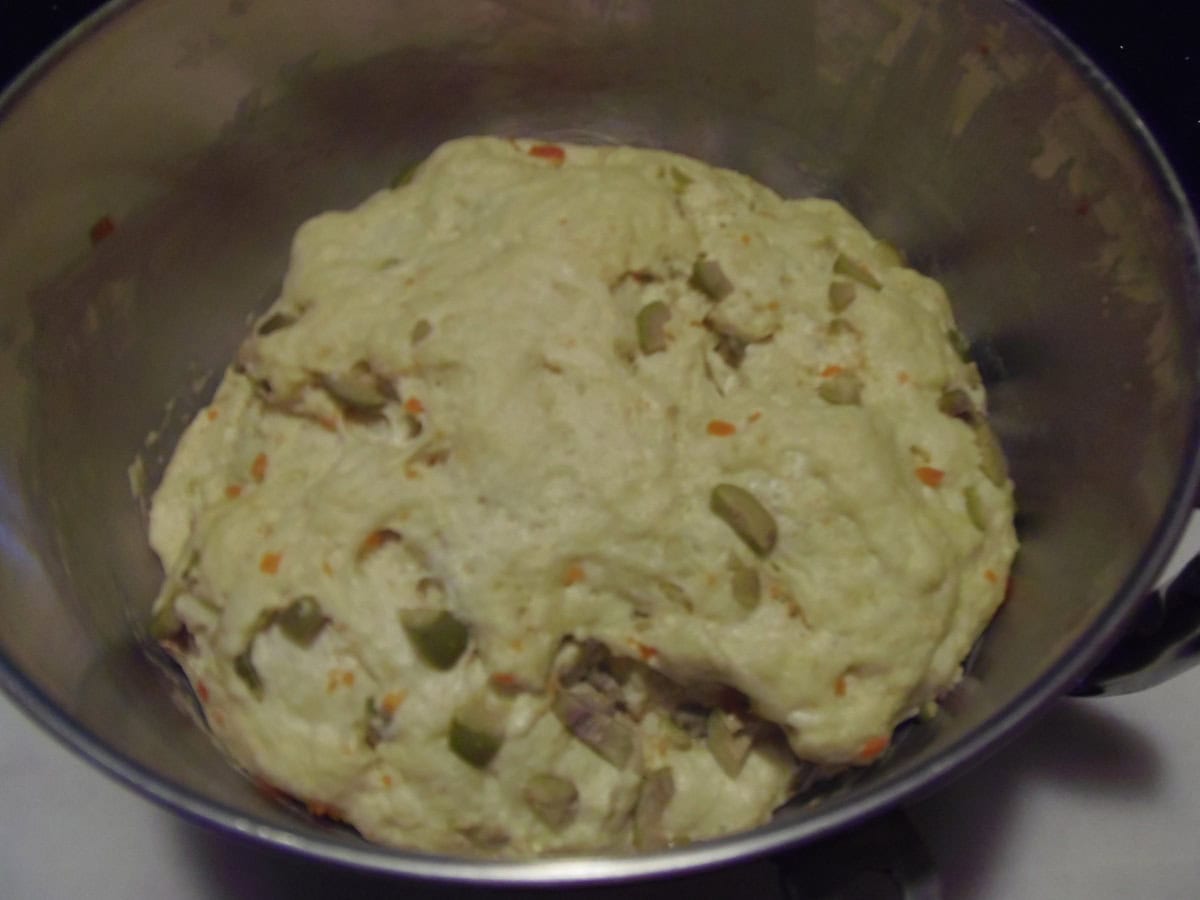
- -Allow the dough to rise in a warm place in your kitchen for approximately 1 hour, or until the dough has doubled.
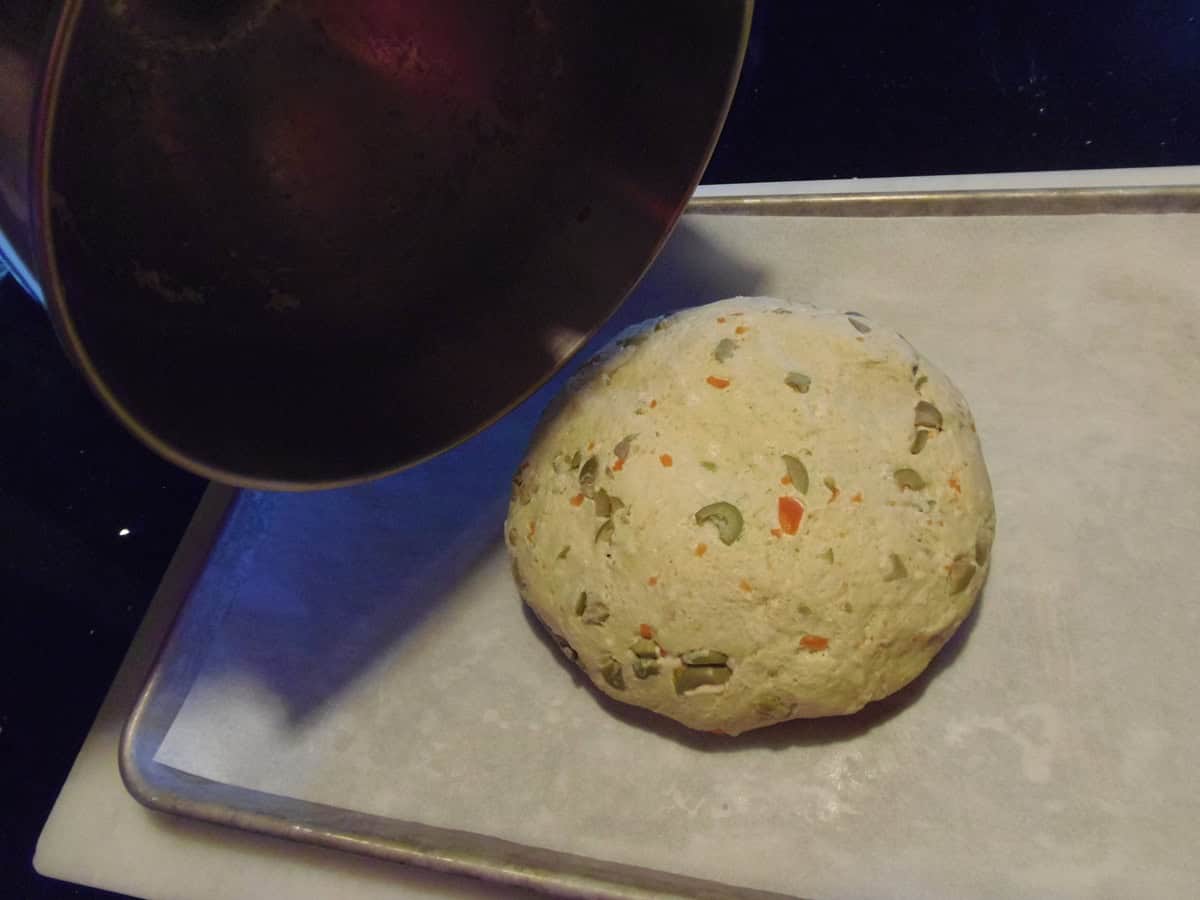
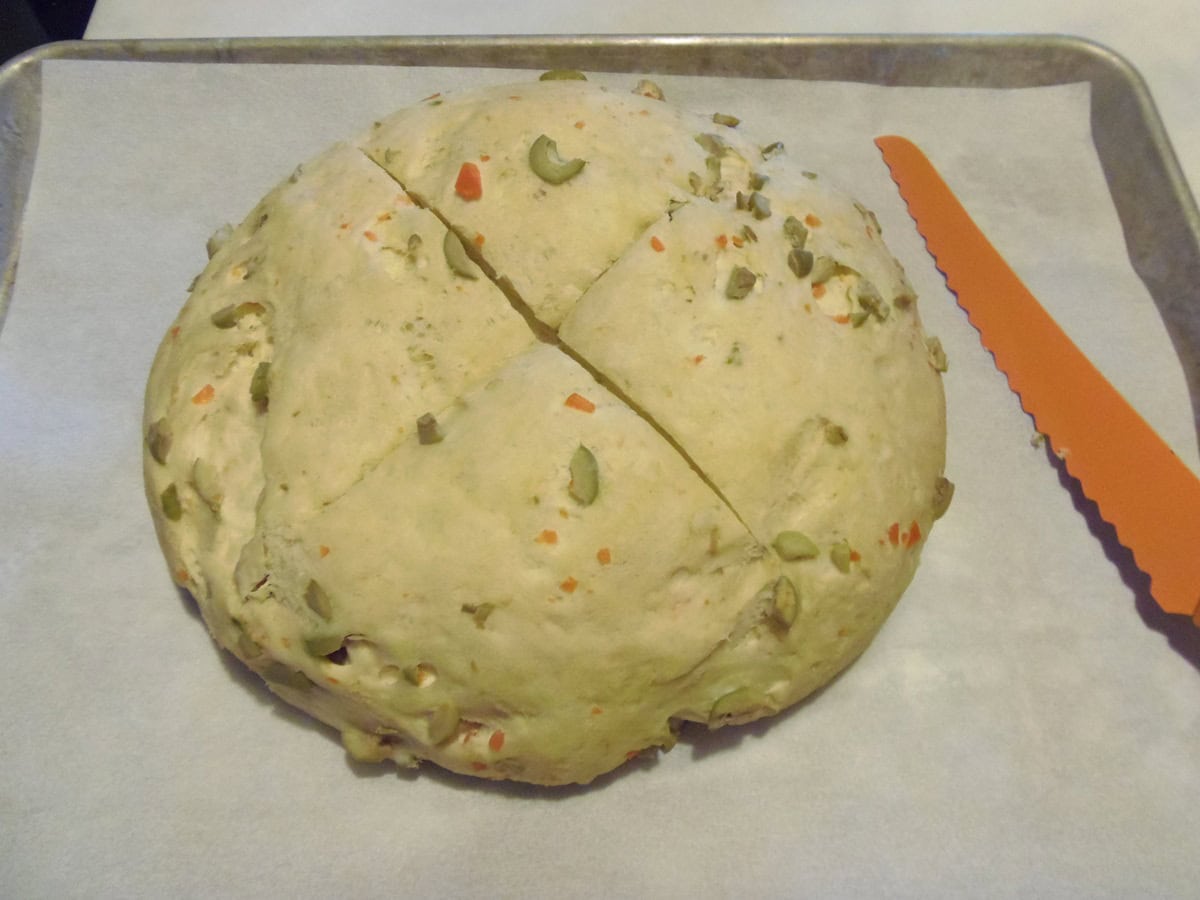
- -Punch the dough down to deflate and carefully turn the dough out onto a parchment-lined baking sheet, which gives it the lovely, rustic shape without any hassle.
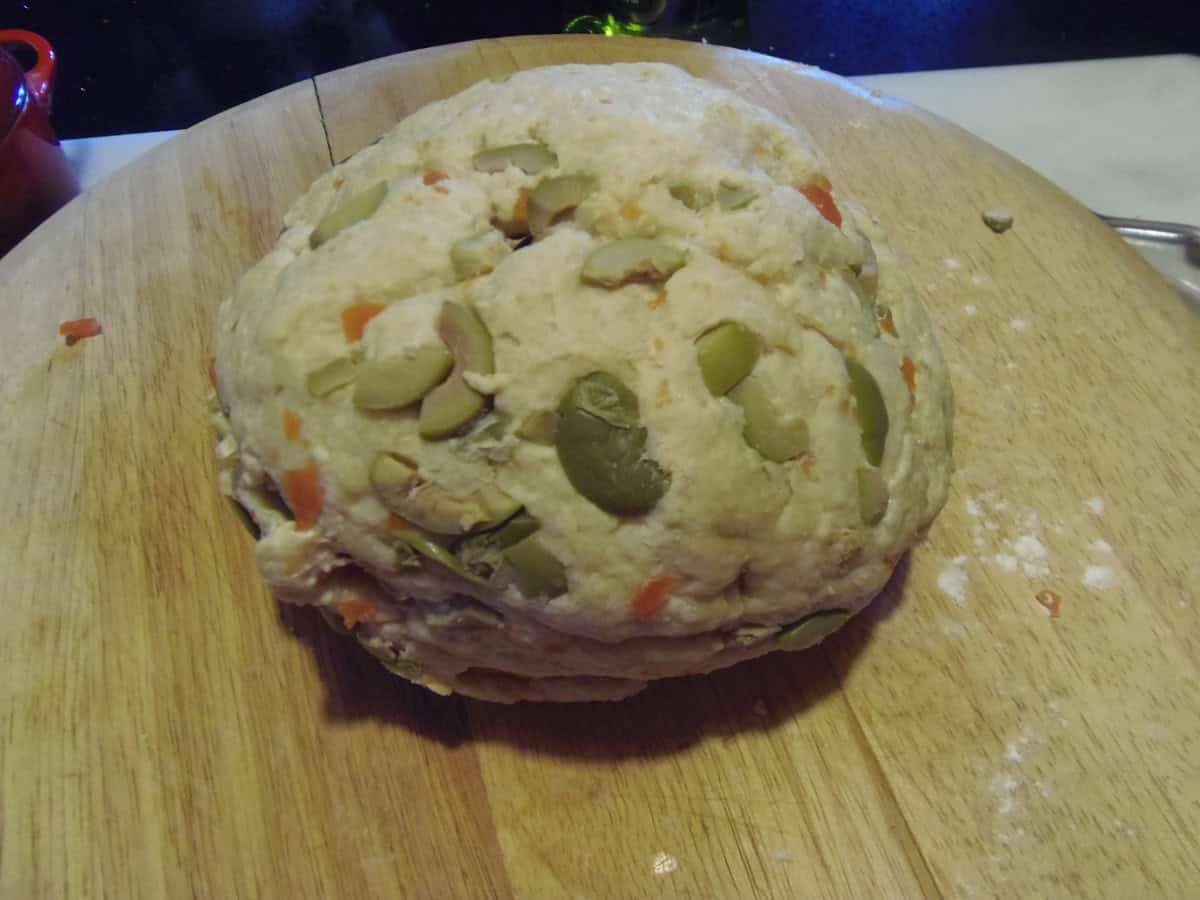
- -Allow the dough to rise again in a warm, draft-free spot for another 20 minutes.
- -Using a sharp serrated knife, slice a ½" deep cross on the top of the loaf.
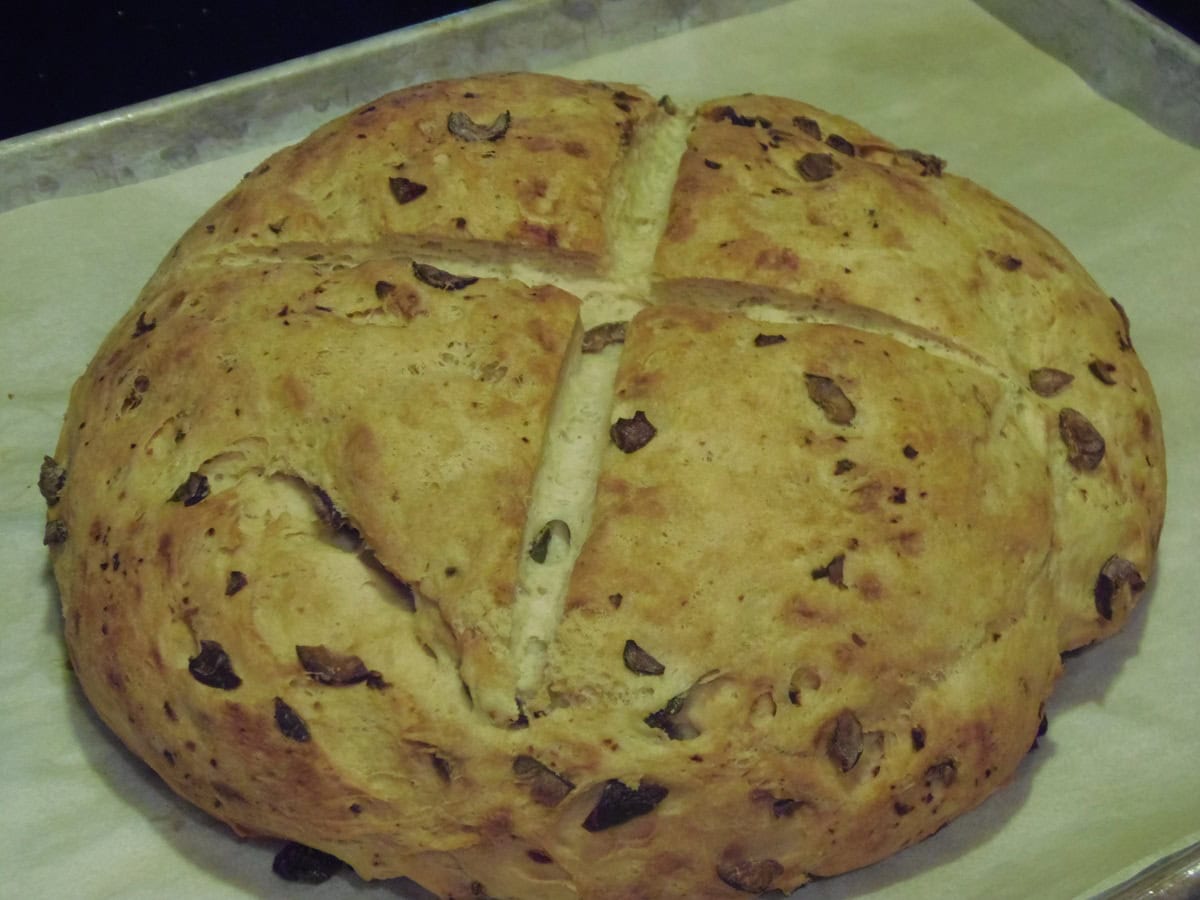
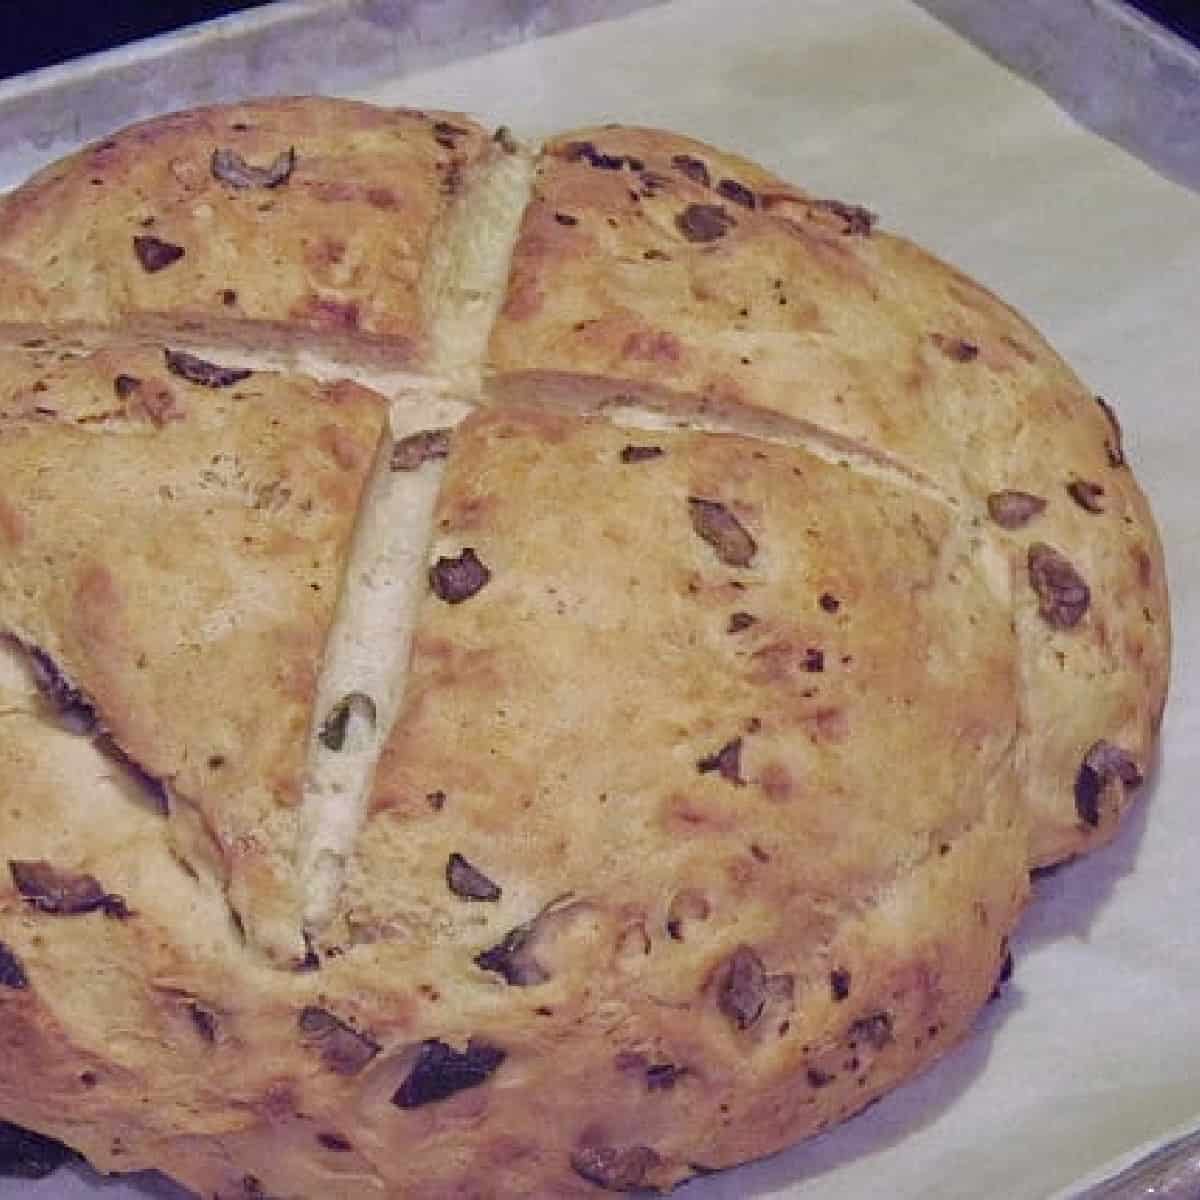
- -Bake the bread in a preheated 425-degree oven for about 30-40 minutes or until the bread is golden brown and sounds hollow when tapped.
- -Allow the bread to cool and then slice and serve.
I sincerely hope you'll enjoy making (and eating) this deliciously easy and rustic olive yeast bread as much as I've enjoyed bringing it to you.
Should you have any questions or comments regarding anything you've seen on my site, please don't hesitate to reach out to contact me. It is always my distinct pleasure to get back with you just as soon as I possibly can!
Thank you so much for visiting me today in my Kudos Kitchen. I hope you found something you'll love and that you will come back and visit me often. Please know that there is always room for you around my kitchen table!
Until we eat again, I hope you have a delicious day!


All of the recipes you'll find here on my website are in loving memory of my son, Greg, who left this earth far too soon and will be forever in our hearts.


Cher Rockwell says
That bread sounds really tasty, Renee!