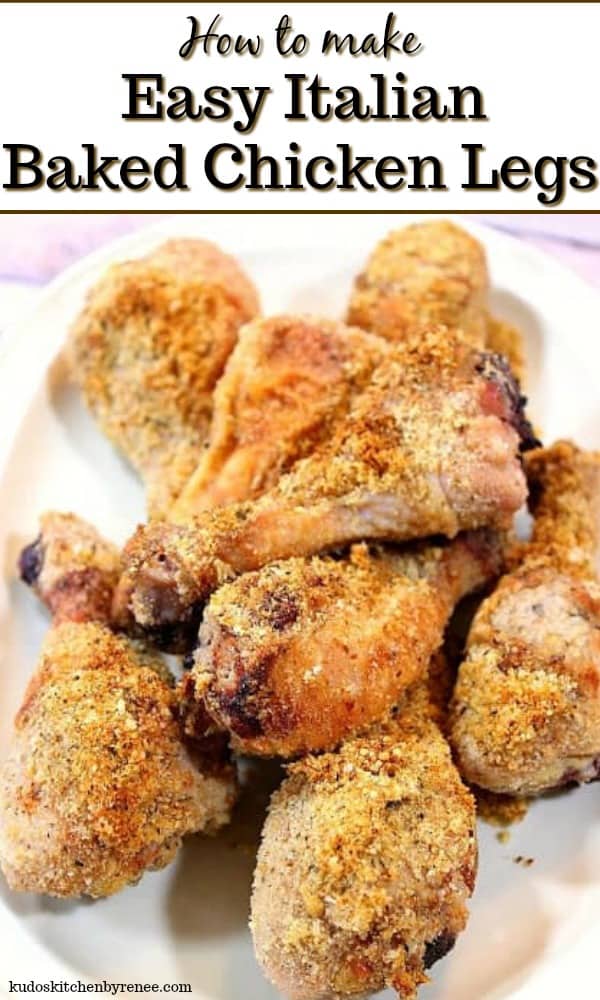
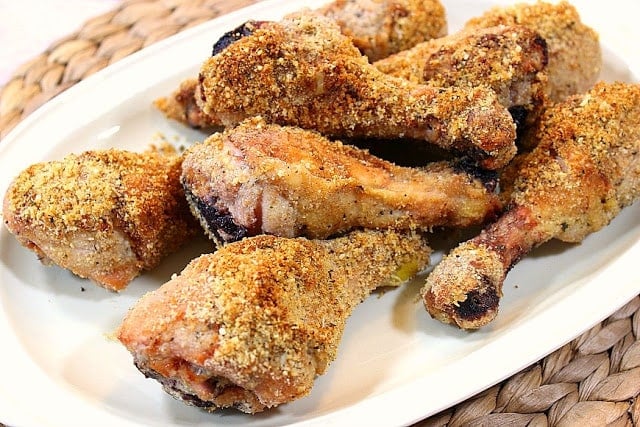
Crunchy Breaded Baked Italian Chicken Legs are juicy and flavorful. Pack them in your summertime picnic basket and everyone will be happy!
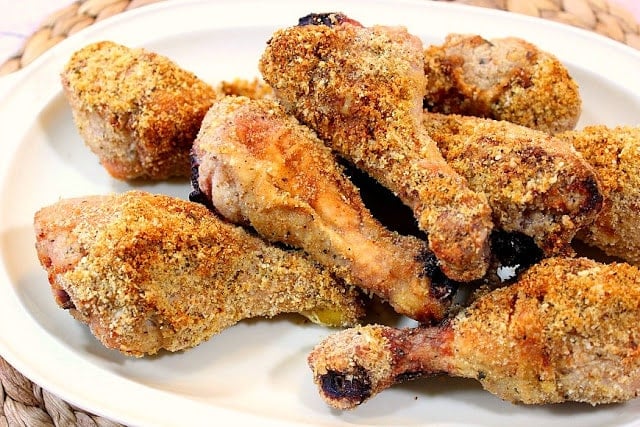
This is my updated riff on the old favorite of Shake 'n Bake chicken from when I was growing up.
The ingredients are put into a bag, the chicken is added, and then it's time to shake...and bake. What could be easier?
This recipe post and its contents may include affiliate links for your consideration. I may earn a commission from qualifying purchases, but your prices are never increased as a result. Thank you.
Table of Contents Found Here
- The ingredient list:
- A picture is worth a thousand words...maybe!
- What is the proper internal temperature for cooked chicken legs?
- Is there a way to check the doneness of a chicken leg without a meat thermometer?
- The easy instructions for making baked Italian chicken legs:
- Make it a full meal:
- Printable Recipe Card
- Please comment if you've made this recipe.
The ingredient list:
- Chicken Legs (about 4 pounds)
- Seasoned Breadcrumbs
- Parmesan Cheese
- Dried Basil
- Dried Oregano
- Garlic Powder
- Salt and Pepper
- Olive Oil Spray
This recipe for Baked Italian Chicken Legs actually has nothing at all to do with the flavors of Shake 'n Bake (which were far too salty for my taste). It's only the preparation method that is the same.
A picture is worth a thousand words...maybe!
I'll be honest with you, sometimes trying to take mouthwatering "beauty shots" of the food I make for the blog is harder for me than the making of the food itself.
Some foods just don't want to cooperate with the camera, and these Breaded Baked Italian Chicken Legs are one of those non-cooperative foods.
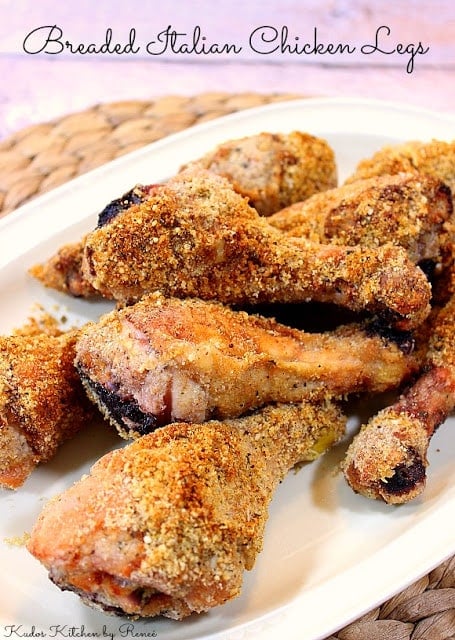
These Breaded Italian Chicken Legs are so moist and tasty, and the recipe is so easy to follow.
The fact that the pictures aren't exactly mouthwatering isn't bothering me all that much. Well, maybe just a tiny bit...but I'll get over it because this chicken is just so darned finger-licking good!
What is the proper internal temperature for cooked chicken legs?
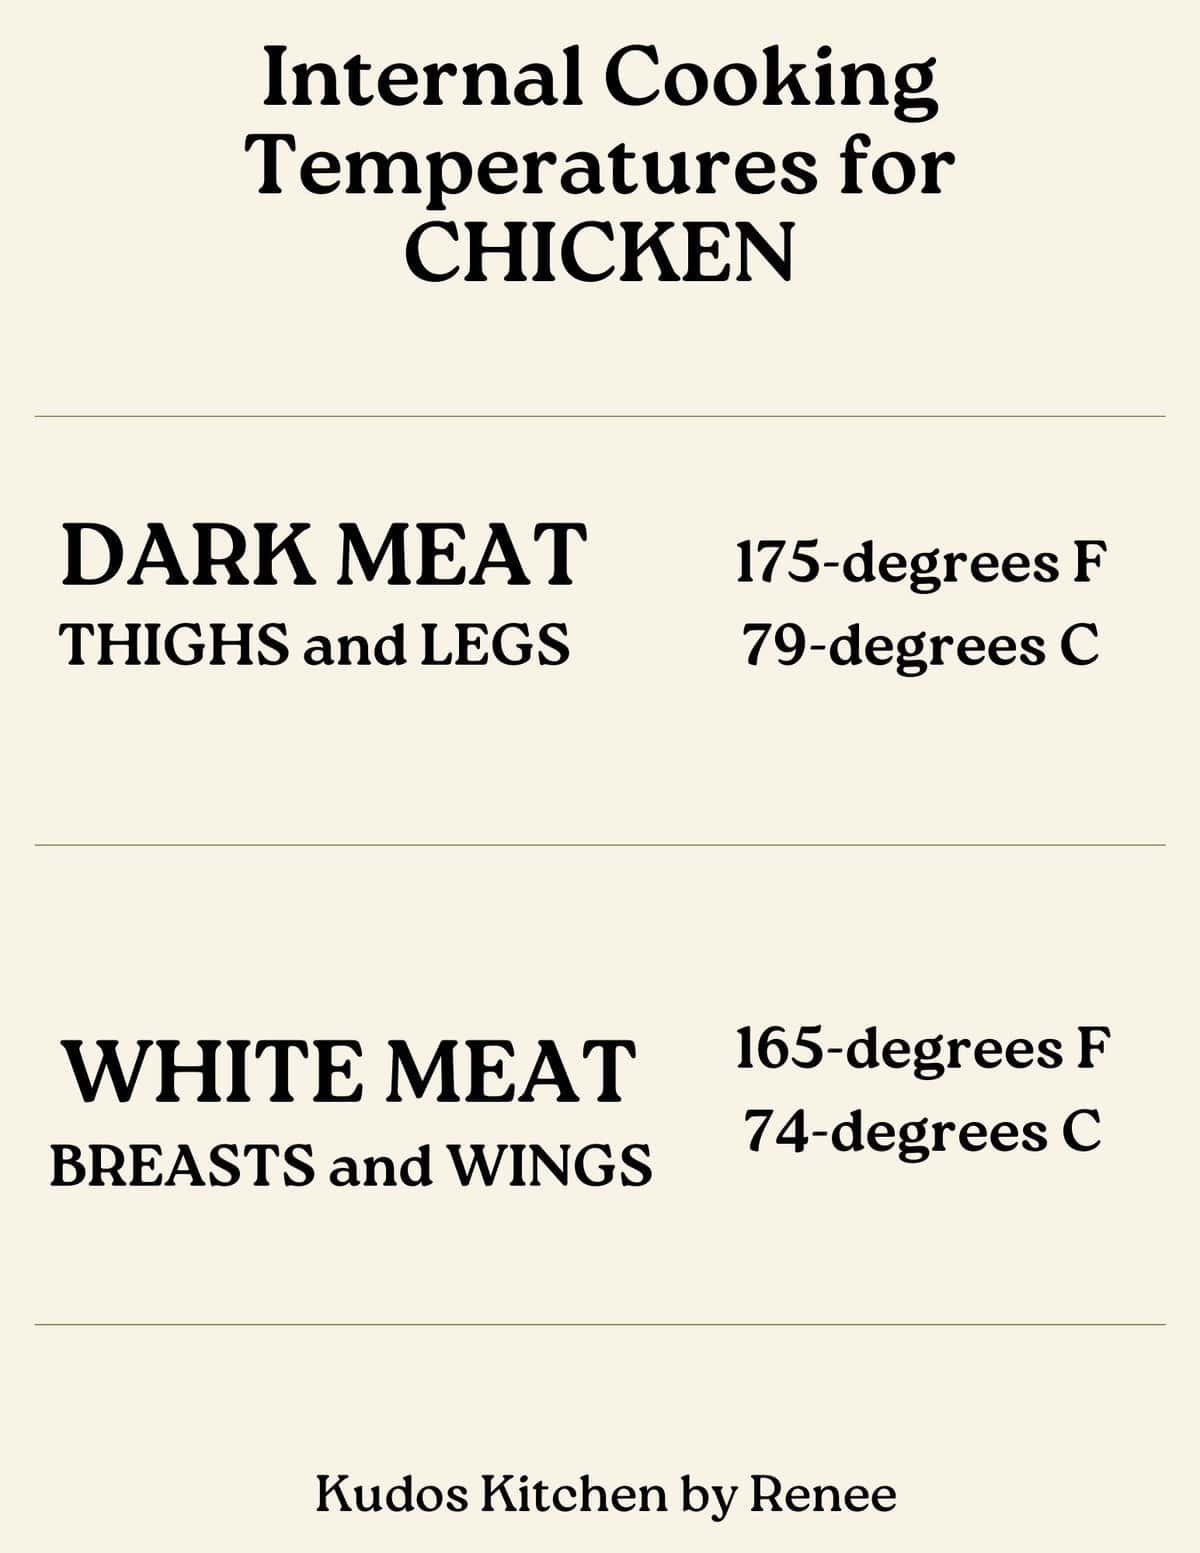
The proper way to check the internal temperature of cooked chicken legs is with a meat thermometer inserted into the thickest part of the meaty leg, but without touching the bone.
The temperature should read 175-degrees Fahrenheit on an instant-read thermometer.
If the chicken doesn't read 175-degrees Fahrenheit (or 79-degrees Celsius), return the chicken to the oven until it reaches the proper temperature.
Save this for later.
Email forwarding service for saving information.
Is there a way to check the doneness of a chicken leg without a meat thermometer?
While a meat thermometer is always the best bet, another way of checking if the chicken is completely cooked is to pierce a chicken leg (to the bone) with a paring knife or skewer, and if the juices run clear without any pink colorations, the chicken is done.
However, IF the juices still show signs of pink return the legs back to the oven until it is completely cooked and can pass the "clear juices" test.
The easy instructions for making baked Italian chicken legs:
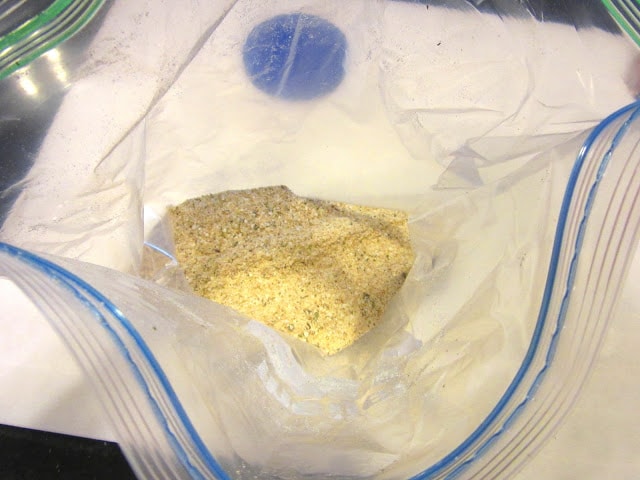
- Add all of the ingredients (except for the chicken legs and olive oil spray) into a large zip-top bag.
- Shake well to combine.
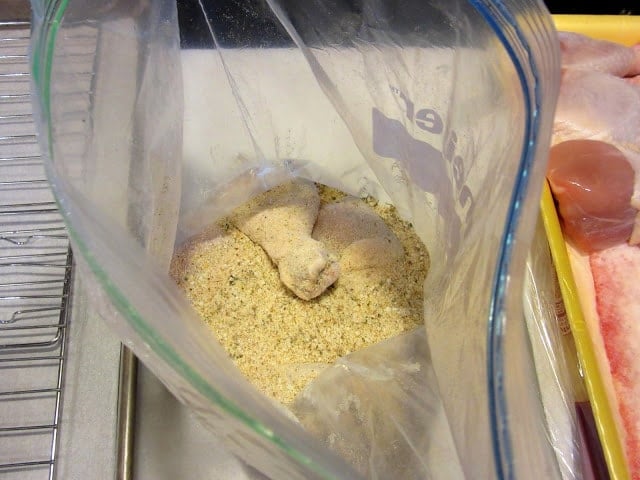
- Gently rinse the chicken legs under slowly running water (to avoid splashing) and add them to the zip-top bag with the dry ingredients.
- Close the bag and shake the legs gently to coat all sides.
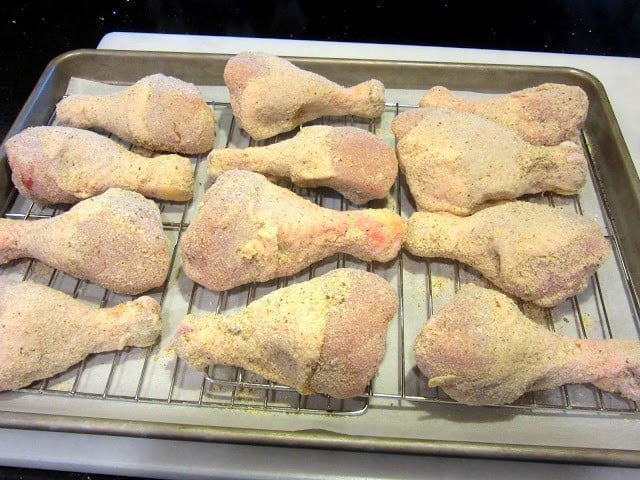
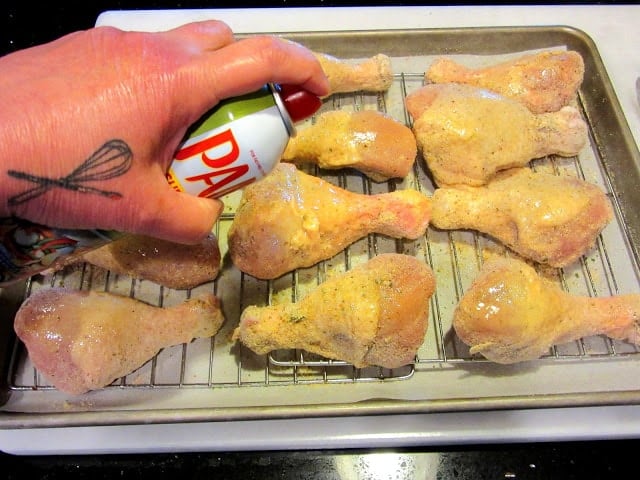
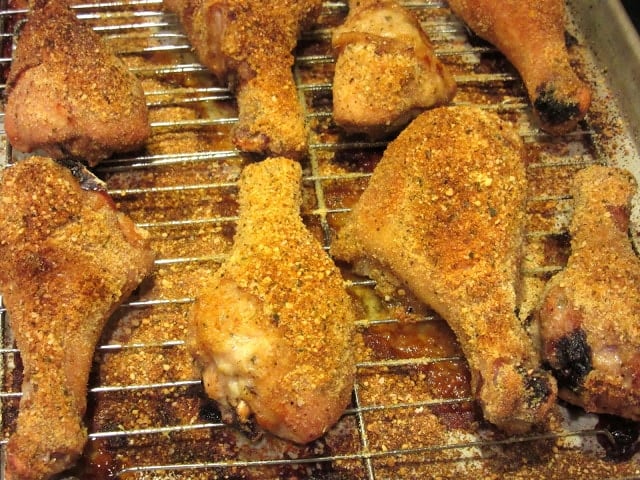
- Remove the coated legs to a baking sheet lined with a rack (for better heat circulation and to crisp the legs on all sides).
- Lightly spray each coated leg with a touch of olive oil spray.
- Bake the drumsticks in a preheated 350-degree oven for 45 minutes or until the juices run clear.
- Remove the legs from the oven and cool completely and refrigerate, OR serve the legs hot or at room temperature. *Caution - Do NOT allow the legs to sit for more than 1½ - 2 hours at room temperature. If it's extremely hot outside, make sure the chicken won't sit out for longer than 45 minutes before being consumed.
Make it a full meal:
Crunchy, healthy, and completely addictive. This Sunflower Crunch Kale and Cabbage Salad has it ALL going on!! Dig in! You're going to love this colorful salad!
Crowd-Pleasing Dijon Potato Salad will be the first thing to disappear from the picnic table this summer. It's cool, creamy, and refreshing with just the right amount of tang from the Dijon, and the perfect amount of crunch to balance all that creaminess.
They'll think you bought these delicious Puff Pastry Apple Turnovers at the bakery, but you made them at home, and it was quick and easy! TA-DA!!
When you make today's recipe (and I hope that you will), I'd appreciate it if you'd take the time to come back and give it a star rating along with a comment on why you rated as you did.
Search engines such as Google appreciate comments and ratings and, in turn, will show my recipes to more people. Please look for the pink star rating box within the printable recipe card. Thank you!!
Printable Recipe Card
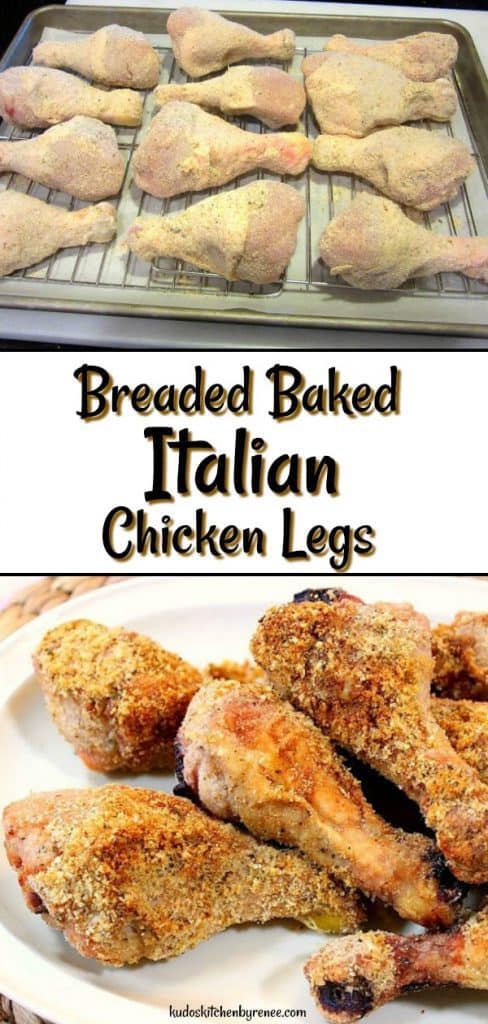
Breaded Baked Italian Chicken Legs
Equipment
- baking racks
- kitchen timer optional
- cheese grater optional
Ingredients
- 1 cup seasoned breadcrumbs
- 1 cup grated Parmesan cheese
- 1½ teaspoons coarse salt
- ½ teaspoon black pepper
- 1 teaspoon dried basil
- 1 teaspoon dried oregano
- 1½ teaspoons garlic powder
- 12 chicken legs skin on
- olive oil spray
Instructions
- Preheat oven to 350-degrees Fahrenheit (175 degrees Celsius)
- Place the first 7 ingredients into a gallon sized zip-top bag and shake well to combine.
- Rinse the chicken legs under slowly running water (to avoid splashing) and add them (3 or 4 legs at a time) to the bag with the breadcrumb mixture. Shake well to coat the chicken legs on all sides.
- Remove the coated legs from the bag and place the chicken legs on to baking sheet fitted with a rack.
- Continue the same process with the remaining legs and breadcrumb mixture.
- Spray each leg with a light coating of olive oil spray.
- Place the chicken legs into the preheated oven and bake for 45-50 minutes, or until the juices run clear. *Note - you can test this by piercing a leg with a knife or skewer into the thickest part of the leg.
Video
Notes
Nutrition
I sincerely hope you've enjoyed today's easy chicken recipe for Baked Italian Chicken Legs as much as I've enjoyed bringing it to you!
Should you have any questions or comments regarding anything you've seen on my site, please don't hesitate to reach out to contact me. It is always my distinct pleasure to get back with you just as soon as I possibly can!
Thank you so much for visiting me today in my Kudos Kitchen. I hope you found something you'll love and that you will come back and visit me often. Please know that there is always room for you around my kitchen table!
Until we eat again, I hope you have a delicious day!


Mark says
Hot or cold, these are delicious.
Renée says
Thank you, Mark!
They're great for a picnic!
Have a wonderful day,
Renee
Sana Malik says
This was excellent! So simple and flavorful.
Do you have any recommendations on how to freeze them for later use?
Renée says
Hi, Sana!
Thanks so much. I'm thrilled you enjoyed this recipe.
As far as freezing, I'd cool and quick freeze them first (in a single layer) on a baking sheet for 30-45 minutes, and then store them in an airtight freezer bag.
You'll be able to freeze them for up to 3 months.
I hope this is helpful.
Take good care,
Renee
Jon says
Quite simply, this recipe did not work. The breadcrumb/spice mix did not stick to the drumsticks. Moreover, either the temperature is too low, or the cooking time is too short. In the end, it took an hour and a half to make this recipe and the end result was mediocre. My oven is not irregular in any way, and I have never had this issue with other recipes.
Renée says
I'm sorry you had such problems with this recipe, Jon.
A hour and a half though doesn't make any sense for chicken legs.
Maybe you need to have another look at your oven.
Have a nice day,
Renee
Mary says
My mom made this when I was little. Alas, she passed away, and no recipe was written down. I found this, and it's perfect! My mom used italian style bread crumbs, so I omitted the herbs, and she always used seasoned salt (instead of regular salt). I basted with bacon fat, as I didn't have olive oil spray (just like mom!). This nearly made me cry, as it brought back fond memories, and it's an easy recipe to execute and adapt. Thank you so much!
Renée says
Hi, Mary!
I'm so glad that you found this recipe and that it resonated with you so profoundly.
Food and memories go together so you comment to me meant everything.
Thank you for sharing and also for the 5-star review. I appreciate it so much!
Oh, BTW, bacon fat is a tasty substitution. YUM!
I hope you'll visit me often and try more of my recipes.
Fondly,
Renee
Dana says
I don’t have olive oil. Is that ok???
Renée says
Hi, Dana! Feel free to use whatever type of oil you have on hand. Any will work.
Renee
Taryn says
These taste just like the shake and bake chicken legs my mom used to make! Thanks for the recipe.
Renée says
Thanks. I'm glad you like the recipe.
Jane Saunders says
I remember something similar from way back - always tasty. It's fab to have a modern make from scratch version - thanks for the recipe.
Renée says
You're welcome. They're always tasty and always popular!
Cathy Kalte says
Can yogurt be used instead of mayonnaise?
Renée says
Yes. I suggest plain Greek yogurt because it’s thick and tangy. Great question, Cathy! Renee
Jennifer Farley says
Moist and flavorful for sure! Thank you for this recipe!
Renée says
My pleasure, Jennifer!
wilhelmina says
The crispy coating on this chicken is where it's at! Love it!
Renée says
Nice to hear. Thanks, Wilhelmina!
Noelle says
What a great recipe, thank you!
Renée says
Thanks 🙂
April says
So flavorful! Sometimes it's hard to get the crunch from baking, but these came out perfect!
Renée says
Glad to hear it!!
Helen says
Good cook, i like chicken.
Canvin@ Pressure Cooker Portal says
That's my favorite dish, it's great if I can eat them right now.
Kellie Hemmerly says
This is the chicken I grew up with, so tasty and love the spices. And I'm with you on the photography...brown food is the worst to photograph!
brenda@sugarfreemom says
The taste is what matters and I think your pics are great!
Cookin' Canuck says
My mum used to make shake 'n bake when I was a kid, but I know this homemade recipe would blow the packaged stuff out of the water!
The Food Hunter says
you had me at Italian!!
lauren kelly says
Oh I love this recipe! My kids always fight over the legs 🙂 Love the glass too!
Lana | Never Enough Thyme says
You're so right - some foods are way easier to photograph than others! But these look pretty darned good to me! Love the Italian flavors in the coating.
Ginny McMeans says
Great idea to add the Italian flare in ths recipe. Love your glass too!