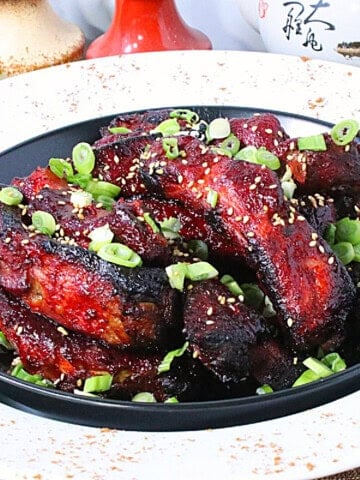
If I'm totally honest, as soon as I took these Savory Seed Crackers out of the oven I started popping them into my mouth. I couldn't even wait for them to cool down!

*Disclaimer - This recipe was originally published in 2013. I'm working hard to update all my older recipes with recipe cards and additional recipe information, but getting to all of them will take time. Please bear with me. In the meantime let me assure you that this recipe is still a winner and one I'm sure you'll be well pleased with when you make it at home.
The aroma that filled the house while these were baking was simply incredible and even though there are still plenty of crackers that I haven't eaten...yet, I can hardly wait to make these again. They're that awesome and addictive!
This is what I wrote about this recipe in 2013:
I'm writing this post just under the wire as it's due tomorrow for the Bread Baking Buddies and I just took my crackers out of the oven. Nothing like a little pressure to get your rear in gear, right?
It's been several weeks (make that, months) since I've posted a recipe with the Bread Baking Buddies and just a few days ago I decided that I wanted to give this month's selection of "Savory Seed Crackers" a try. Since I had a wide array of seeds in my pantry, I felt that this recipe was right up my alley and a good way to jump back in with the buddies!
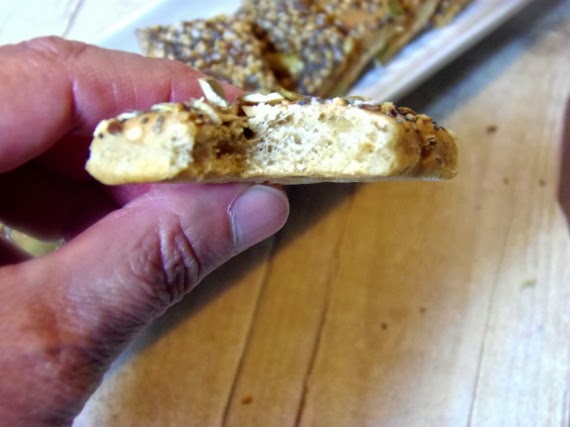
In my defense, my "crackers" didn't turn out as "cracker-like" as they were supposed to. Even though I had rolled the dough as thin as I could, the original recipe called for a final 30-minute rise after they had been seeded and cut. Next time I will skip that final rise time (I left that step out of my version) and bake them right after they've been cut.
That said I didn't mind the thicker, doughier middle one bit, and yet the outer edges of the baked dough were crisp, "cracker-like" and also extremely enjoyable! Maybe I just need to call my version SAVORY SEED COOKIES instead. Either way, I'm good with it 🙂
In any case, the moral of the story here is that you can't go wrong with making this recipe. Either way, thick or thin, they're definitely a unique and addictive snack.
Go. Make them now. 🙂
SAVORY SEED CRACKERS
(Adapted from King Arthur Flour)
For the dough:
1 ½ cups whole grain wheat flour
1 cup all-purpose flour (more if needed, depending on the humidity of your area)
1 teaspoon cracked black pepper
1 teaspoon kosher salt
¼ teaspoon red pepper flakes
½ teaspoon ground cumin
½ teaspoon ground coriander
1 teaspoon instant yeast
⅛ cup extra virgin olive oil
1 cup lukewarm water
For the topping:
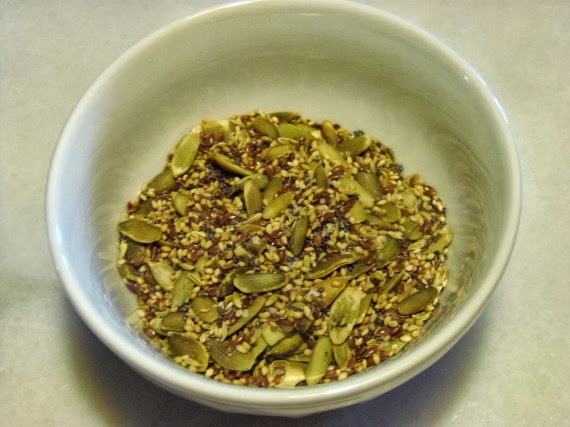
3 tablespoons pepita seeds (shelled pumpkin seeds)
3 tablespoons chia seeds
3 tablespoons sesame seeds
3 tablespoons flax seeds
3 tablespoons poppy seeds
3 tablespoons fennel seeds
additional salt for sprinkling
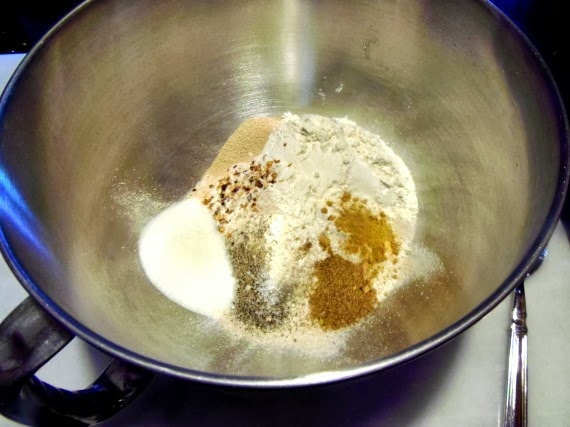
-In a large bowl of a stand mixer whisk together the whole grain flour, all-purpose flour, black pepper, salt, red pepper flakes, cumin, coriander, and yeast.
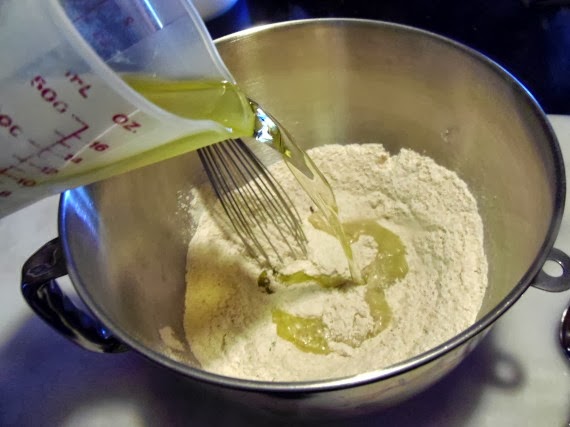
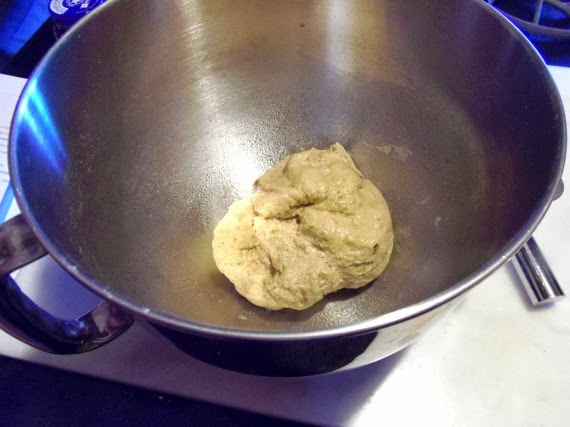
-Using the dough hook, add the water and oil to the dry ingredients and knead for several minutes (adding more flour if the dough is too sticky) until it forms a semi-stiff ball of dough and the bowl is clean.
-Remove the dough from the bowl and spray the bottom of the bowl with olive oil cooking spray.
-Place the dough back into the bowl and spray the top of the dough with olive oil cooking spray.
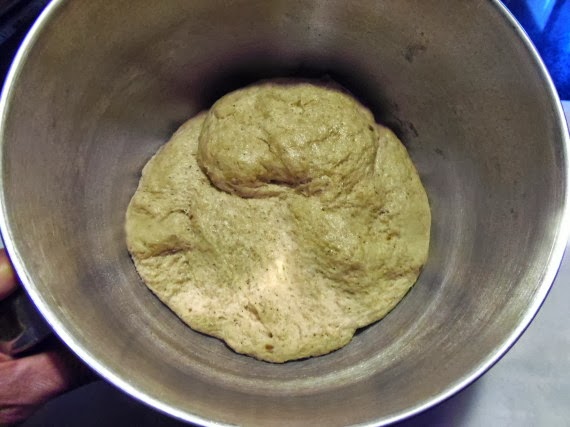
-Cover the bowl with plastic wrap and place it in a warm, draft-free place to rise until doubled (about 1 and a half hours).
-Meanwhile, add all the topping ingredients (except the salt) in a small bowl and set aside.
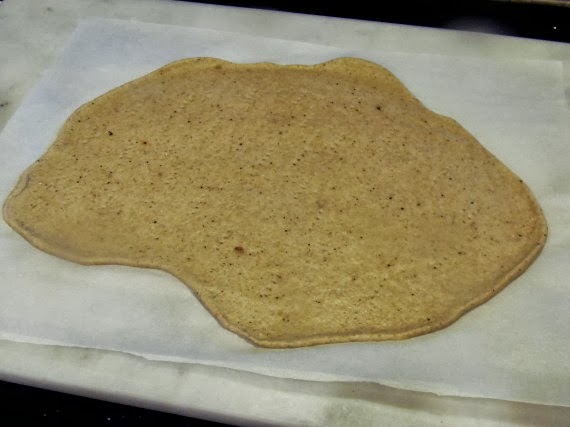
-Once the dough has risen, divide the dough into two equal parts, and using a rolling pin, roll the dough out onto parchment paper making it as thin as possible. *Note - Rolling in one direction only, always starting from the center will make your rolling as easy as possible. Remember to turn the parchment paper often to ensure the entire piece of dough is rolled sufficiently.
-Carefully move the dough and parchment paper to a waiting baking sheet.
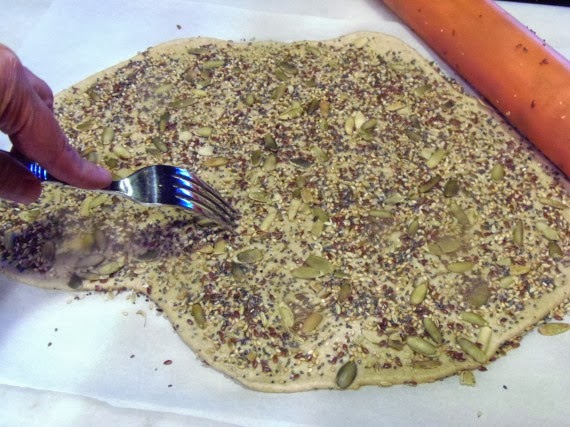
-Evenly spread half of the seed mixture over the entire piece of rolled dough and using the rolling pin once again, go over the seeds with a slight bit of pressure to adhere them to the dough.
-Using the tines of a fork, dock the dough to ensure that it doesn't bubble in the oven while cooking.
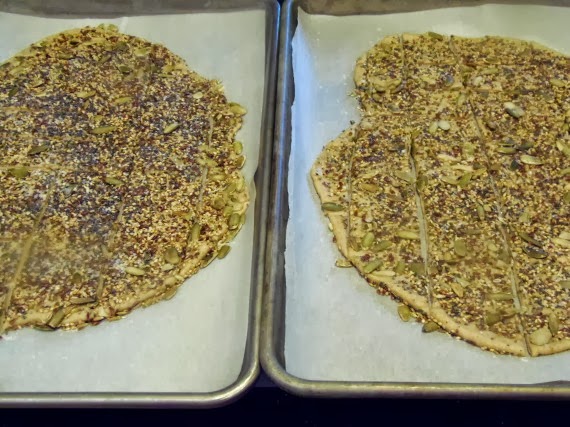
-Use a pizza cutter to cut the dough into squares and rectangles.
-Repeat the entire same process with the second piece of dough.
*Note - I'm leaving out the step about letting the crackers rise for another 30 minutes here. I don't think it's necessary but it can at this point should you choose to.
-Preheat the oven to 350 degrees.
-Bake the crackers for approximately 30 minutes or until they're nicely golden brown. Make sure to watch them carefully so they don't burn.
-Remove to a wire cooling rack and immediately start munching on them (or try not to...I dare you)!
Save this for later.
Email forwarding service for saving information.

Should you have any questions or comments regarding anything you've seen on my site, please don't hesitate to reach out to contact me. It is always my distinct pleasure to get back with you just as soon as I possibly can!
Thank you so much for visiting me today in my Kudos Kitchen. I hope you found something you'll love and that you will come back and visit me often. Please know that there is always room for you around my kitchen table!
Until we eat again, I hope you have a delicious day!


All of the recipes you'll find here on my website are in loving memory of my son, Greg, who left this earth far too soon and will be forever in our hearts.


Elizabeth says
They look so good when they're thicker like that! They look like biscotti. Fantastic.
Pumpkin seeds are good in the crackers aren't they? I threw some on mine too and would not want to leave them out when making these crackers again.
hobby baker says
Aha, you used the pepitas! I looked at them in my fridge door and decided on the sunflower. I am tempted to try a cinnamony sweet version with the pepitas... 😉
Elle says
Love that you used pumpkin seeds. They may be a bit thicker than some, but look great!
MyKitchenInHalfCups says
Wonderful Renee! You are spot on: these are good thick or thin. I love that everybody can put their own personality and pantry ingredients into and onto these and still have a wonderful cracker. The rise before the oven ... yes I know what you mean. Even when I give them a little rise sometimes they come out a little thicker but sometimes not; I don't think it's a critical step so easily not missed.
Thanks for baking with us! Gorgeous photos, you make the cracker look fab.