I've made these soft little garlic thyme pretzel bites several times, and they're always a huge hit! So much so that I've started giving them as gifts.
After all, a gift made with love is the best gift of all!

*Disclaimer - This recipe was originally published in 2012. I'm working hard to update all my older recipes with recipe cards, new photos, and additional recipe information. But, getting to all of them will take time. Please bear with me. In the meantime let me assure you that this recipe is still a winner and one I'm sure you'll be well pleased with when you make it at home.
Most recently I gave a huge bag of them to my dad for Father's Day and I'm happy to report that he and my mom have been munching away on them and enjoying them immensely.
My mom even mentioned to me that they've been eating them with butter and to that, I reply "Heck yeah"! Mustard is great but I'll bet butter is better!
GARLIC THYME PRETZEL BITES
4 teaspoons active dry yeast
1 teaspoon white sugar
1-½ cups warm water (110 degrees or warm to the touch)
5 cups all-purpose flour
⅓ cup white sugar
1-½ teaspoons kosher salt (plus more for topping)
½ teaspoon black pepper
1 tablespoon fresh thyme leaves, chopped
3 teaspoons garlic powder
2 tablespoons shredded Parmesan cheese
1 tablespoon olive oil
4 cups boiling water
½ cup baking soda
¼ cup shredded Parmesan cheese
kosher salt for sprinkling
1 egg with 1 teaspoon water, mixed
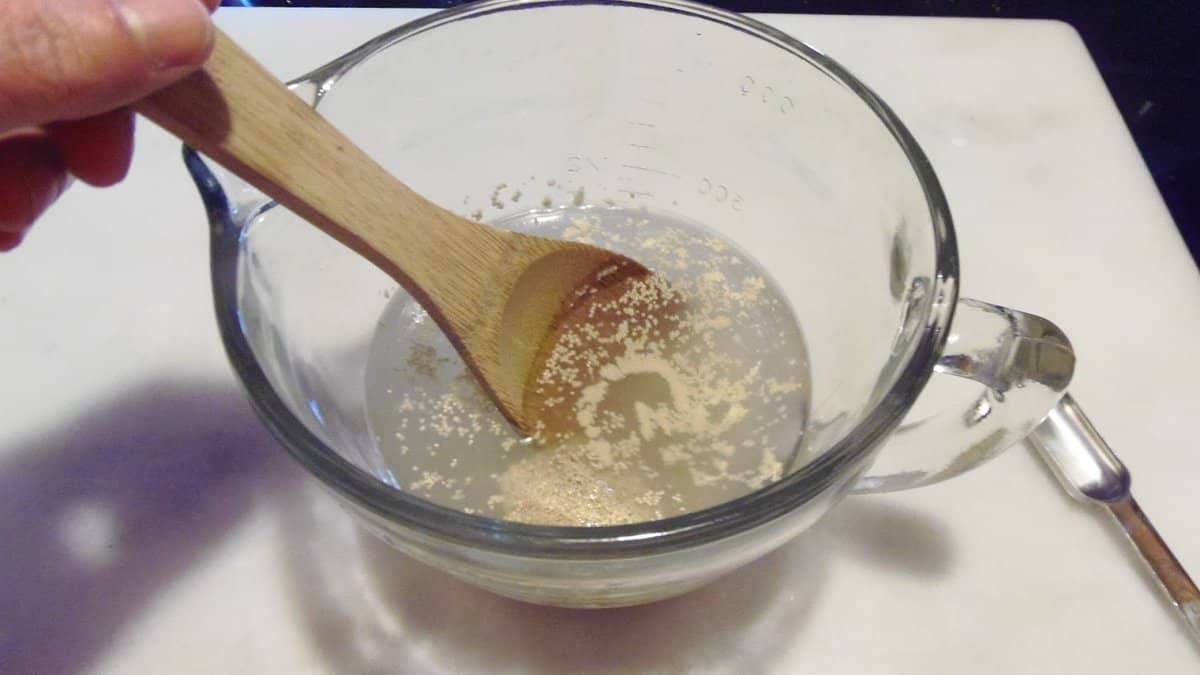
-In a small bowl, dissolve the yeast and the sugar in the warm water.
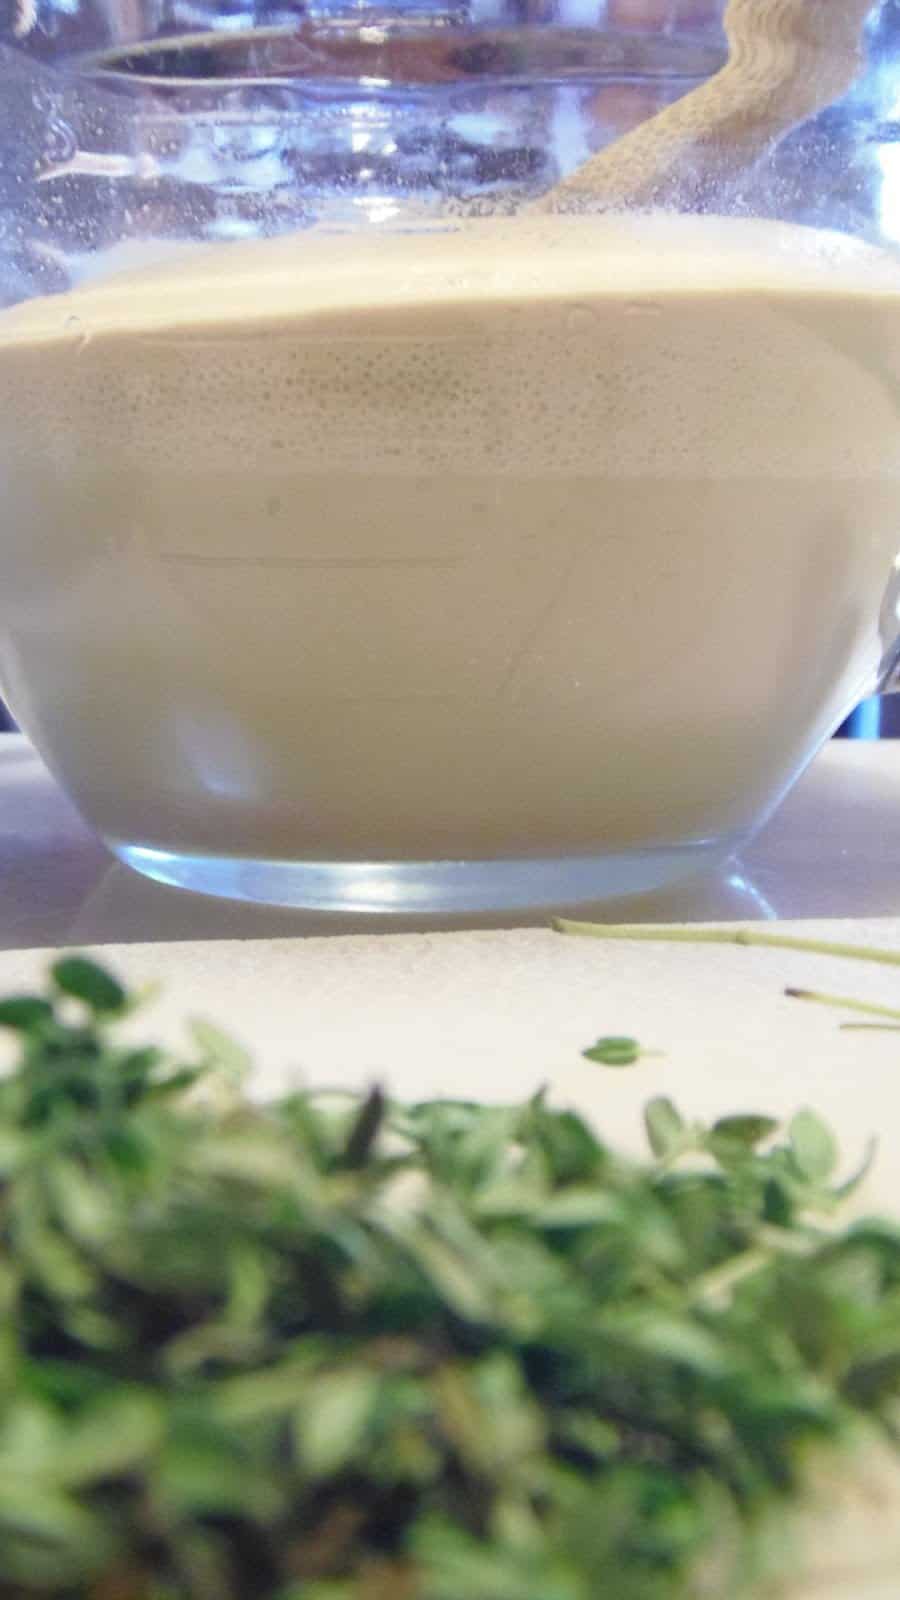
-Let stand until foamy (about 10 minutes)
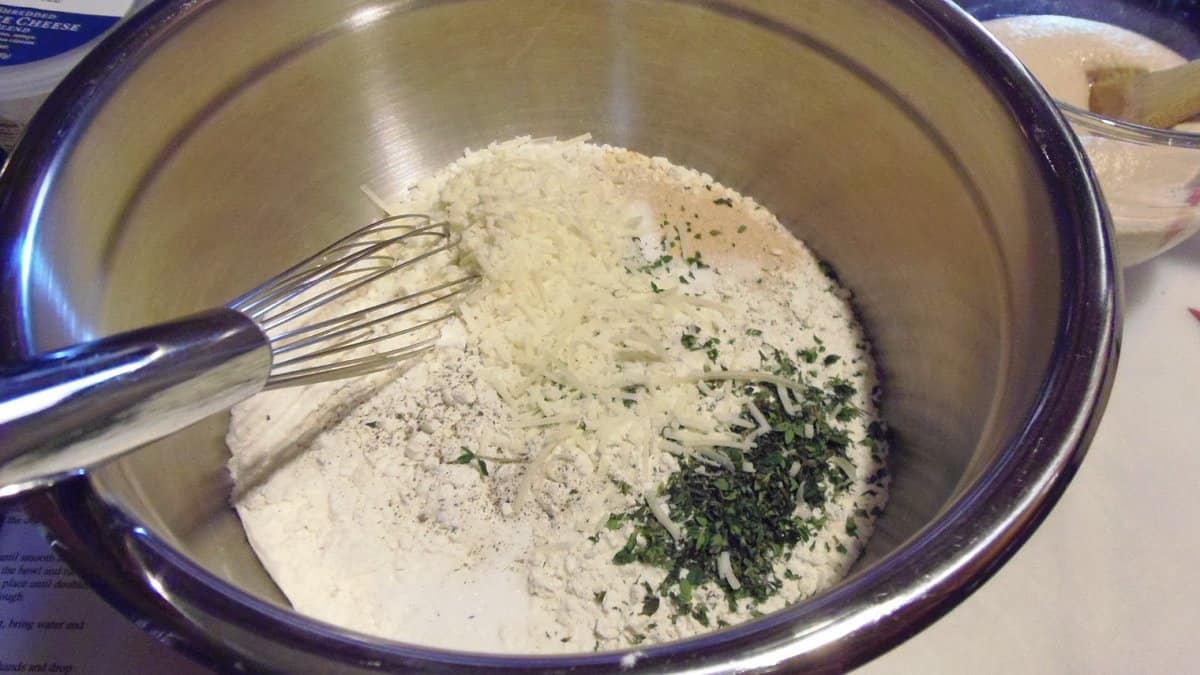
-In a large bowl, whisk together the flour, sugar, salt, pepper garlic powder, thyme leaves, and Parmesan cheese.
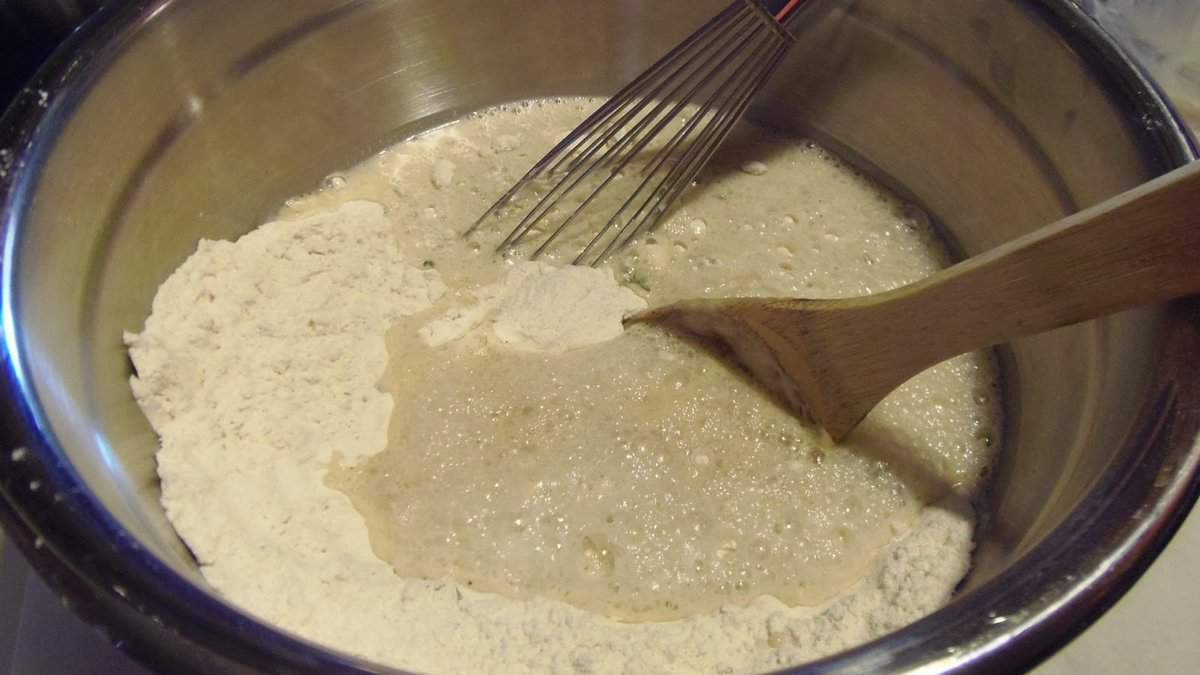
-Add the yeast mixture and olive oil and mix with your hands to form a soft dough. Depending on your weather, you may have to add more warm water (1 tablespoon at a time) or possibly flour if your dough is too sticky.
-Turn your dough out onto a lightly floured surface and knead until smooth and elastic (about 7-8 minutes)
-Place your dough into a lightly oiled bowl, oil the top of the dough, and cover the bowl with plastic wrap.
-Allow your dough to rise in a warm place for about an hour or until your dough has doubled in size.
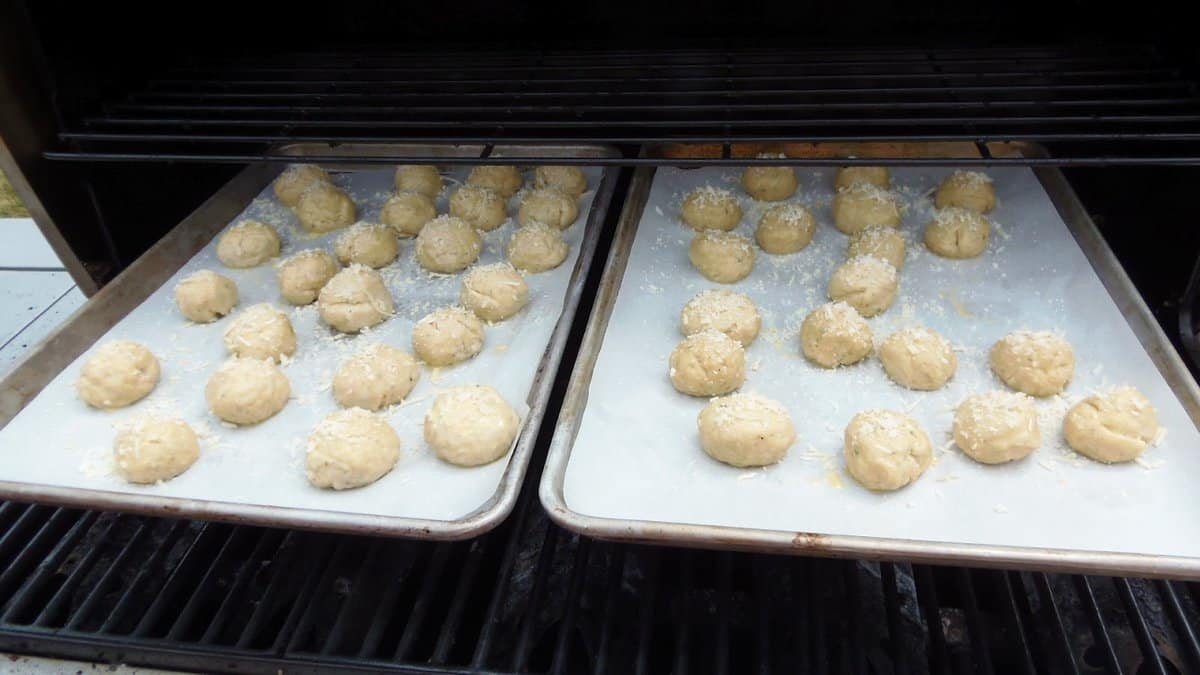
-When the dough has doubled, punch it down and preheat your oven to 425 degrees. *Or if you'd like to try making these on the outdoor grill, now is the time to preheat your grill to hot, hot, hot. To use this method, you'll also need two foil-covered bricks and place them on the grate of the grill in order to lift the baking sheets from the direct heat, making your grill more like an oven.
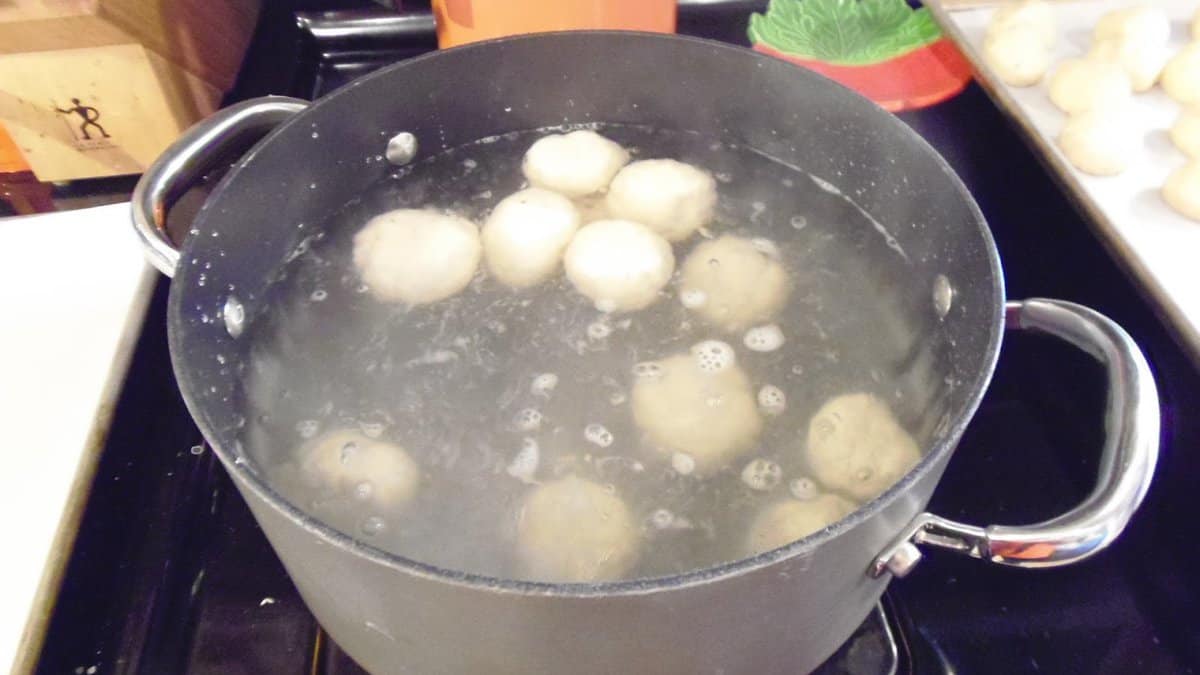
-Bring the water and baking soda to a rapid boil on your stovetop.
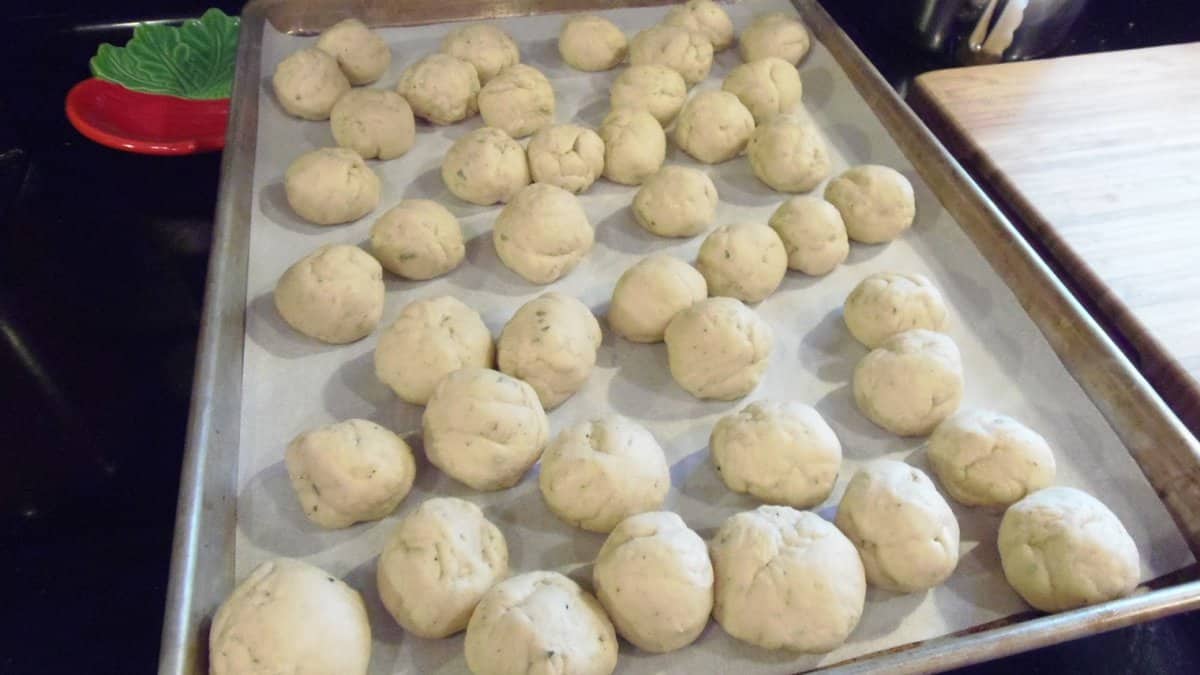
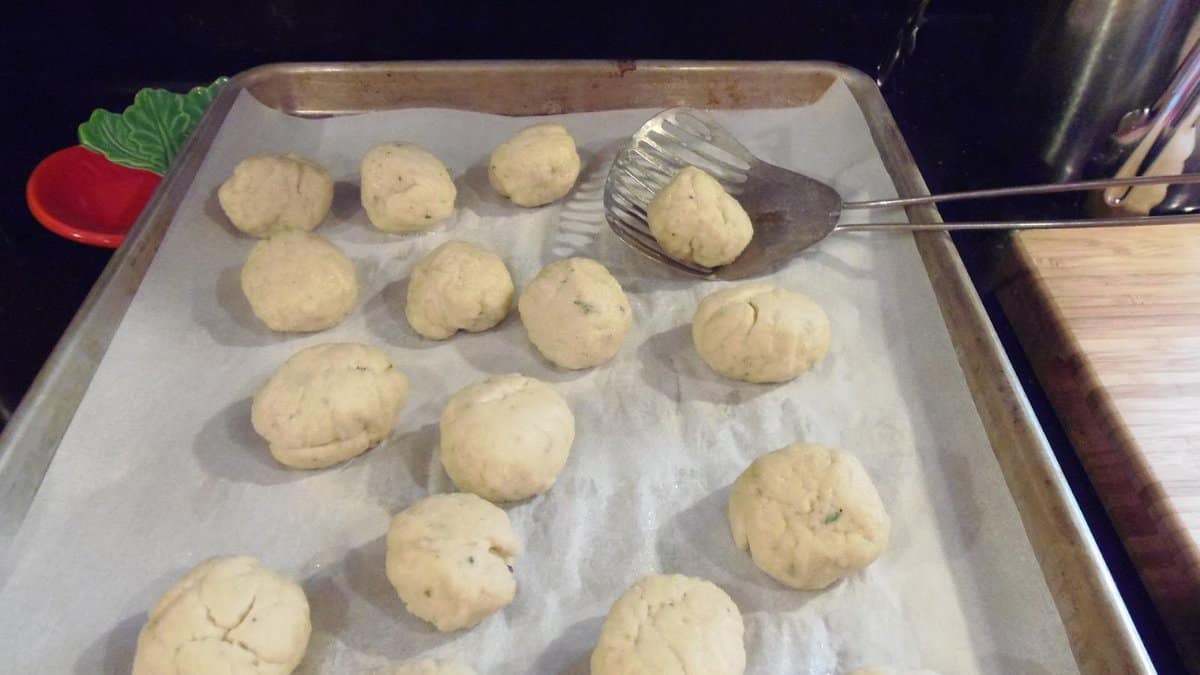
-Breaking off golf ball sizes of dough, roll each piece in the palm of your hands to form a rough-looking ball.
-Drop the balls into the boiling water until the dough balls rise to the surface of the water and float. Do not overcrowd the pot. You'll have to do this in batches.
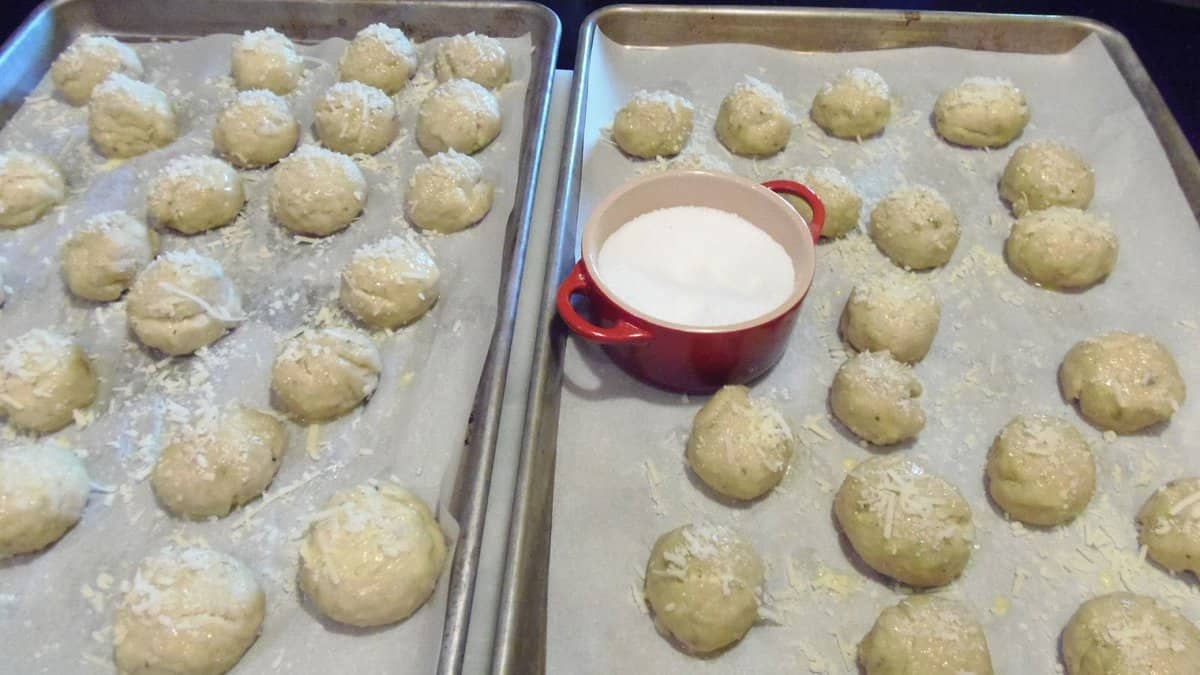
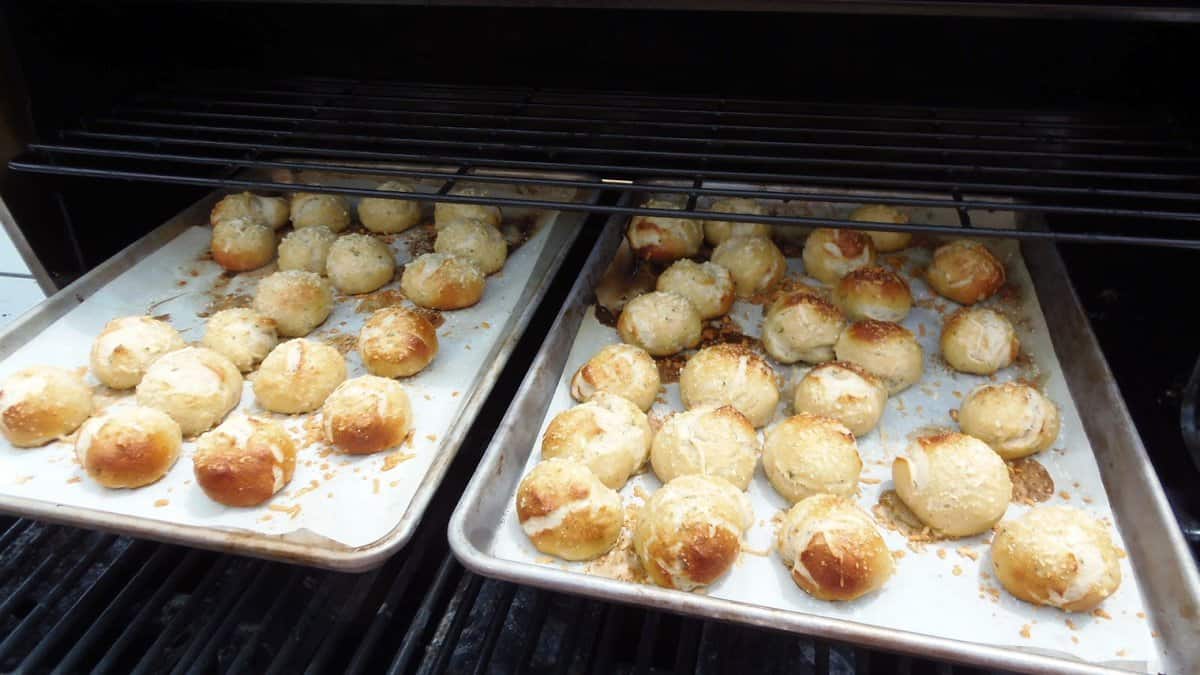
-Brush each pretzel bite with the egg and water wash.
-Sprinkle each ball with additional kosher salt and Parmesan cheese.
-Bake for 18-20 minutes, rotating the baking sheets halfway through the cooking process.
*If you're using the grill, keep a careful eye on them so they don't cook too quickly and burn on the bottom. (Please be aware that the cooking time while using the grill may need to be adjusted slightly depending on your grill.)
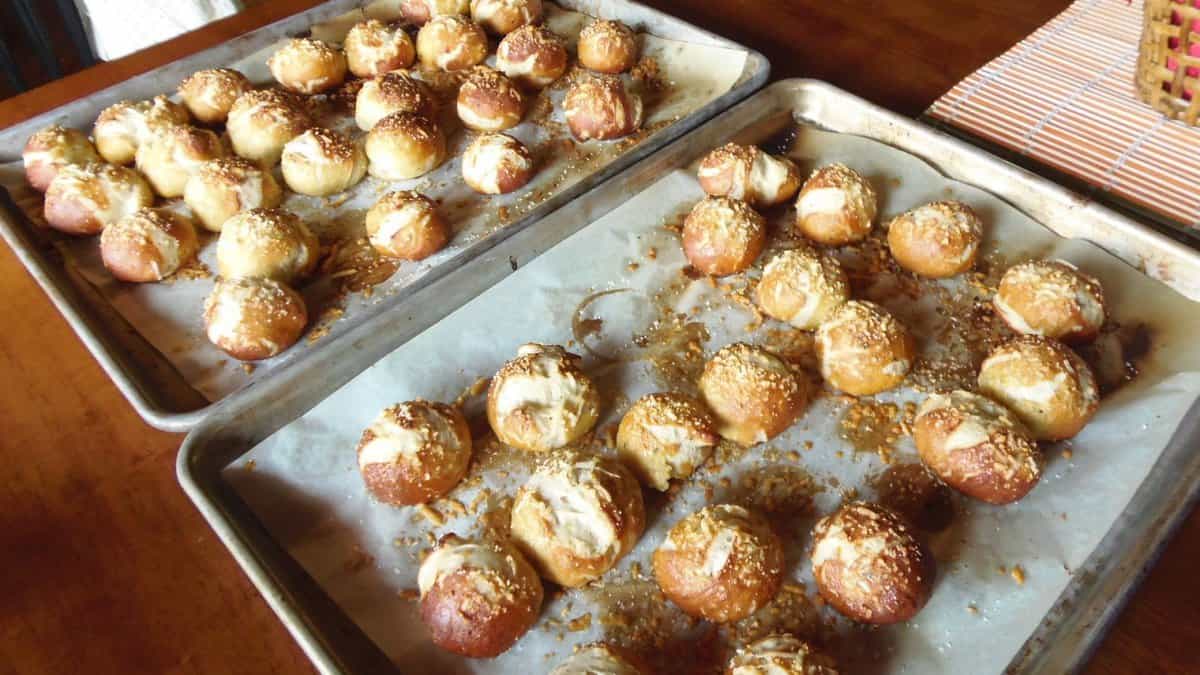
-Allow your pretzel bites to cool slightly and then DIG IN!!!

Save this for later.
Email forwarding service for saving information.

I hope you've enjoyed this recipe and will decide to make these soft little pretzel morsels yourself.
I guarantee they'll be a complete hit with your family and friends and who knows, you may even start giving them as gifts too.
Because we all know - Nothin' beats a little lovin' from your oven or an unexpected thrill off your grill!

Should you have any questions or comments regarding anything you've seen on my site, please don't hesitate to reach out to contact me. It is always my distinct pleasure to get back with you just as soon as I possibly can!
Thank you so much for visiting me today in my Kudos Kitchen. I hope you found something you'll love and that you will come back and visit me often. Please know that there is always room for you around my kitchen table!
Until we eat again, I hope you have a delicious day!


All of the recipes you'll find here on my website are in loving memory of my son, Greg, who left this earth far too soon and will be forever in our hearts.


Renee says
Yes Paula. The boiling in the baking soda water is what gives the pretzels their chewy outer crust. Do this no matter if you're using the oven or the grill. I could be wrong, but I think bagels are done like this as well. I hope you like the recipe. Please let me know what you think.
Paula says
These look wonderful and I think I'm going to make them. Just need clarification on the recipe. If we are just going to bake them in the oven (not use the grill) do we still have to boil them in water first?
Thanks for this recipe Renee! Love these 🙂
Renee says
Thank you Stephanie! If I've inspired YOU than I'm a happy camper.
Steph@PlainChicken.com says
These look incredible! I've been wanting to make pretzels - you have inspired me to give it a try!
JulieD says
I remember you posting these on instagram...I must make pretzel bites soon! Thanks for posting these!! Hope you're doing well!
Renee says
Thanks Julie! That was my "teaser". LOL I'm doing very well. Thanks for asking. You're so sweet! Hope you are too.