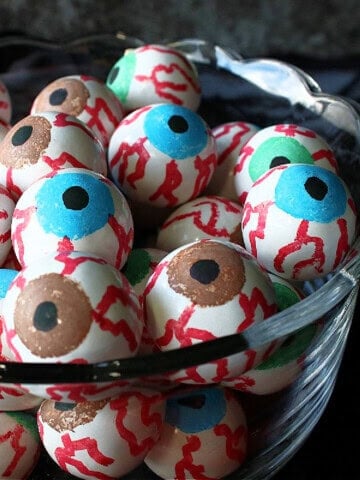
Eye candy Cake Balls are a fun way to serve your cake and eat it too. "Eye" will show you how easy they are to make!

*Disclaimer - This recipe was originally published in 2013. I'm working hard to update all my older recipes with recipe cards, new photos, and additional recipe information. But, getting to all of them will take time. Please bear with me. In the meantime let me assure you that this recipe is still a winner and one I'm sure you'll be well pleased with when you make it at home.
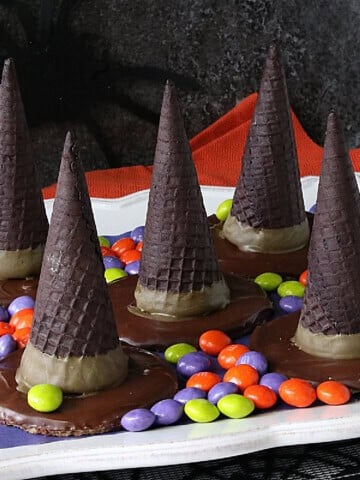
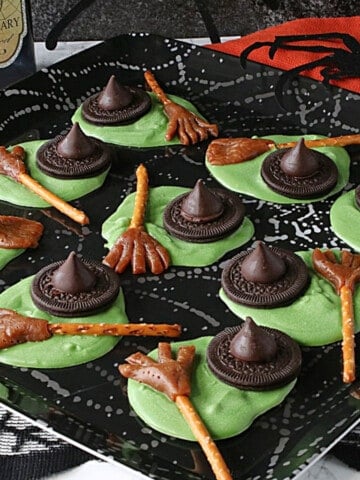
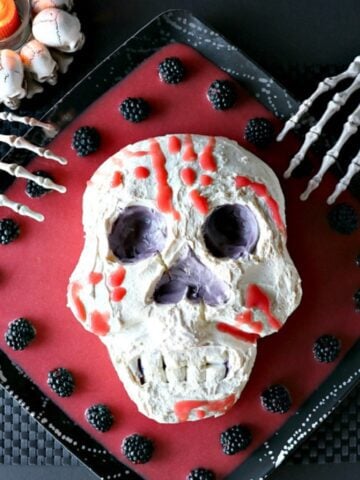
What do you do with all the leftover cake scraps and frosting you have from making a scary Halloween pumpkin cake? You make ghoulish Eye Candy Cake Balls of course. 🙂 *insert spooky laughter here*
"EYE CANDY" CAKE BALLS {PRINT THIS RECIPE}
Yield: 12 - 14 eyeballs
4-5 cups of cake scraps (1-2 8" round cakes, crumbled) your choice of flavor
1-2 cups prepared to frost (your choice of flavor)
1 bag of white candy melt pieces (found a craft store in the cake decorating section)
1 baking sheet
1 sheet of parchment paper
1 small microwave-safe bowl
1 paper plate
gel food coloring (I used blue, green, black, and red)
1 round-tipped paintbrush
1 long liner paintbrush
napkins or paper towels
mini muffin cups
-Crumble the cake into a large bowl. Hand mix in enough frosting to the cake crumbles so that it holds together when you roll it into a ball.
-Shape the cake mixture into balls that are roughly the size of golf balls and place the balls onto a parchment-lined baking sheet and place the balls into the freezer to firm (at least 1 hour).
-In a small microwave-safe bowl, add the candy melt pieces and microwave them on medium power for about 40 seconds (this time will vary with each microwave). Stir them and place them back into the microwave for a few more seconds if needed. You're looking for a completely melted and smooth consistency.
-One at a time, drop the frozen cake balls into the melted candy and turn to completely coat. Remove the coated cake ball with a spoon and place them back onto the parchment-lined baking sheet. Continue with the remaining cake balls.
-Once all the balls are coated, return them to the freezer for another 30 minutes.
Save this for later.
Email forwarding service for saving information.
-Using a small drop or two of the food color on a paper plate, paint a filled-in circle (the iris) of either the blue or green in the center of each ball using the round-tipped paintbrush.
-Use the liner brush and a drop of red food color to the paper plate and make some squiggly lines to form the veins coming out from the painted circle.
*Note - At this point I needed to use some napkins to carefully dab off some of the food colors that weren't completely drying on the candy melt coating, making sure to use a clean spot on the napkin each time dabbed and lightly pressed. I did NOT do this on the vein portion of the balls as it wasn't needed.
-Place each cake ball into a mini muffin cup when finished with the vein portion.
-Using a small dot of black and the round-tipped brush adds in the cornea portion of the eyeball over the iris.
-Place your eyeballs on a platter and serve! See (pun intended)? Eye told you they were easy!!!


There, that was easy, right???
Should you have any questions or comments regarding anything you've seen on my site, please don't hesitate to reach out to contact me. It is always my distinct pleasure to get back with you just as soon as I possibly can!
Thank you so much for visiting me today in my Kudos Kitchen. I hope you found something you'll love and that you will come back and visit me often. Please know that there is always room for you around my kitchen table!
Until we eat again, I hope you have a delicious day!


All of the recipes you'll find here on my website are in loving memory of my son, Greg, who left this earth far too soon and will be forever in our hearts.

Jamie says
OMG Renee this is outrageous and amazing! And hysterical.... both the scary head and the eyeballs. Look at you guys! You managed to create Halloween treats that are way out of the ordinary!!! Love it! And look at all the cake leftovers you could nibble on while decorating!